|
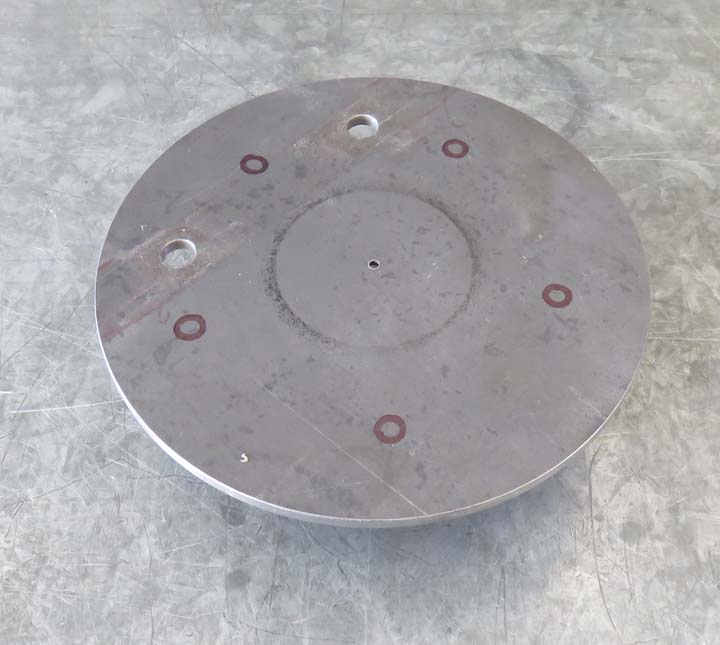
Building A Portable Vise Continued Now that I have a location for the holes, it's time to
drill them. But I'm not going to rely on these marks for my exact
location, I'll be using my milling machine's digital readout for that.
Now my digital readout has a function that's pretty handy for putting in
a bolt circle. All you have to do is enter the correct parameters and it
will calculate each hole location for you.
|
|
 |
|
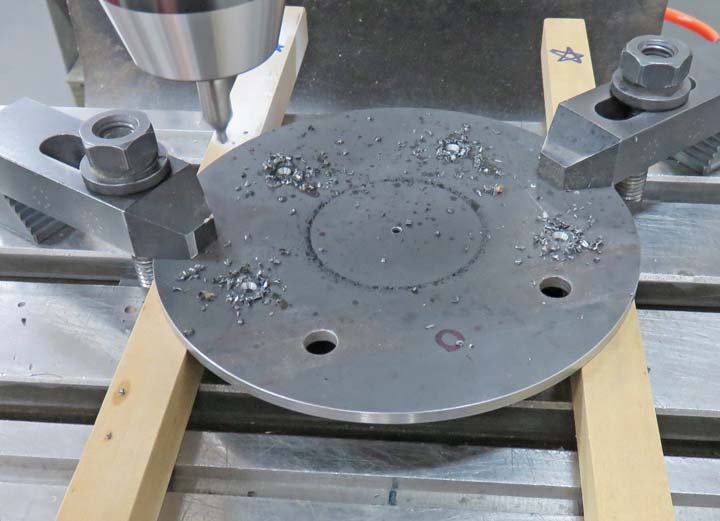
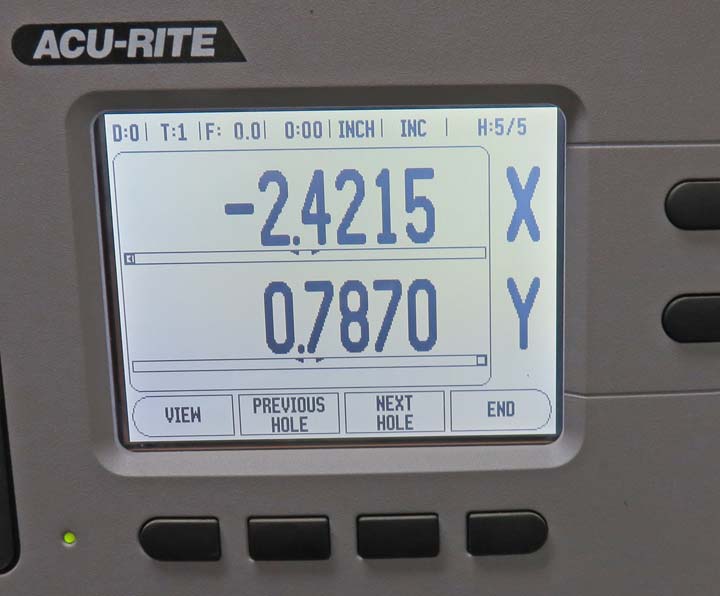
I'm in the middle of drilling the five holes for my
bolts here. Notice the top arrow, it's pointing to the hole I'm
currently on which is the forth of five holes. The X and Y values are
zero which is how I know I'm in the right spot after moving both axis's.
When I'm finished drilling this hole, I'll press the
"Next Hole" (bottom arrow) and it gives me the next hole location on my
display.
|
|
 |
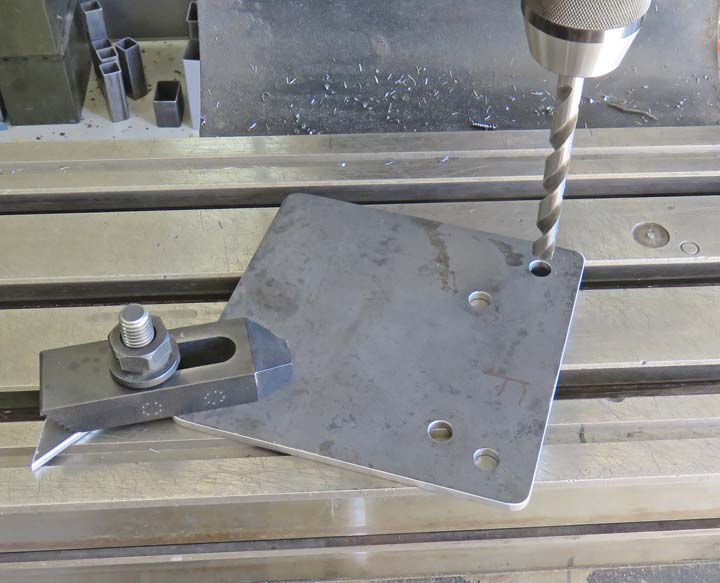
And as you can see I'm drilling my forth hole below. Now it's time to
push that "Next Hole" button.
|
|
 |
|
Notice at the top right my digital readout is displaying hole five of five. Now all I have to do is dial both X and Y
axis's so it reads zero (like you saw above) and I'll be at the exact
location for my next hole. This is a great feature to have on a digital
readout and makes life so much easier than guessing.
|
|
 |
|
This piece will be the mounting plate that goes under
the vise. Here I'm drilling my three clearance hole for some bolts.
However, the two that you see towards the center were already in this
piece before I cut it.
|
|
 |
After the holes were in it was time to weld both plates on.
|
|
 |
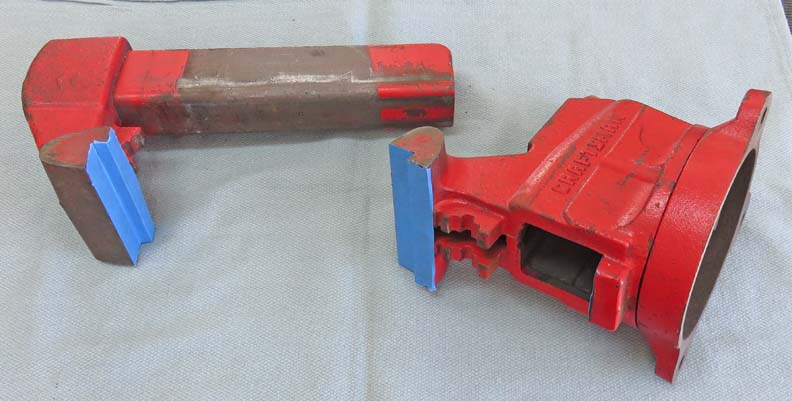
I thought I'd give my old vise some paint so I took it apart, masked off
a few things and now I'm ready to spray it.
|
|
 |
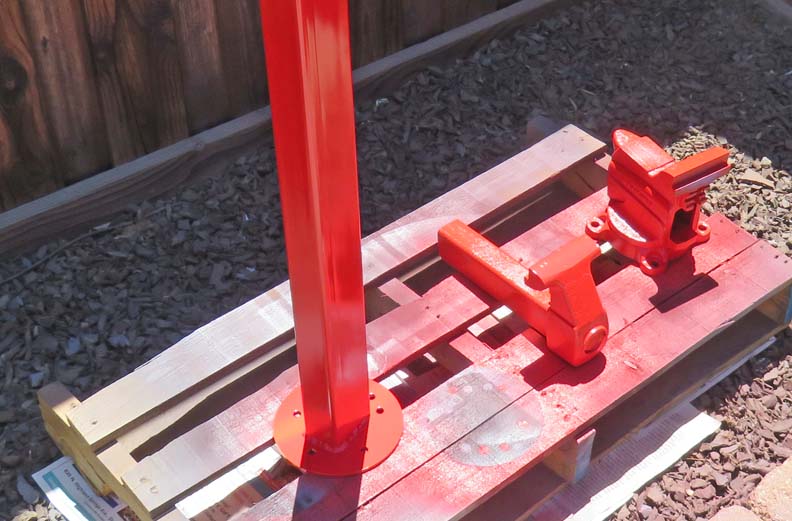
My side yard paint booth.
|
|
 |
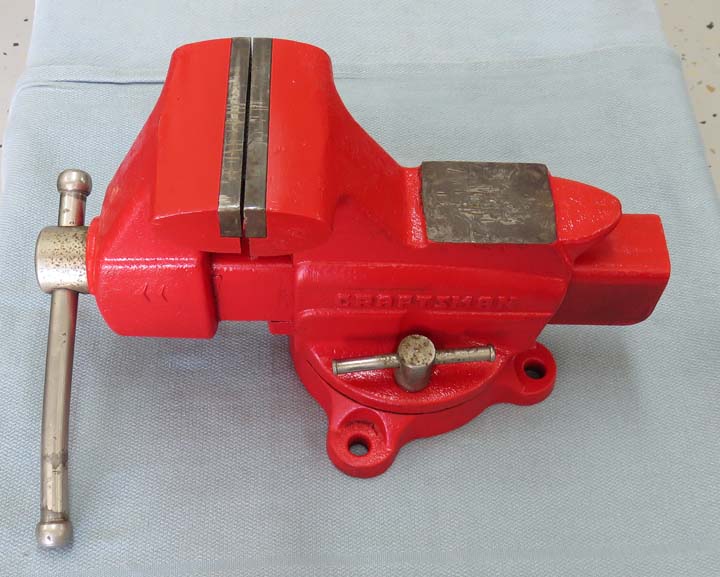
The vise looks much better now. I tried straightening the handle but I
wasn't successful. But it does look better than it was.
|
|
 |
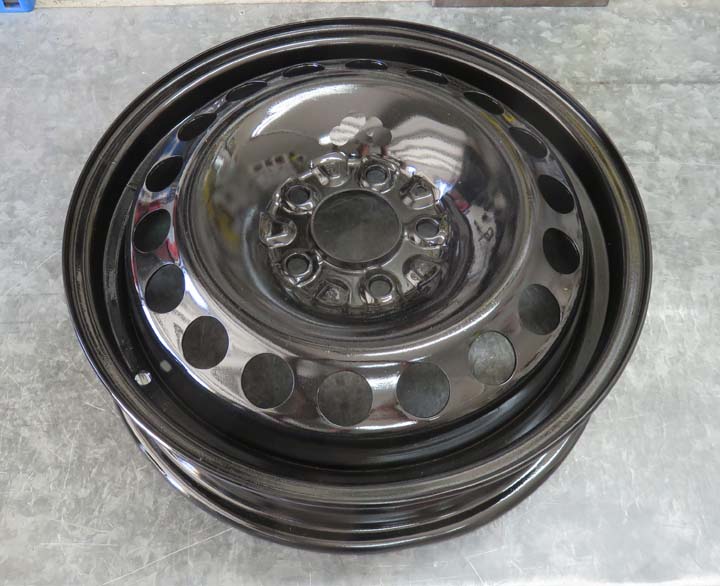
The rim came out looking pretty good. I used gloss paint on everything
which makes it easy to clean.
|
|
 |
|
1
2
3 |