|
I'm going to make a portable vise for my son-in-law
Matt, for Father's Day. This idea came from working at my daughters
Escape Room and trying to find a place to cut some metal tubing or some
other kind of metal. What Matt came up with temporarily was to use some
hand clamps and an old wooden pallet and then start cutting. This works but
you have to kneel on the ground while doing this and that's no fun.
That's when I had the idea of making some kind of
portable vise stand that could be moved around as needed which would
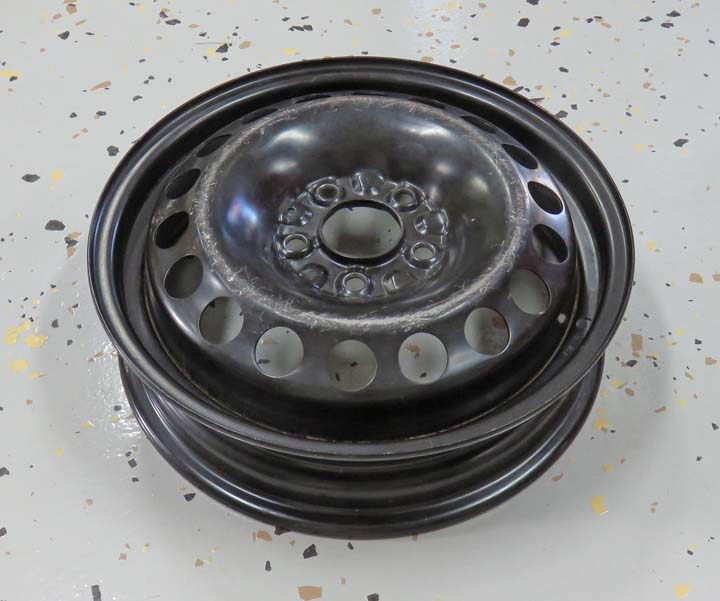
take the place of that old pallet. What I needed first was something to
use as a base and thought an old steel rim would work good for this. The
one that you see below was given to me by a small tire shop near my
house so I took it home to clean it up.
Building A Portable Vise |
|
 |
|
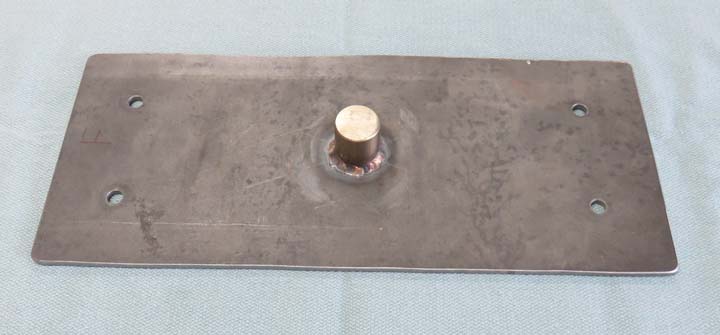
I also needed two other pieces that I could weld some
tubing to and
I remembered that I had this piece leftover from working on my
33 Ford
Coupe. This piece below was used to help me install my five speed
transmission many years ago and is 3/16" thick X 6 1/2" X 15" long. This
piece of steel should work perfect for welding some tubing to once I cut
it to the size I need.
|
|
 |
|
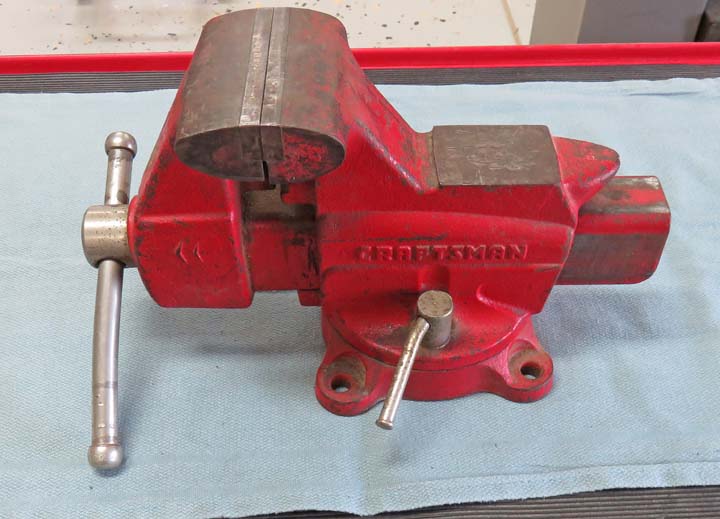
Here is my old Craftsman vise that I bought new in the
mid 70's while working on my 71 Camaro. This Sears vise has worked
really well over the years but eventually I bought a larger one when I started
working on my 33 Coupe. Anyways, I'll be using this old one for the portable
vise on this project.
|
|
 |
|
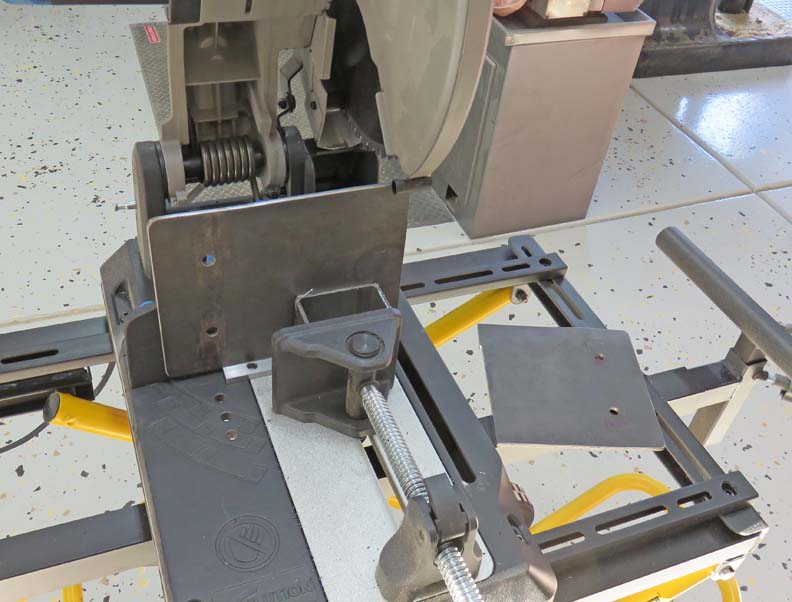
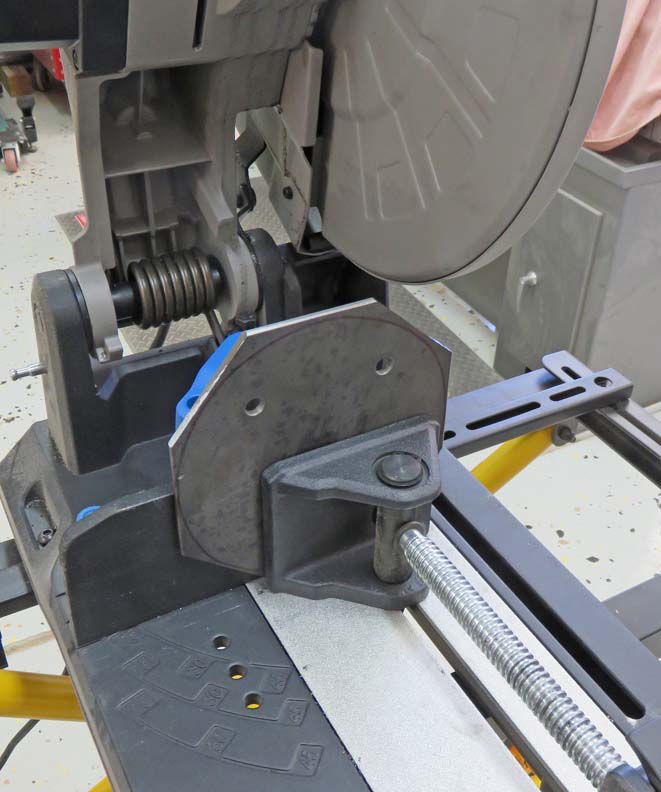
I'm cutting the steel plate with my metal chop saw which made
quick work of it. I'll need two pieces, one that will go under the vise
and the other will be bolted to the wheel.
|
|
 |
|
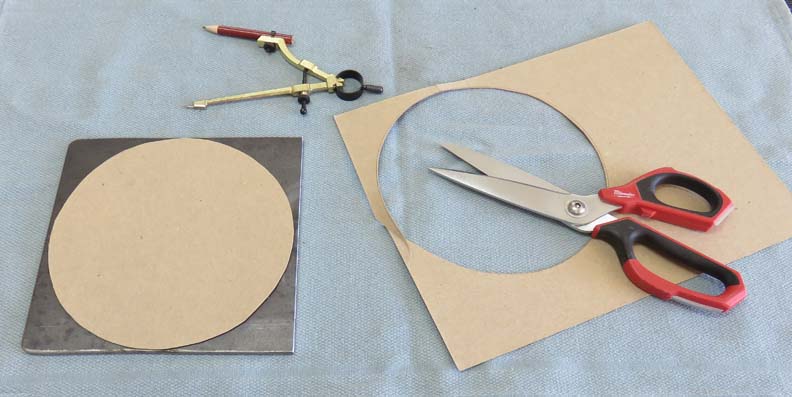
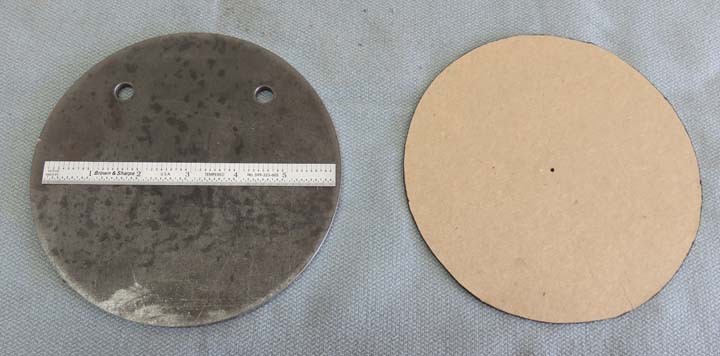
The piece that will be bolted to the wheel is going to
be just over six inch's in diameter. Here I'm cutting out some cardboard
as a template, then I traced around the template with a marker for
reference.
|
|
 |
I'm cutting away all the excess material that I don't need and then I'll
turn it on my lathe.
|
|
 |
I used a bolt in one of the existing holes and used it as a dog against the chuck jaw so it doesn't
spin when I'm machining it.
|
|
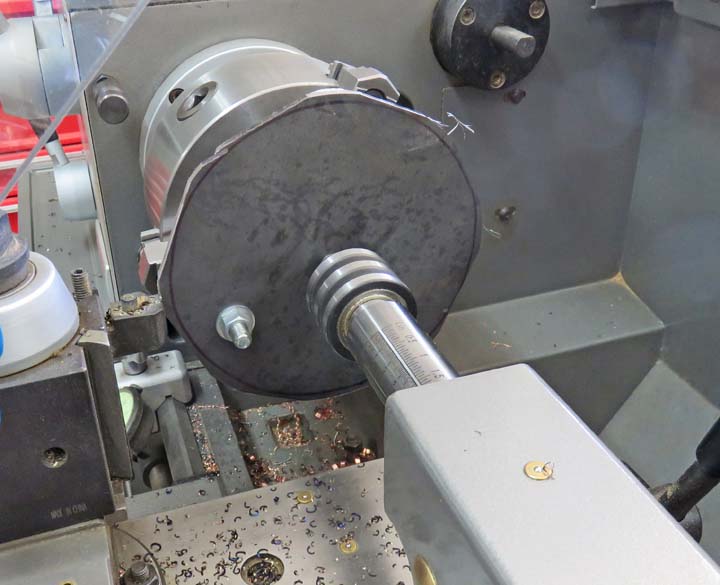 |
After a few minutes my piece was nice and round.
|
|
 |
|
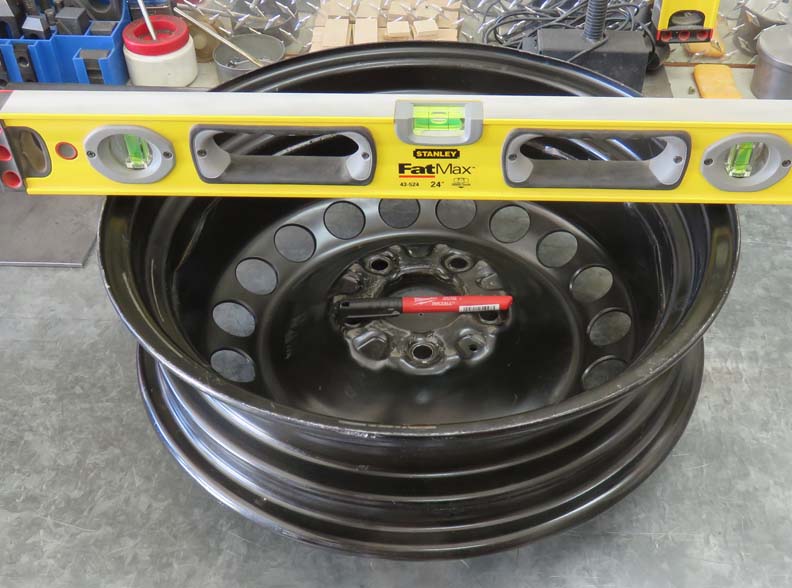
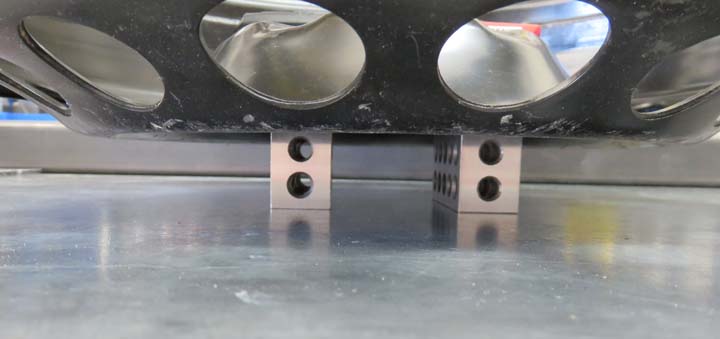
I've placed my round piece under the wheel, made sure it
was level and then marked the five hole locations with a marker. To make
sure the round piece was elevated I used some 1 X 2 X 3 blocks. The next
picture will show the blocks.
|
|
 |
|
Here are my 1 X 2 X 3 blocks sitting on my bench with
the round piece on top of them. And then the wheel is sitting on the
round piece keeping it in the correct position while I marked it. But
these marks are for reference only.
|
|
 |
|
1
2
3 |