|
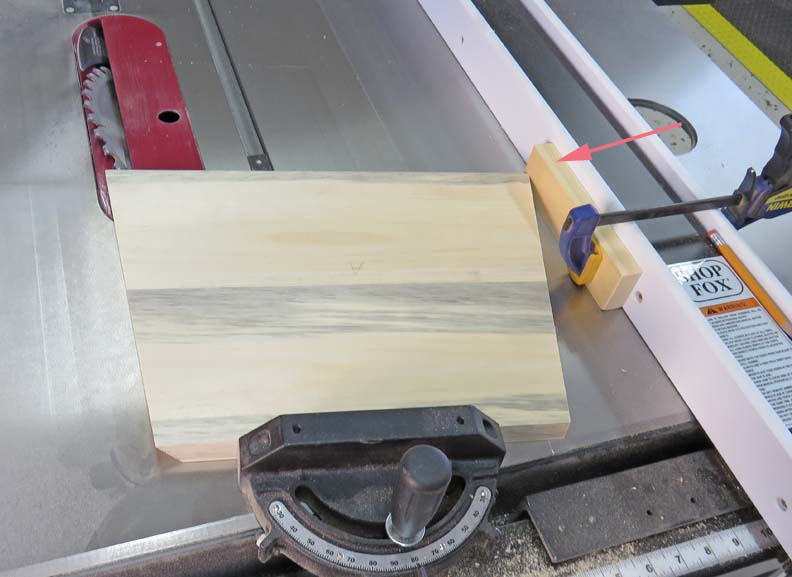
Here I'm attempting to put a compound angle on side piece. I have the blade kicked over at a 45 degrees and
the miter gage is set to 10. Note the temporary work stop clamped to the
fence. This is to give the work piece a place to go if something were to
move. This worked out pretty good but I'll
explain where I went wrong later.
|
|
 |
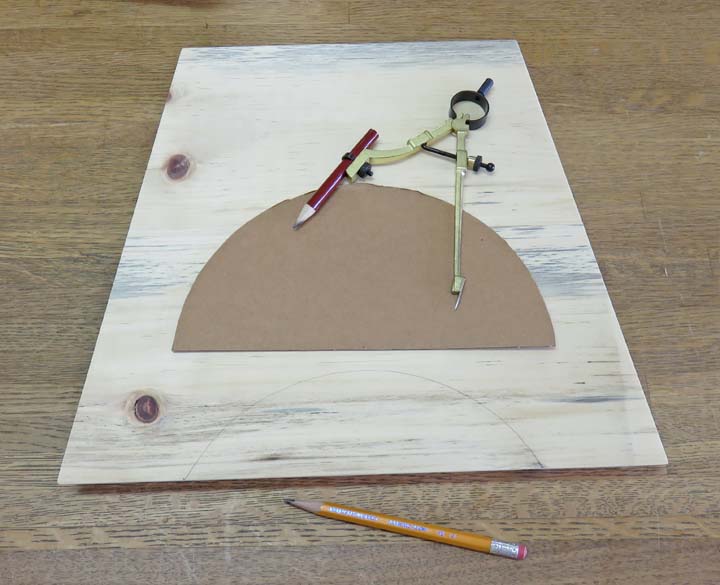
Now that all the pieces are cut, it's time
to add a radius to each one. As you can see I made a template to make it
easier to layout my radius. The two shorter pieces on each end will have
a four inch radius, which I'm laying out below.
|
|
 |
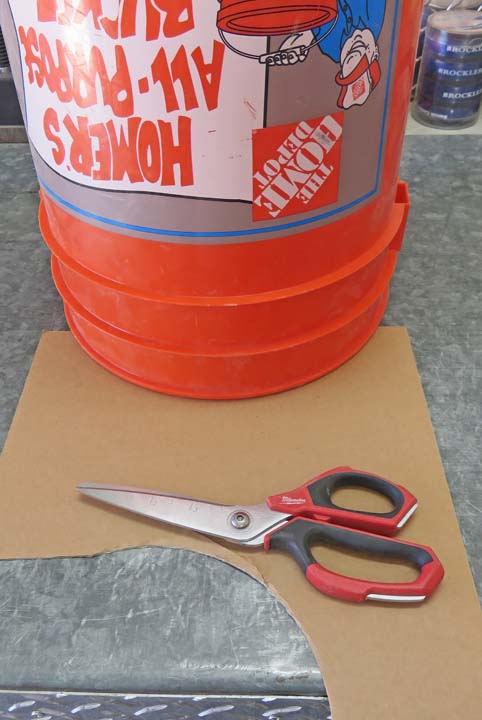
My small compass above wouldn't go large enough to produce a six inch radius
so I'm improvising by using the top of a five gallon bucket to make a
template.
|
|
 |
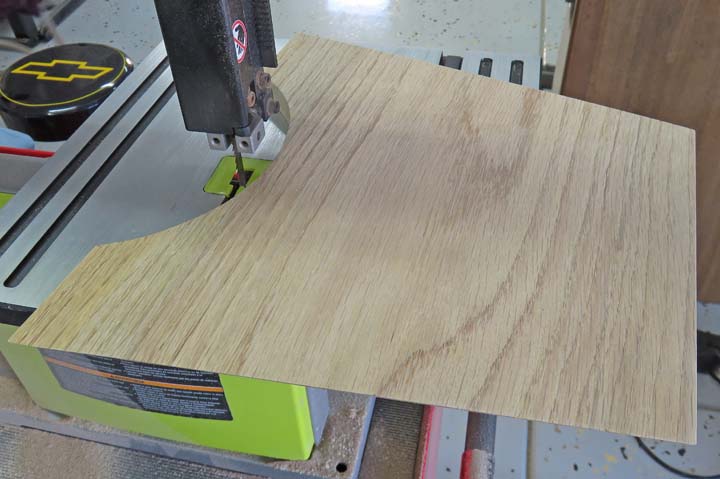
Once I had pencil marks on all my pieces, I ran them all through my
bandsaw.
|
|
 |
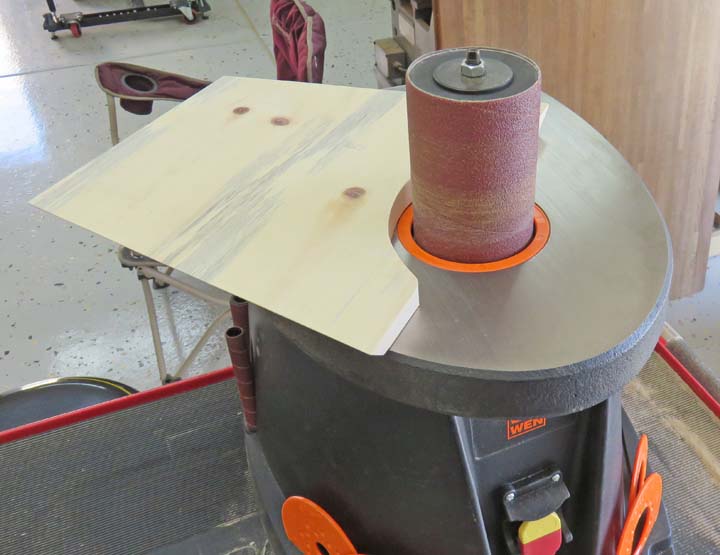
Then I cleaned up all the saw cuts on my oscillating drum sander.
|
|
 |
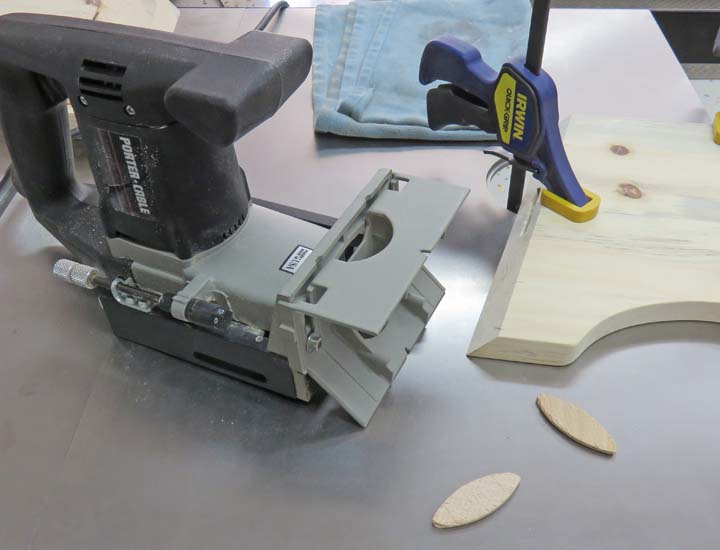
My biscuit joiner can be used on angles by changing the attachment,
which is what I'm doing here.
|
|
 |
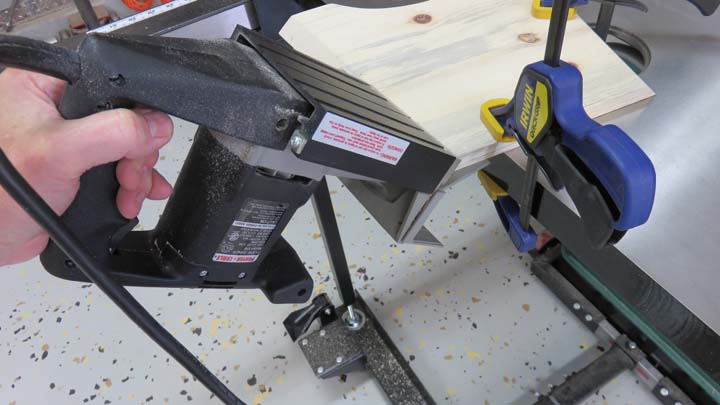
I had to hold the unit upside down to make the slots but it worked
really well. To make sure my pieces didn't move I clamped them to my
table saw.
|
|
 |
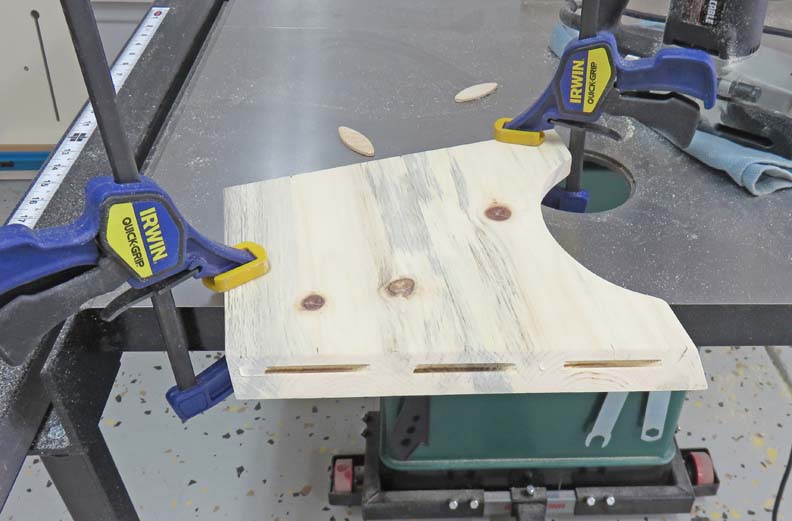
This should make a strong joint now with three biscuits per side.
|
|
 |
|
Remember I said I had a problem with the compound angles
earlier? By setting the 45 and 10 degree angles exactly on the machine,
this doesn't produce the angle that will mate together correctly. The 45
degree miters were slightly off on the inside and I should have known
this because there is a formula in the metal working industry to
compensate for this. And it applies to the wood working world as well.
To glue the four sides together along with the compound
angles, even with the biscuits, well.....let's just say things didn't go
very well so I made a 'frame' for the bottom to rest in (arrow). This
worked out great and held everything in place while I put all the clamps
on.
|
|
 |
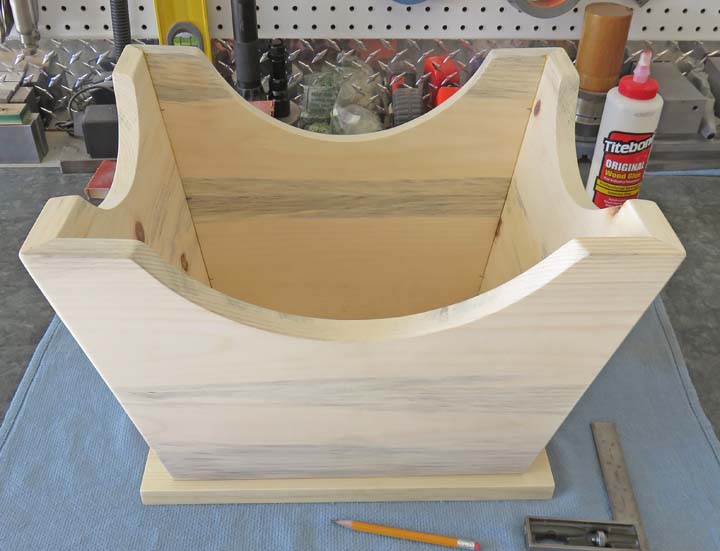
Now it's time to fasten the top to the bottom, so I'm centering one onto
the other. Then I put some pencil marks on the inside and outside for
reference.
|
|
 |
|
1
2
3
4 |