|
Playing In The Sand
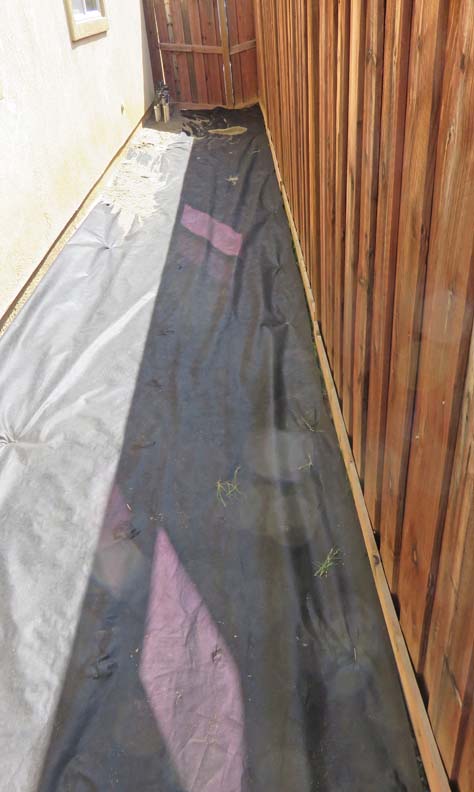
Now that the cage has been painted, it's time to work on the yard. First
up was putting in a weed barrier.
|
|
 |
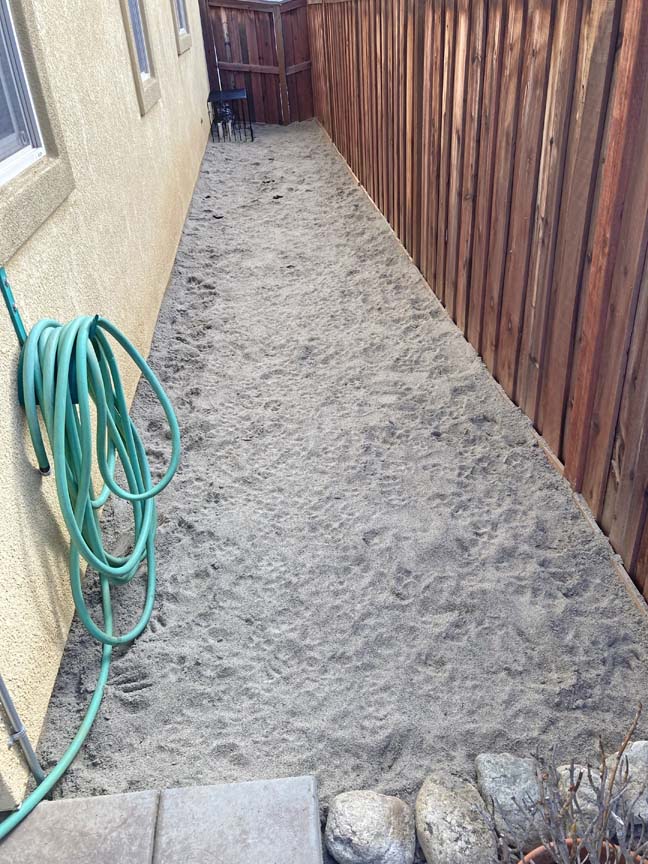
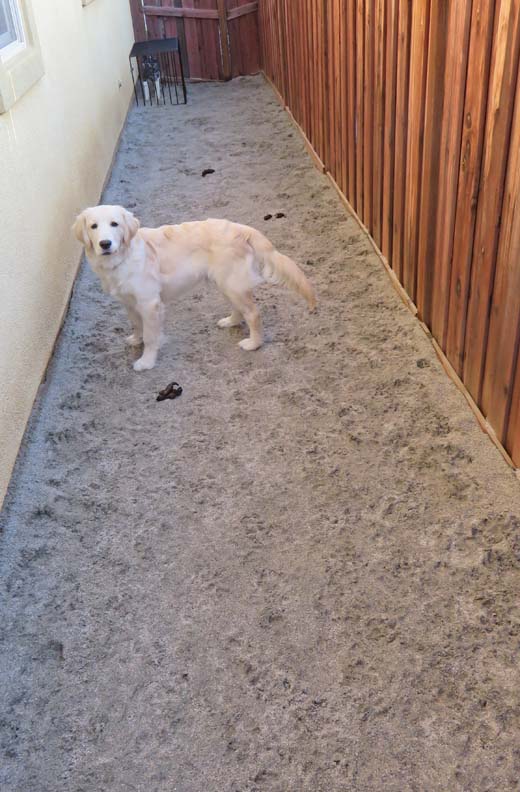
Next I used 1 1/2 yards of plaster sand,
which is about four inches deep. More than enough. And as you can see,
there are a bunch of doggy foot prints and so far Theo really likes it.
|
|
 |
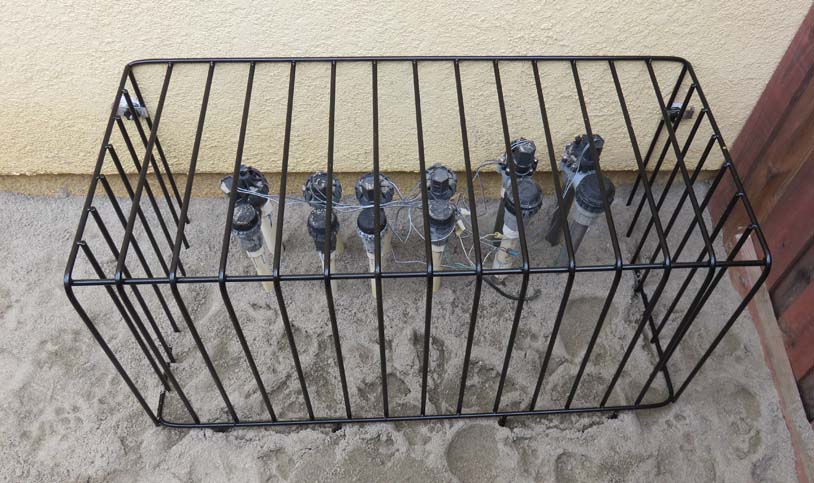
I made the cage a little oversize just in case he wanted to use his
paws. I was thinking ahead here because doing wiring on sprinklers is no
fun if they're all chewed through.
|
|
 |
|
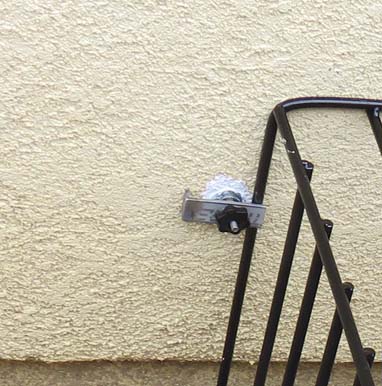
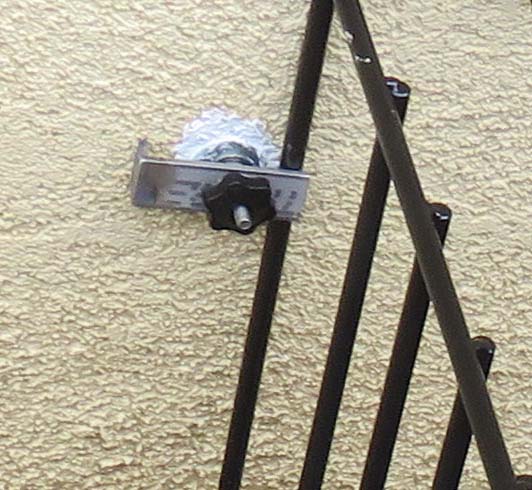
I used stainless steel 1/4" fasteners and some plastic hand knobs
that have brass threaded inserts to help with corrosion. I also added some
caulking to keep water from getting inside the wall. The 1/4" bolts I
used are threaded through some toggle clamps. The original bolts that
came with the toggle clamps were replaced with these stainless steel pieces
and the heads of the bolts are now on the inside of the house.
|
|
 |
|
If I ever need to remove the cage it's very easy to do
now because of the knobs. All you do is loosen them, turn the clamps 90
degrees and the cage is free. This was a fun project and now my dog has
a place to do his business in place of the grass or the pea gravel on the
side yard.
|
|
 |
Speaking of doing his business...looks like three piles. Good Boy!!
|
|
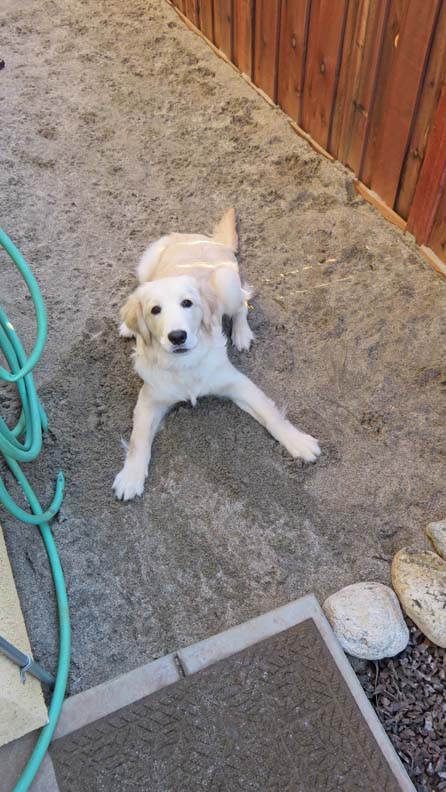
Here's Theo playing in the sand and loving life.
|
 |
|
1
2
3 |