|
Working With Steel Continued
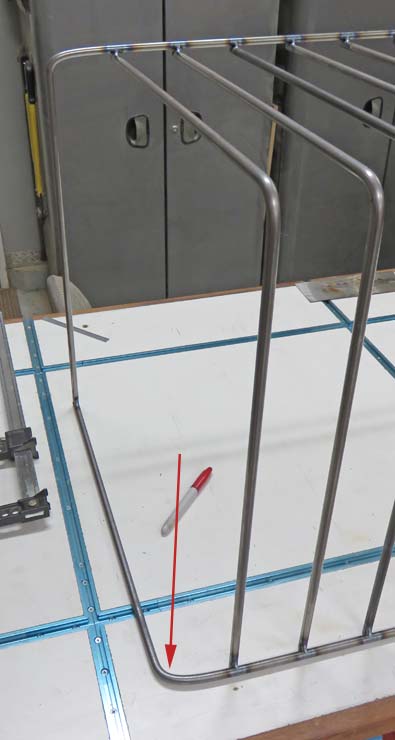
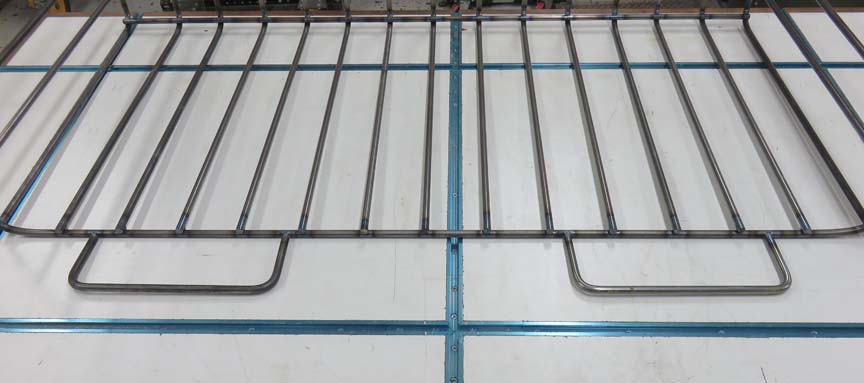
The end pieces will need to be about 1/2" shorter than the others because
of the bends on each end (arrow).
|
|
 |
Only one end needed to be cut on the L
pieces, which went
fast.
|
|
 |
|
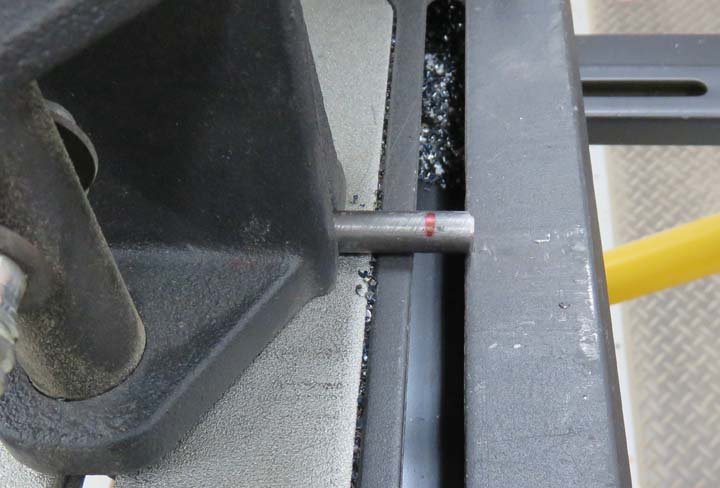
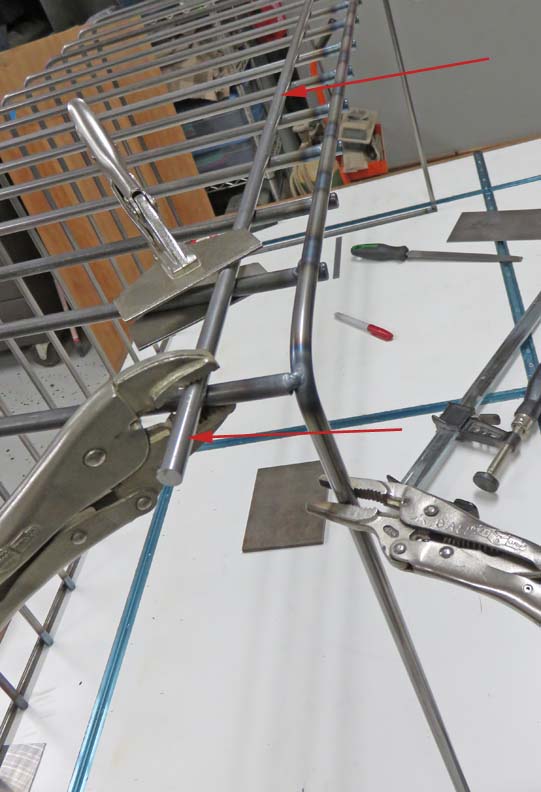
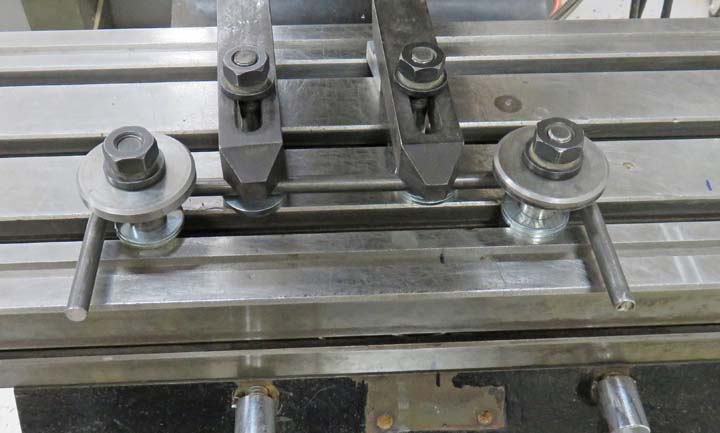
I'm using a piece of round bar clamped to the cage to get the proper
location for the end pieces (arrows). Once I had my end piece in the
right spot I nailed it in place. After both end pieces were welded, I cut
12 side pieces (which are straight) and welded those three inches apart as well.
|
|
 |
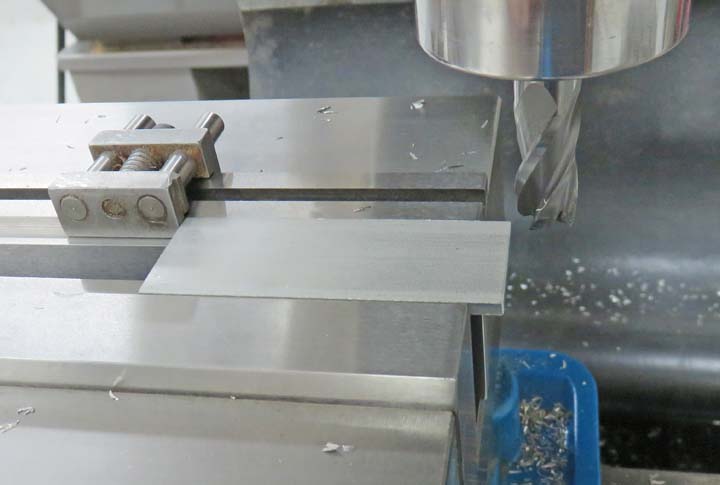
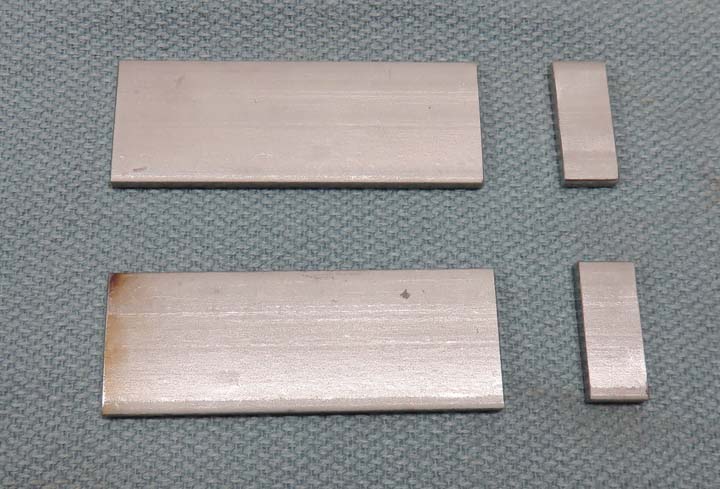
Here I'm machining some 1/8" stainless steel that will be used as clamps
to hold the cage to the house.
|
|
 |
These are simple toe-clamps that should work pretty good for this. The
small piece is 3/8" long, matching the round bar diameter.
|
|
 |
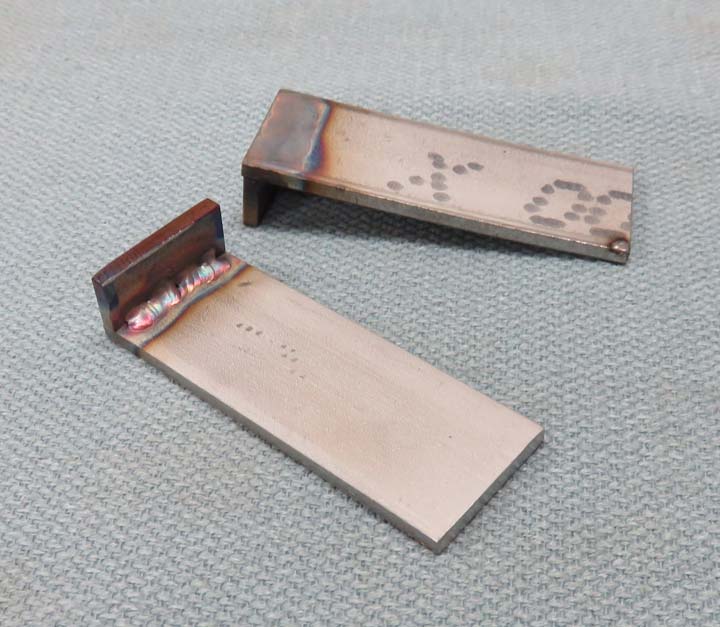
Here they are welded and now I just need to add a clearance hole for
some
1/4" bolts.
|
|
 |
|
I did a test fit with the cage and need to add about 3
1/2" to the bottom because the ground is uneven. Here I'm bending two more
pieces that will help level the cage.
|
|
 |
These pieces didn't take long and should work nicely. Also, these two
pieces will be buried in the sand and won't show.
|
|
 |
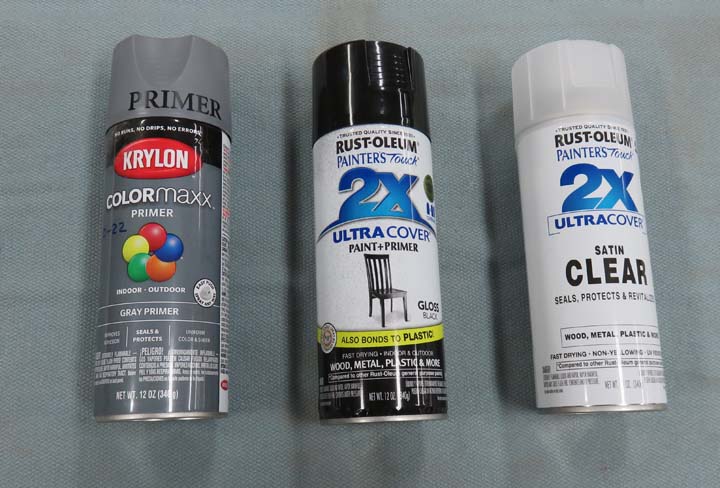
Now it's time to add a protective coating to the bare steel. I happen to
have the primer and clear already but I wanted the color to be glossy so
I bought some black paint.
|
|
 |
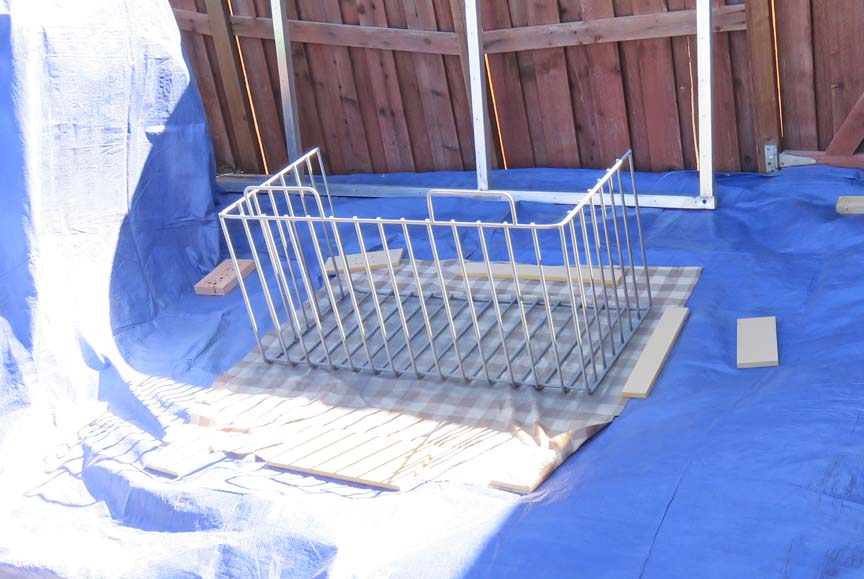
Here is my paint booth. It was a windy day which is why there are so
many smaller pieces of wood holding the trap down.
|
|
 |
|
1
2
3 |