|
Shower Shelves Continued
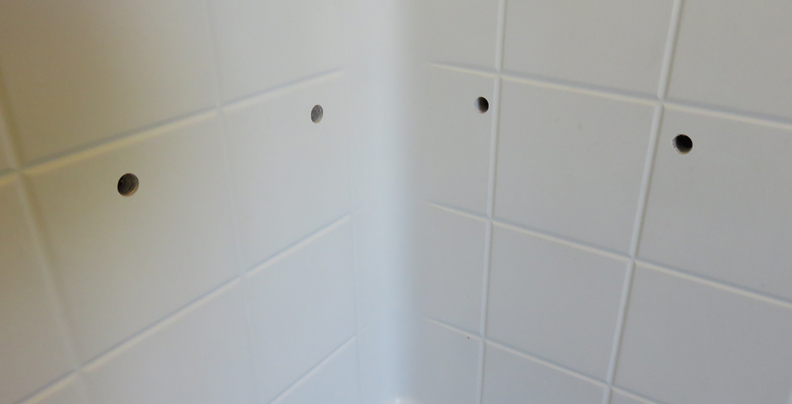
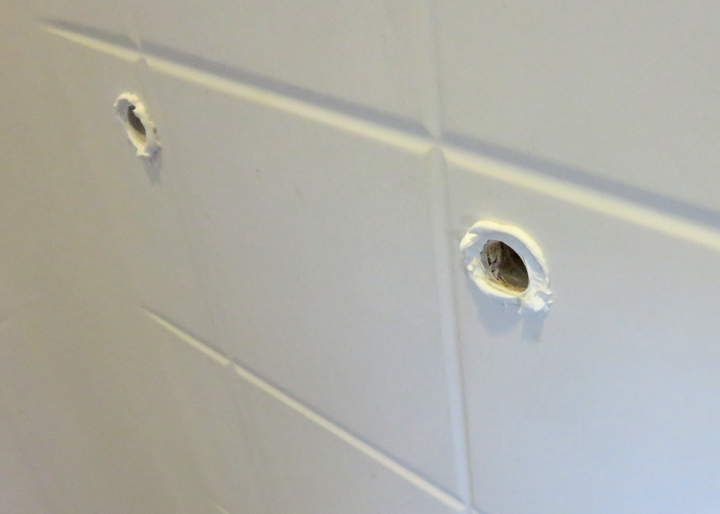
I transferred all the holes with a marker.
|
|
 |
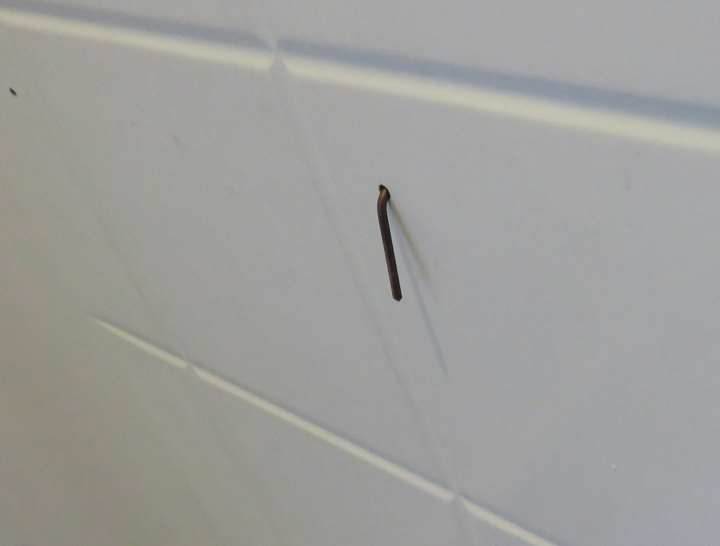
I used a small 3/32" drill on the first
hole to see how much room I had behind the shower wall.
|
|
 |
This piece of welding rod is about six inches long.
|
|
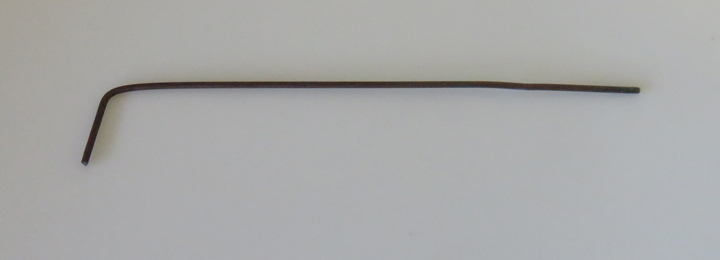 |
It went all the way in and bottomed out so I know I have clearance for
the toggle bolts.
|
|
 |
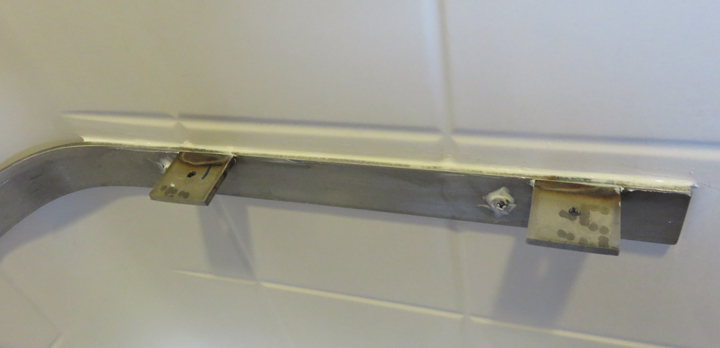
Next I opened up the holes to 7/16" which will just clear the wings on
the toggle bolts.
|
|
 |
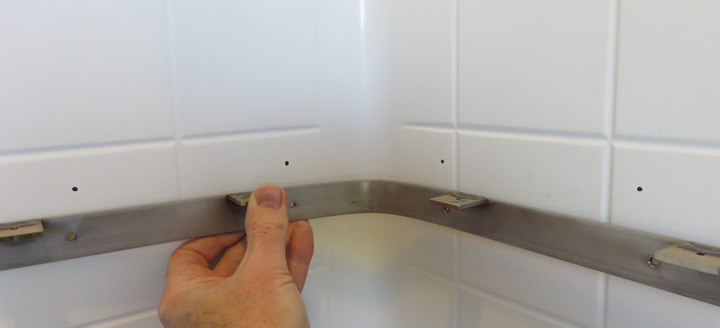
I applied some bath, tub and tile' caulking between the wall and the
bracket.
|
|
 |
|
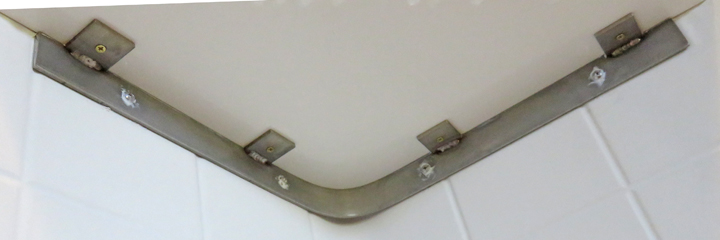
Once I had the bracket fastened, I also applied more caulking to the top
surface and to the heads of the screws. Side note: This was not easy to
install because once I had these two toggle bolts in place, I had to
bend the bracket enough to make clearance line up the fasteners.
|
|
|
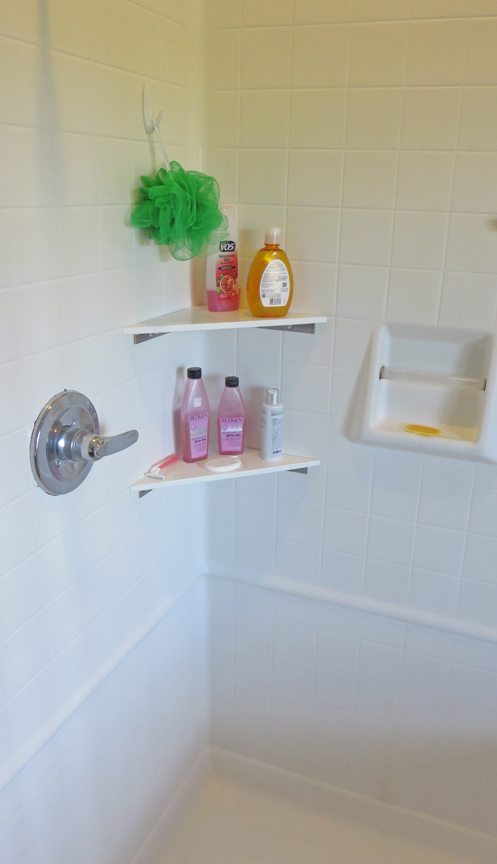
It's Finished
The shelves are very strong and I made sure to place them at a very
slight angle so water runs off them.
|
|
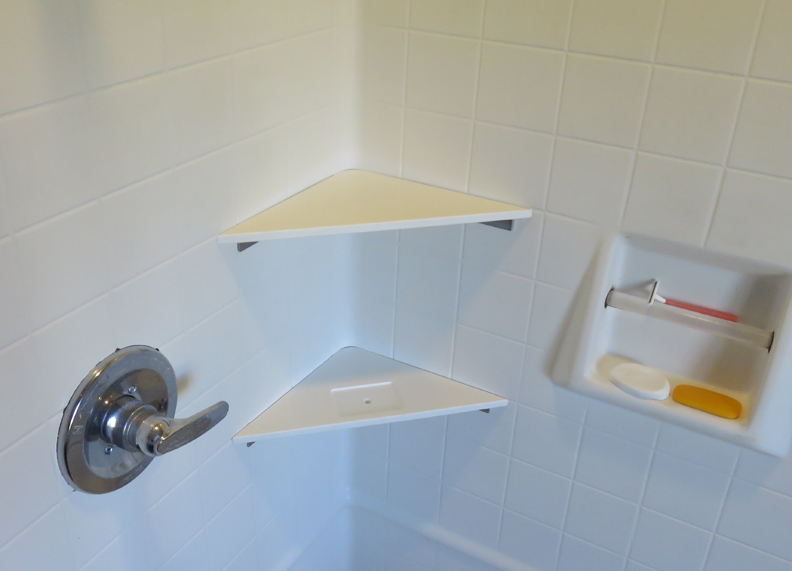 |
I used some #4 brass screws to hold the shelves on with. These were
something I had laying around so I used them.
|
|
Now that's what I'm talk'n about, no more bending to get stuff anymore.
This was an easy project which I should've done many years ago.
|
 |
|
1
2
3 |