|
Shower Shelves Continued
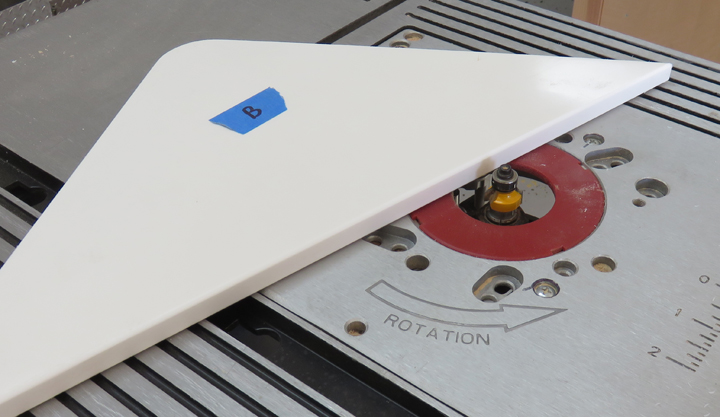
I used a 1/8" roundover bit on the front surfaces (top and bottom)
using my router table. This will help in case we bump the edge so it
doesn't cut us.
|
|
 |
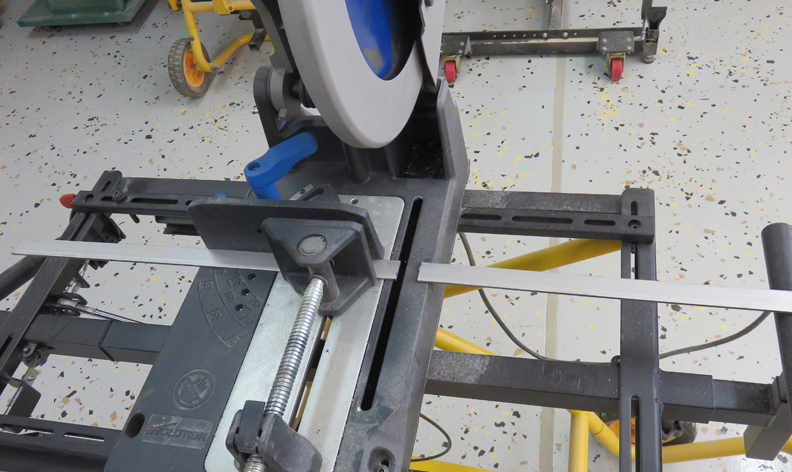
Now it's time to make some brackets to
hold up the shelves. Here I'm using my metal cutting saw which made quick
work on this stainless.
|
|
 |
|
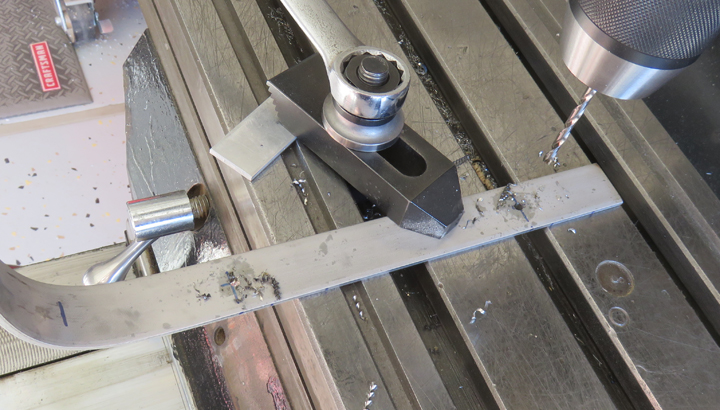
I'm cold forming a radius in the middle of my bracket
with the help of my milling machine table. This doesn't have to be super
precise just as long as the bracket radius is smaller than what the
shower has.
|
|
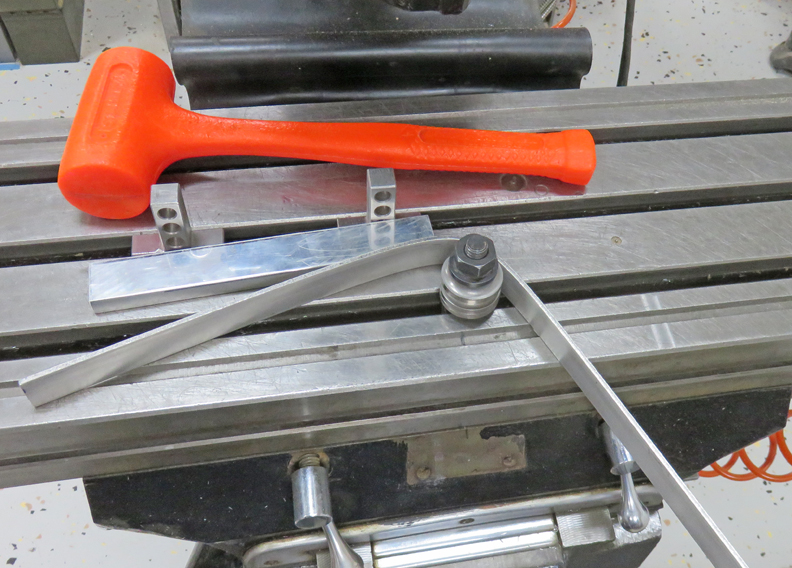 |
A few minutes later here is what I had. This will work perfect as the
bracket will now clear my shower's radius.
|
|
 |
I'm going to use four screws to hold the brackets in place. Overkill?
Yes, it is.
|
|
 |
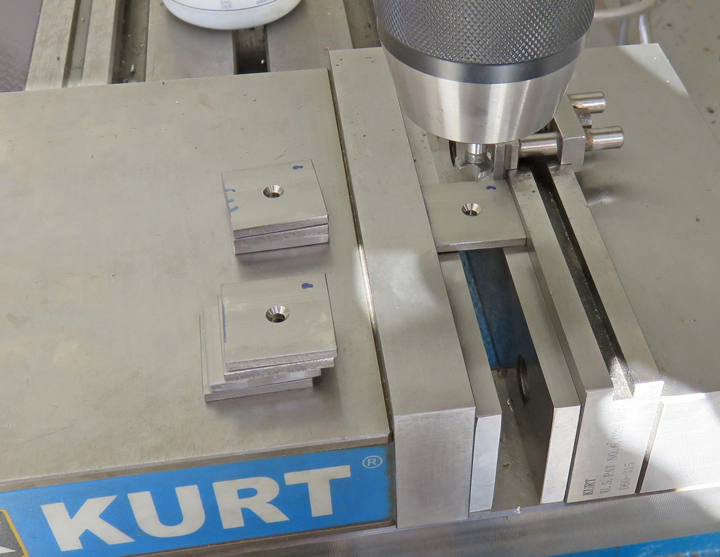
I'll need some tabs that will be welded to the bracket which I'm making
below. Here you can see the countersinks that I'm putting in for some
flat head screws.
|
|
 |
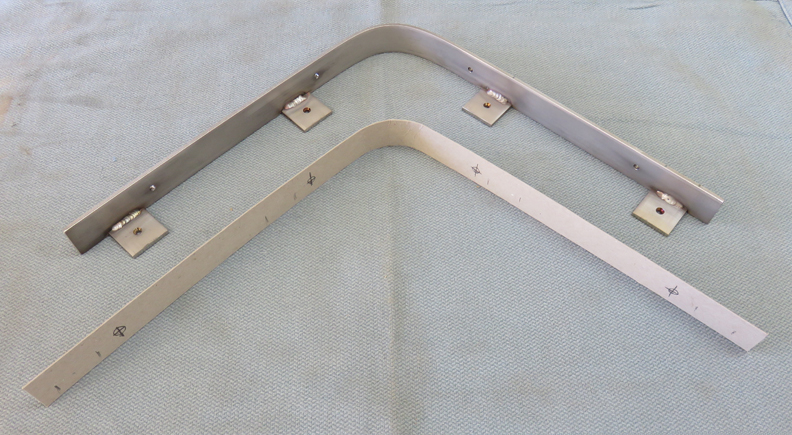
This is what the bracket looks like after welding the tabs on. You can also
see my cardboard template as well.
|
|
 |
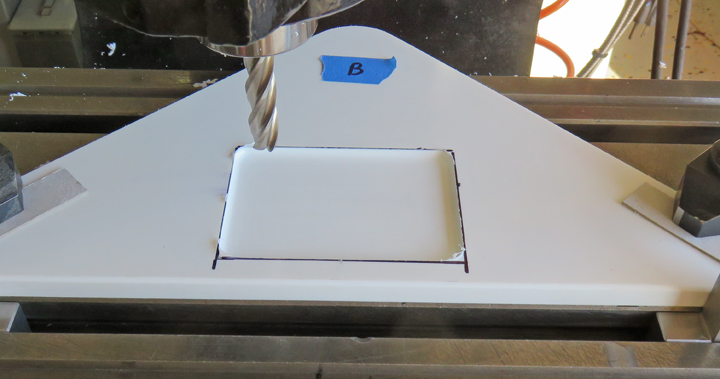
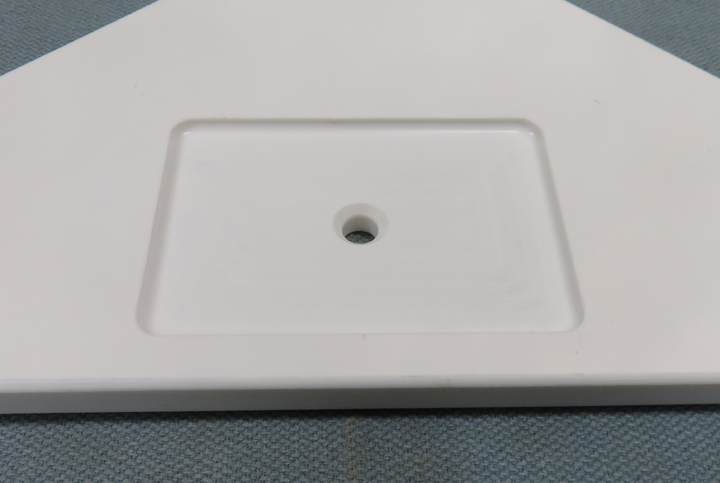
I machined a soap dish in the lower shelf using an end mill with a
small radius on the bottom. This radius will make it easier to remove
the soap.
|
|
 |
I also put in a 3/8" drain hole along with a large chamfer.
|
|
 |
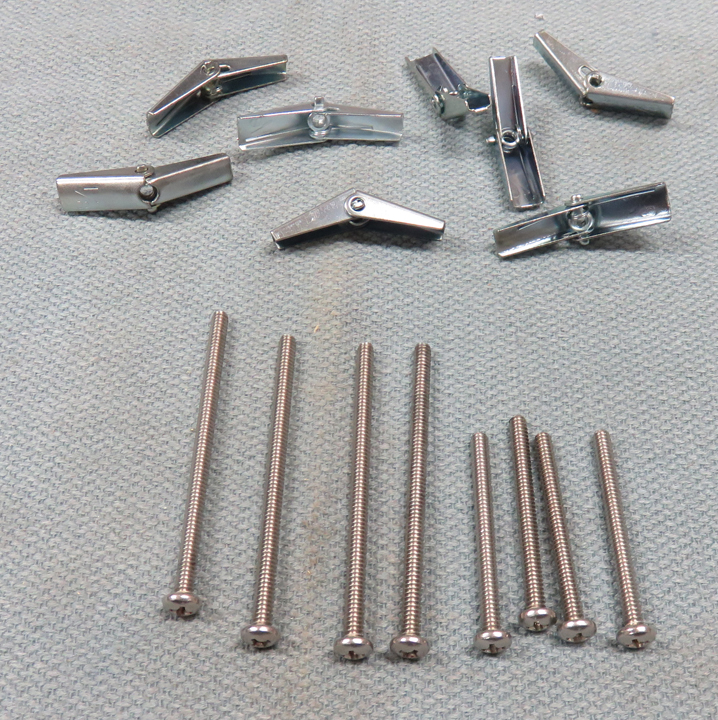
I'm going to use #6 Toggle Bolts to hold the brackets in place. I bought
some stainless steel screws to replace the original ones to help in the
corrosion department.
|
|
 |
|
1
2
3 |