Salt and Pepper Keepers  1                                              05-2019


My daughter sent me a picture about a year ago that might have been a potential project for me at the time. Now all my kids send me pictures for time-to-time, which is really cool because I've made gifts for them based on these ideas. Well this is another one of those times and this 
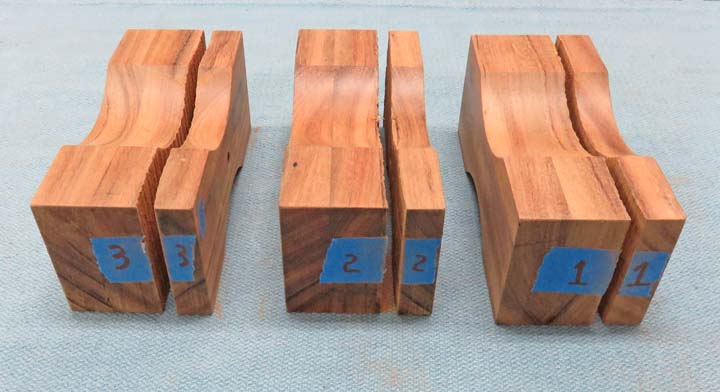
project will be a 'Salt & Pepper Keeper'. I plan on making three of them and they will all be birthday gifts.

I use the 'name' Salt and Pepper Keepers because you might put those two spices in it. But in reality, you could keep any spices you want in them. Now it's hard to tell exactly what size something is 
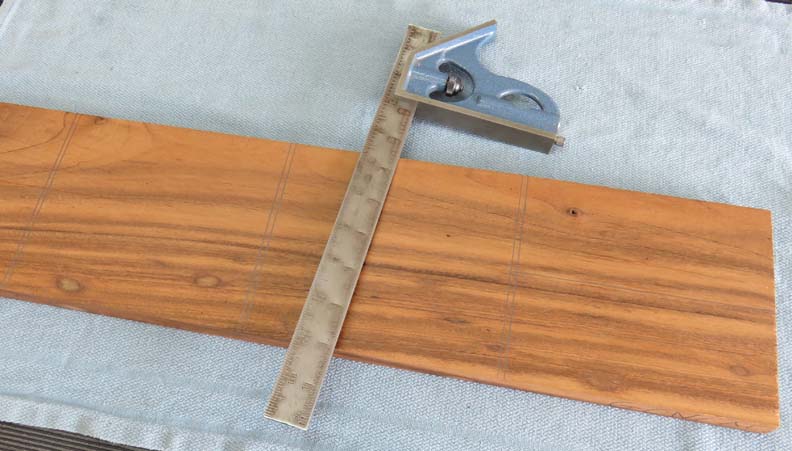
by looking at a picture but I'll be making mine 5 1/2" long X 2 1/4" wide X 2" tall. However, there will be a handle on top that will add another two inches to the height.

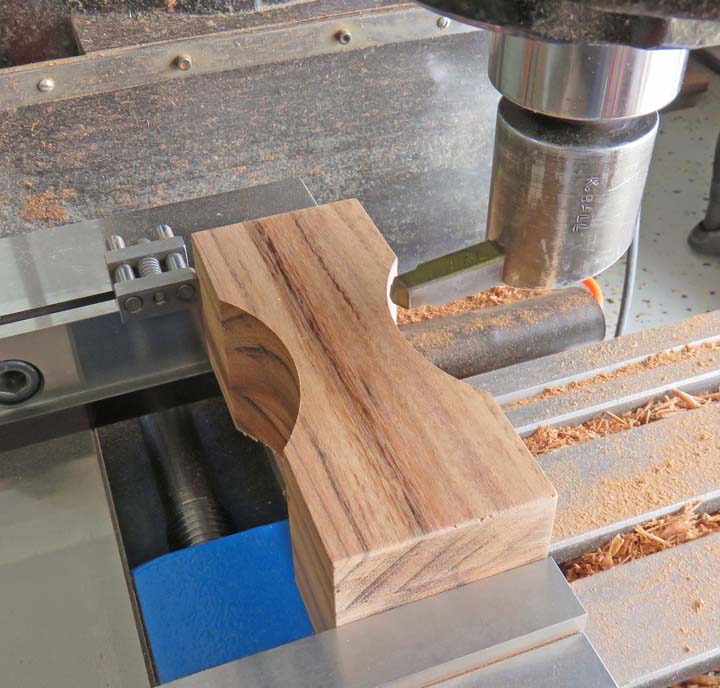
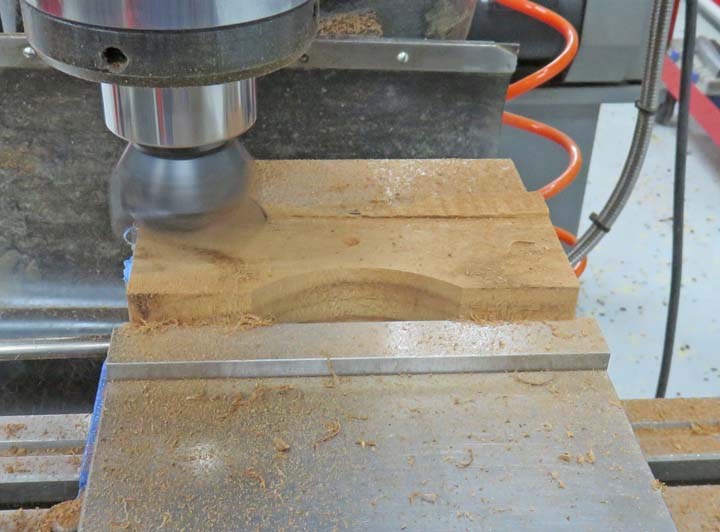
The material I'll be using here is called Goncalo Alves, 
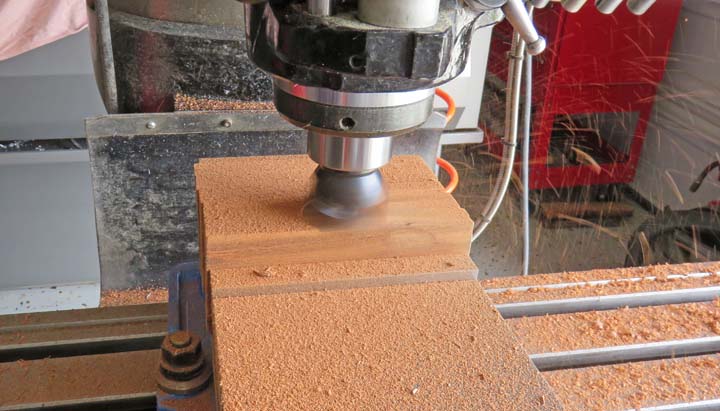
or Tigerwood for short (for obvious reasons). This will be my first time using this species of hard wood but I can tell you that it cuts and machines like most hardwoods. Come to find out, Goncalo Alves is used for a lot of different things including: flooring, veneers, furniture, instruments, pool cues, knife handles to name a few. Anyways, let's get started so you can see what it will look like.


Milling


The thickness that I bought is about 3/4" which means I'll need to glue some pieces together. And to do that I'm machining the surfaces that will be glued below.


I'm using three pieces for each Keeper with a piece of paper between each one.


Machining To Size


The next day I squared each block to the size I needed.


Next I squared the ends using a scrap piece to back it up with. This backup piece is to help prevent 'chipping' or 'splintering' of my work piece.


I'm putting in a 1.900" radius on each side. And to do that I'm using a fly-cutter with the tool that's sticking out the desired amount. Then I cut a little bit at a time which didn't take very long. This worked out pretty well and should make more sense soon.


I'll be adding a handle to the top so I drilled and reamed a 1/4" diameter hole one inch deep.


Sawing The Top Off


Once the hole was in, I cut the top off leaving enough to have a 1/2" thick lid.


I wanted each lid to stay with the appropriate base so I numbered them.


More Machining


Here I'm cutting both sawcut surfaces (lid and base) to make them flat and parallel again.


1  2  3  4