|
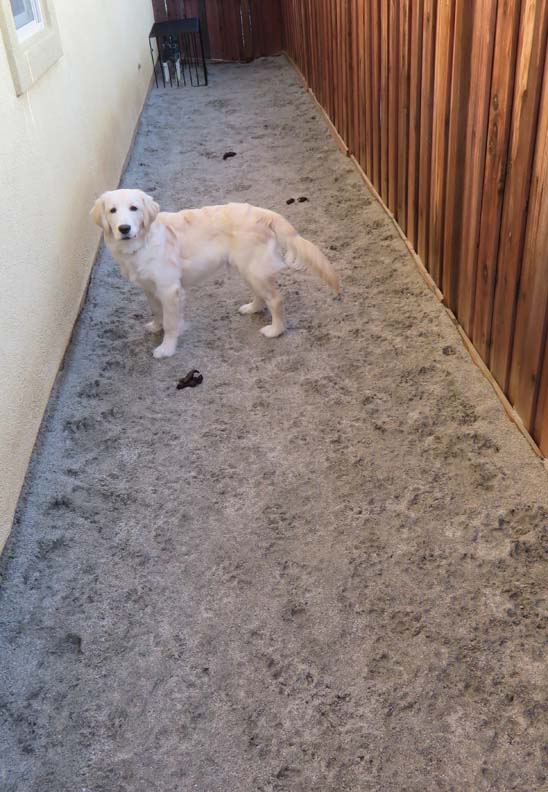
This is my dog Theo, and if this picture looks familiar
it's because I used the same one in my last post about
the sprinkler cage that I
made, which you can see in the background. Anyways, what I'm getting
ready to make this time is a Scoop that I can use to pickup after Theo
after he does his business. And as you can see, he does use this area.
Now I've been using a shovel for this, which works, but
that picks up sand as well. What I need is something that the sand will
slid through leaving me with only his poop to put into a bag.
|
|
 |
|
Theo also goes in the smaller gravel that you see on the
left side only. I think this area came about because he was using the
grass in the backyard, but we've had a lot of rain lately which has
flooded his normal areas back their. So I thought if I made something
that would work with this area, then it would work in the sand and grass
as well.
|
|
 |
|
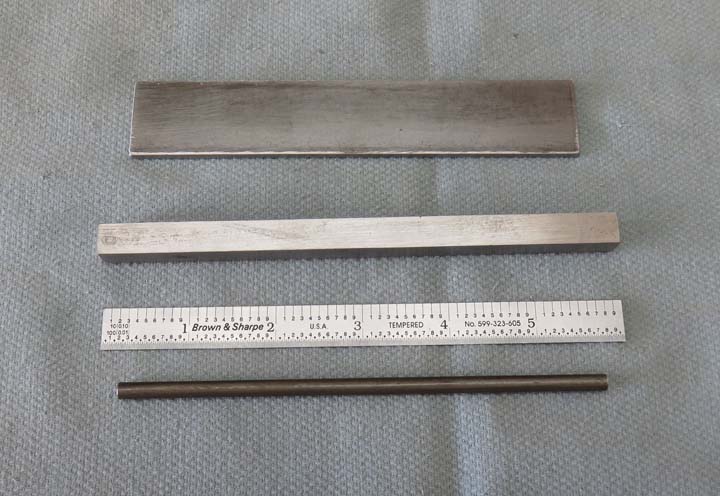
Working With Metal
Here you can see three piece of steel of various types.
At the top is mild steel that is 1.0" wide X 5.0" long X 1/8" thick.
Below that is some 3/8" X 3/8" X 6.0" long key stock, and at the bottom
is some 3/16" mild steel round bar that I'll be using nine pieces for
this project, which will act as tines.
|
|
 |
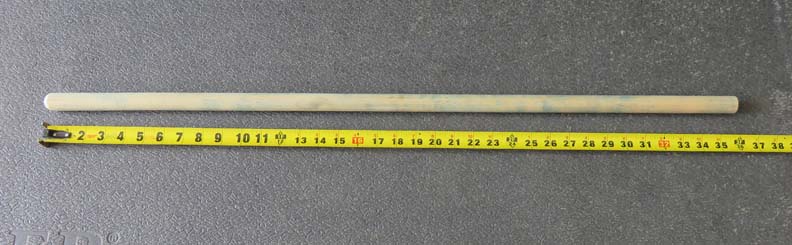
I happen to have a three foot piece of wooden broom handle that should
work perfect for this.
|
|
 |
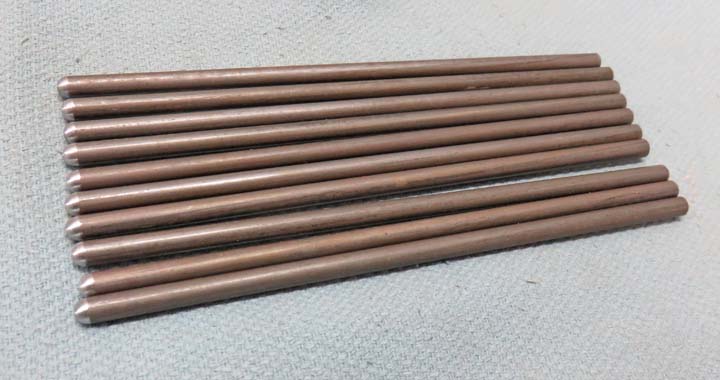
After cutting all the tines to length I gave one end a full radius using
my belt sander.
|
|
 |
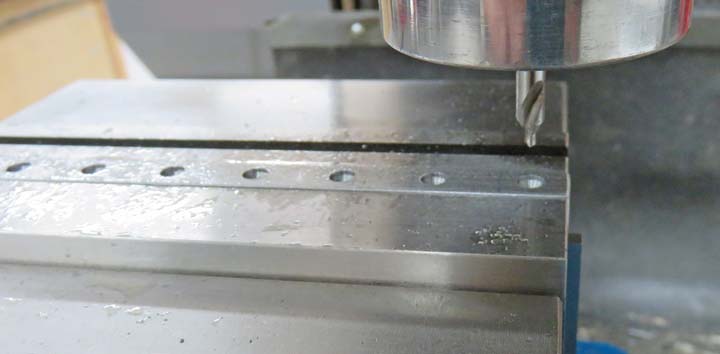
Next I needed to put some holes in my 3/8" key stock for the round bar
to locate in. Here I'm using a center drill that I'm going .220" deep
spaced .6875" (11/16) apart.
|
|
 |
|
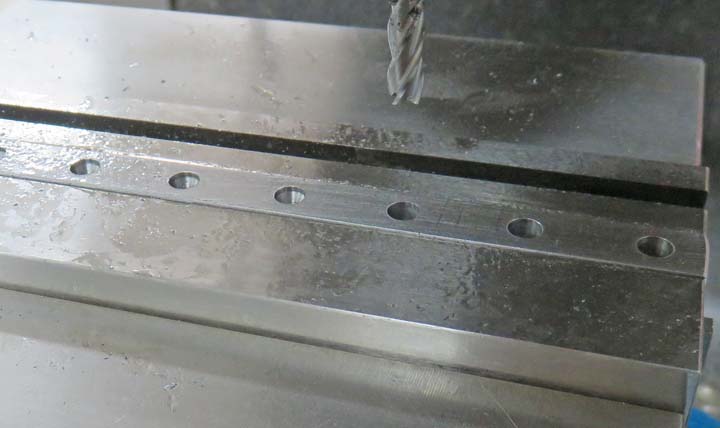
I then switched to a 3/16" end mill and went .200" deep
to locate each round piece. Now you might ask, "why did you use a center
dill if you're using an end mill because end mills are extremely solid
and stable"? The reason is because an endmill will cut slightly oversize
if used all by it's self. But if you remove some material first (like I
did with the center drill), then the end mill cuts to size.
Below you can see the difference of before and after
using a center drill and end mill.
|
|
 |
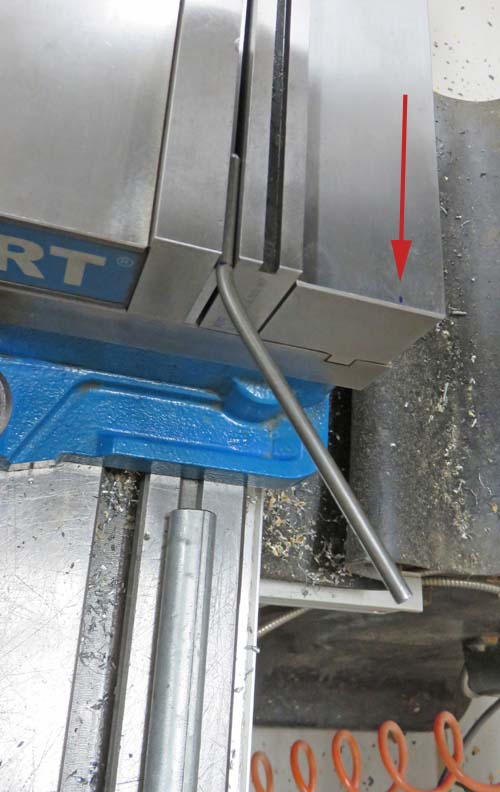
Next it was time to bend the tines to aid in picking up poop. I used a
combination square along with the blue mark on my vise (arrow) for
reference while bending.
|
|
 |
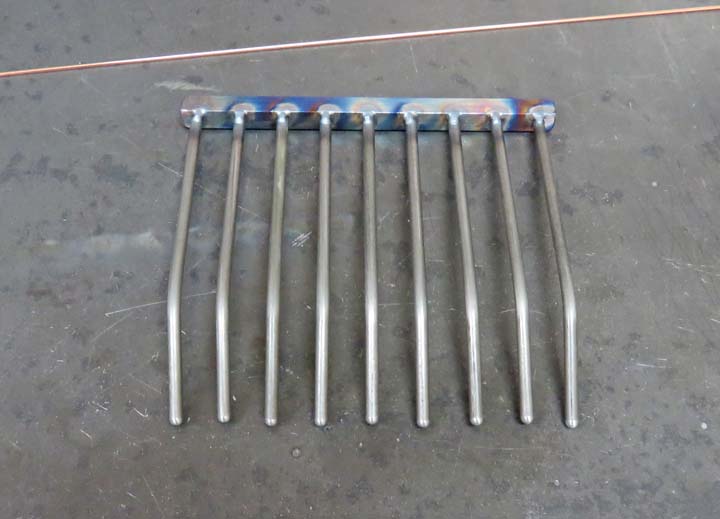
There we are, and now it's time to do some welding.
|
|
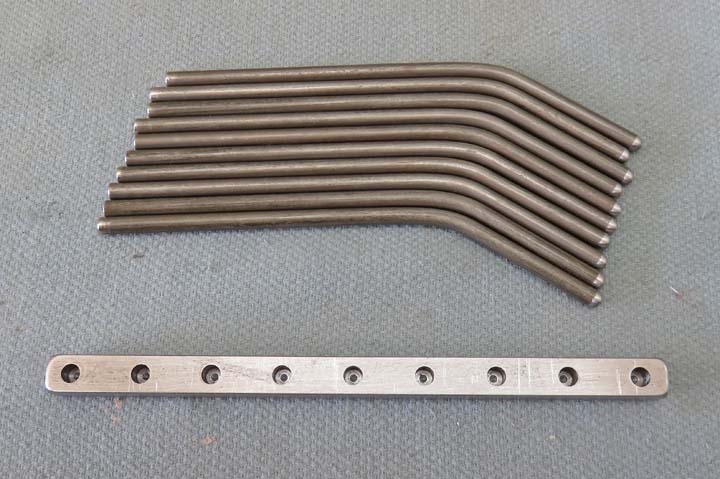 |
I tacked each tine on the backside only. This way it should like nice on
the frontside.
|
|
 |
|
1
2 |