|
Tracey's Turn to Build Continued
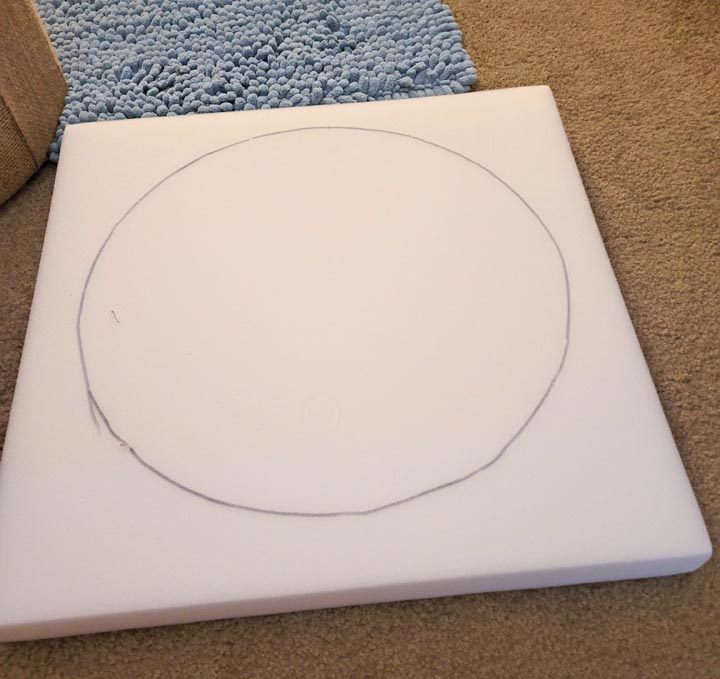
I placed the ottoman on top of the foam and traced around it to get
the appropriate size. It didn’t need to be exact because it was going to
be covered up.
|
|
 |
|
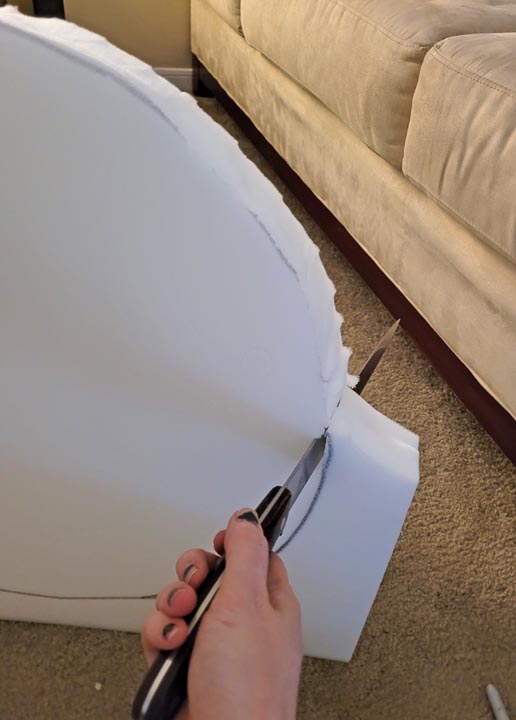
Now that I have my circle, it was time to cut it out.
However, this turned out to be a real pain because I don’t have the
appropriate tools for cutting thick foam. Normally they suggest using a
hot wire cutter as it slices through the foam like a warm knife in
butter, so I had to improvise. I started by cutting the first inch of
foam with an Exacto knife, then finished it off with a giant sharp
kitchen knife. It was rough around the edges, but it got the job done!
Now that I have my two pieces cut out, I can place the
topper onto the wood and start working on the outside. Lets see how I
did:
|
|
 |
Not too bad for wonky tools!
|
|
 |
|
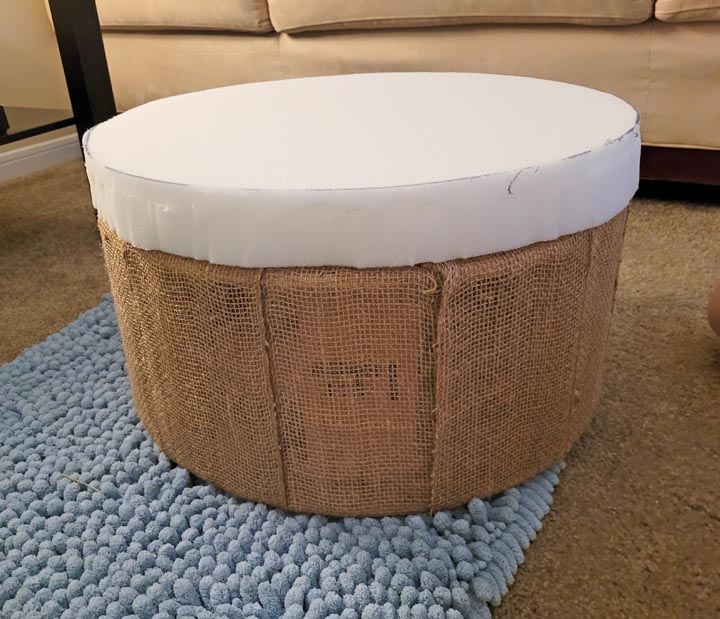
Next up is the sewing part. My plan is to do this in two
steps: one outside layer to hold it all together and add a little more
support to the outside, and then my printed fabric for the finishing
look. I wanted to use products I already own because I have a mini craft
store in my small apartment. I settled with 'quilting batting' because I
had a ton leftover and it proved to work quite well. It’s sturdy but
soft and has a clinging aspect to it that won’t allow my finishing
fabric to feel like it’s slipping around on the outside. I measured out
a circle of 18” with 1/4" seam allowance and a 60”x14” piece for the
sides and sewed them together. I did forget to snap pictures of that,
but once I had them sewn together, I placed it over the top of the two
pieces, flipped it over, and pulled it tight with my hands.
|
|
 |
|
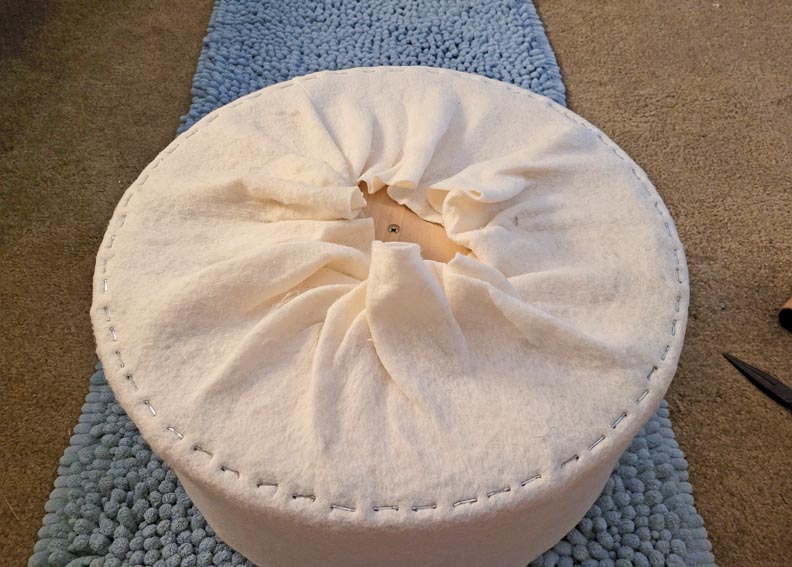
Working my way around, I pulled it nice and tight and
stapled the batting to the bottom of the wood. My staple gun isn’t super
powerful and the plywood is extremely hard, so I had to finish the
staples by pounding them in with a hammer. There is a lot of excess
fabric, which was planned so I had something to grip and pull tight.
Then I trimmed it to the right size.
|
|
 |
Much better.
|
|
 |
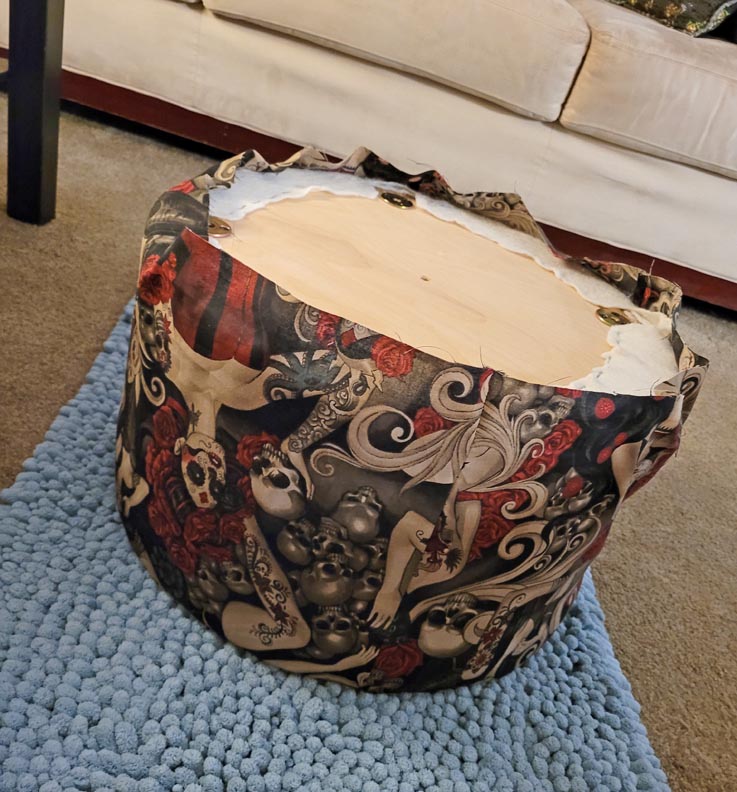
Now lets flip it over and take a look at it from the top.
|
|
 |
|
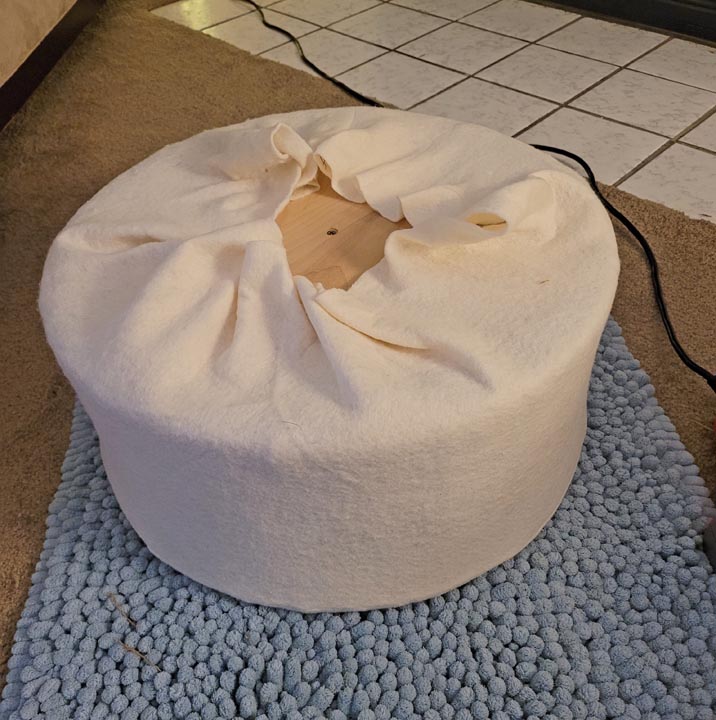
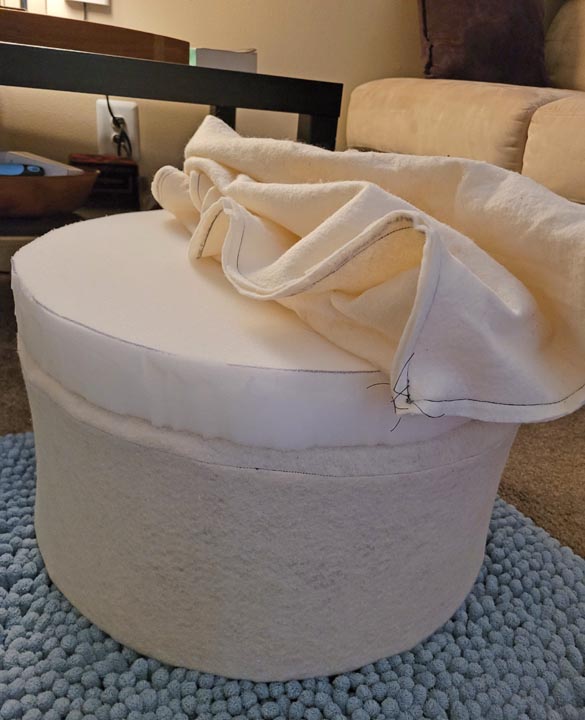
It was in this moment that I felt a deep shocking pain.
I realized I forgot to do something very critical and important.... and
there was no going back and re-doing it...
I forgot to put the foam piece inside the batting before I closed it all
together!
Instead of trying to pry all 40 staples from the bottom and starting
over, I decided it was easier to just make another outside layer from
the batting. It can’t hurt anything and it will add a little more
stability to the sides, so begrudgingly I cut more batting and sewed
together another layer. What a noob.
|
|
 |
|
Once I finished that and got it attached to the bottom,
it was time for the fun part of choosing a pretty finishing fabric for
the outside. I decided to go with something a little abstract so it
didn’t scream ‘bought in a store’ with polka dots or stripes.
I cut out the same sizes as above, sewed together two pieces, placed it on
the outside, pulled it around, flipped it over, stapled this layer to
the bottom and cut away the excess fabric. I made sure to cut around the
brackets on the bottom where the feet will screw into as well.
|
|
 |
|
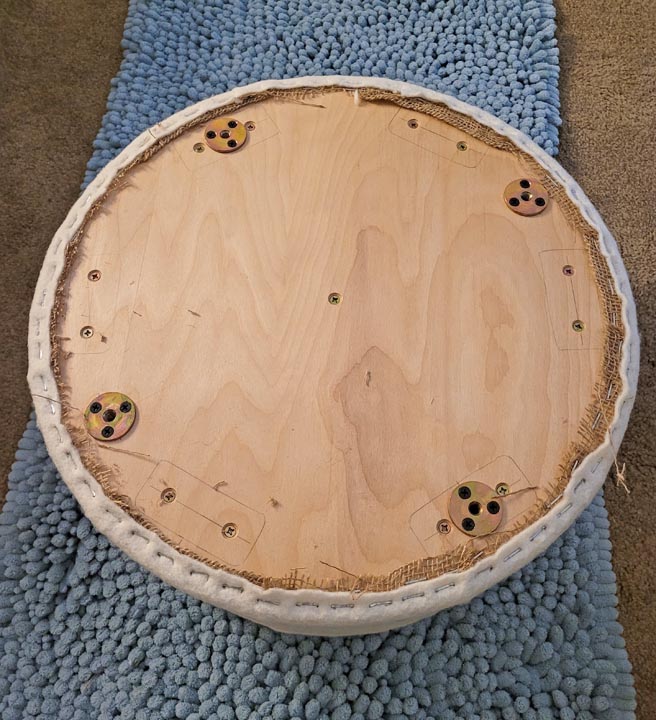
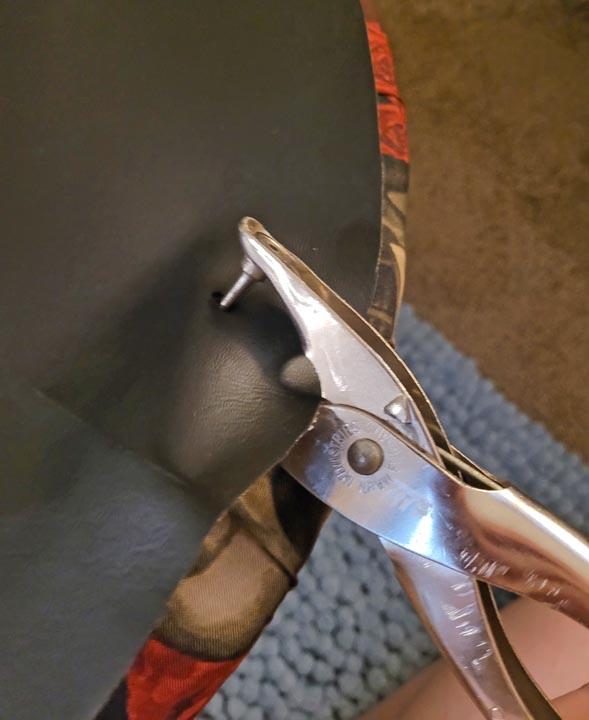
The final step is adding a layer to the bottom to cover
all my staples. I had some upholstery fabric laying around from when I
worked at a shop and decided that would be perfect. I cut out the size,
about an inch or so smaller than the ottoman diameter and lined it up on
the bottom.
Since it was covering the holes for the feet, I had to make sure I
provided new holes for the screws to pass through. I measured where the
holes should be and used a puncture tool to create the hole in the faux
leather piece.
|
|
 |
|
1
2
3
4 |