|
Building an Ottoman Continued
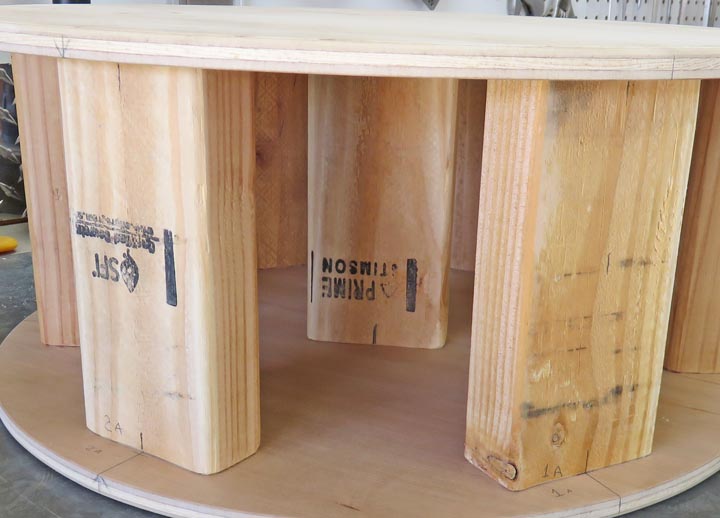
Just in case someone wants to stand in the middle, I added on more
support. Did it really need one? No, but I cut seven so there it is.
|
|
 |
|
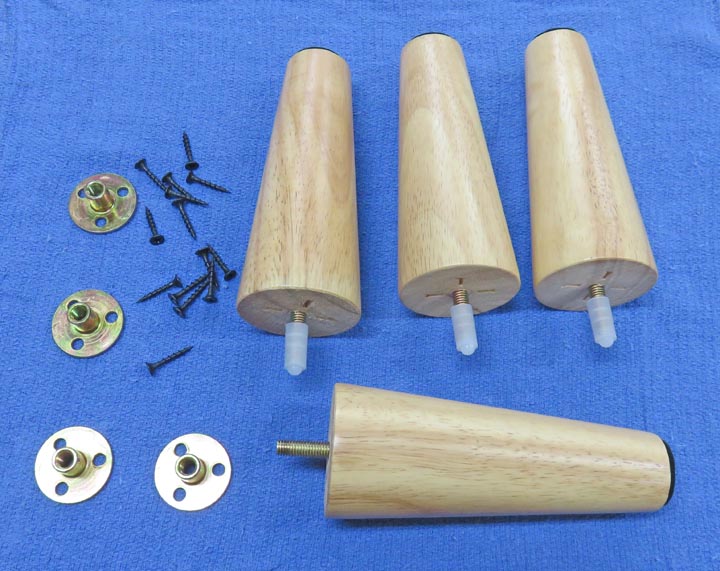
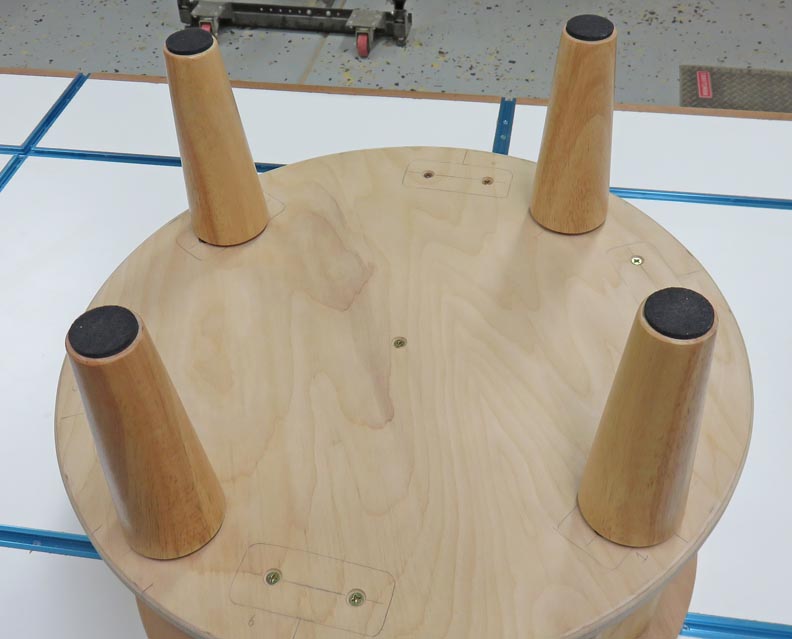
I bought a set of six inch long legs which came with all the
hardware. And once I looked at everything, I was impressed. The only thing I
have to do is drill a 1/2" hole for the threaded fasteners to go through
(the four pieces on the left)
and that's about it.
|
|
 |
I laid out four spots equally spaced and placed two of them
under some 2 X 4's.
|
|
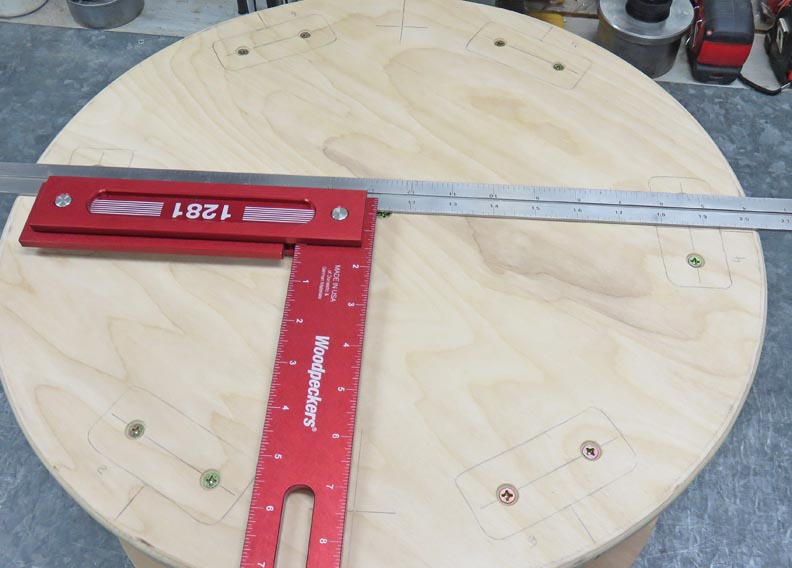 |
This way all the one inch screws will have solid wood to hold onto.
|
|
 |
For the other two legs, I glued on some 1/2" blocks of oak. This way I know
the screws will hold good.
|
|
 |
|
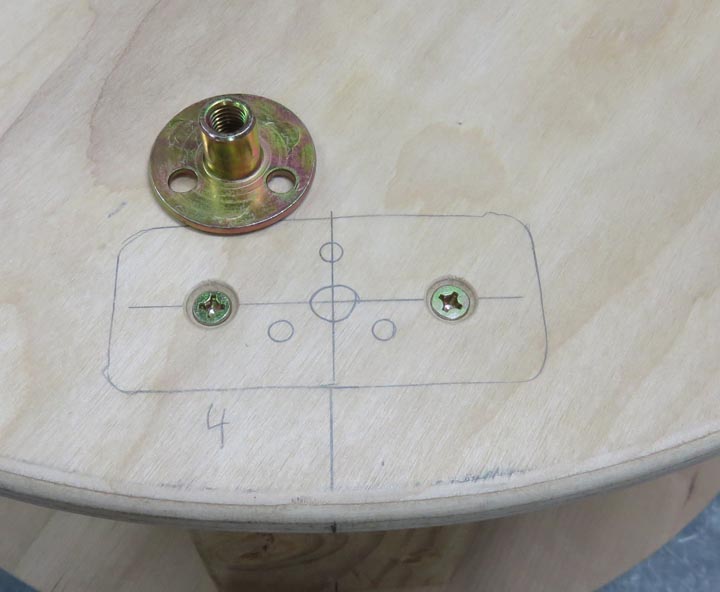
One thing I did run into on the mounting plates, the
countersinks were not deep enough. This was an easy fix and it only took
a few minutes. Now all the screws are below the surface so the legs will
sit flat.
|
|
 |
|
And there we go, my part is finished, so now it's
Tracey's turn to get to work. We talked about me sending her all
this but we decided to wait because she's coming out to visit her family
in mid August. When she gets here I'll have her take it apart, pack it up
and take it back with her in a large suitcase.
When she gets home she'll have a good idea of how it
goes back together. Now I wait for her to send me some progress
pictures.
|
|
 |
|
Tracey's Turn to Build 8/30/2021
From this point on, my daughter will be doing the writing and
picture taking from Ohio. Also, note the date now.
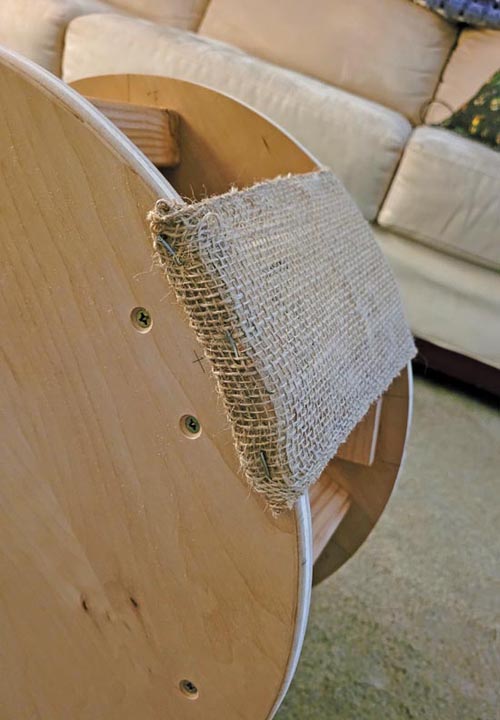
I started with some burlap and stapled pieces to the top
and bottom of the ottoman. It’s about 6” wide so I measured the
circumference and determined I needed 11 pieces at 14” long. It seems
longer than necessary because it's folded over the top and bottom to ensure
the staples holds properly in the material. Burlap stretches a bit and
there is a lot of space between the threads, so doubling up gave it a
nice solid hold instead of a loose one.
|
|
 |
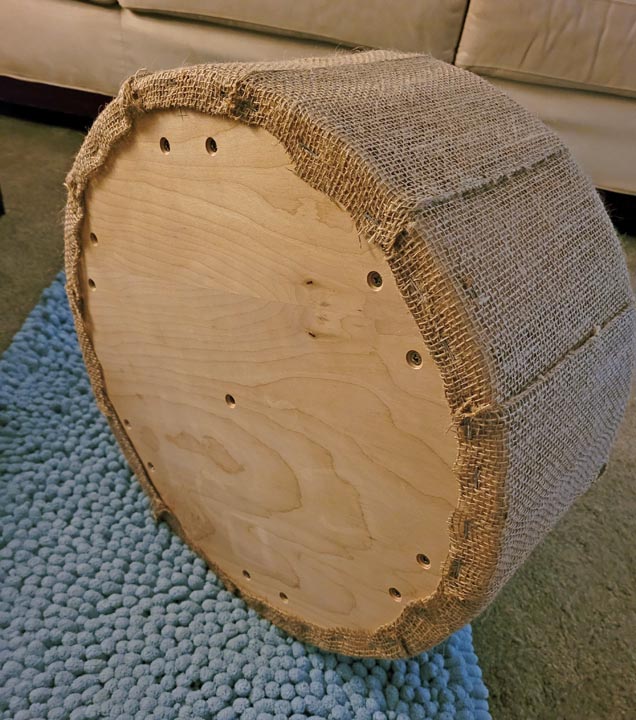
I cut all my pieces and finished wrapping it around the outside, pulling
it tight to give the sides a little extra stability and structure.
|
|
 |
|
Once that part was finished, I needed to cut the foam to
fit on the top. This adds a layer of comfort so my feet won’t be resting
on the hard wood. I went with some 2” thick foam, but it only
came in a 22x22 size. There was a pre-cut circle but it was only 16” so I was
left having to use the larger stuff.
|
|
 |
|
1
2
3
4 |