|
Working With Metal Continued
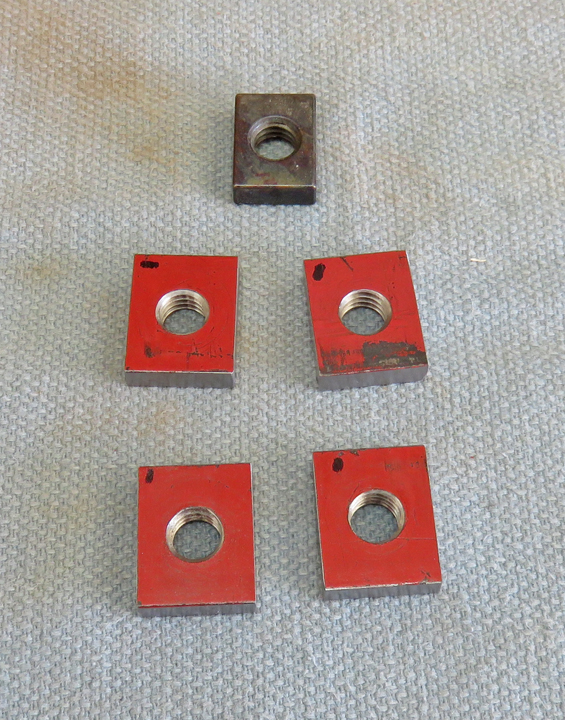
Both of our saws have a pocket on the backside for a nut
to reside. However, this pocket isn't meant for a normal size 3/8" nut,
it's made for a square or rectangular style of nut like you see below.
Now I only had one of these nuts on my saw and I made the other out of
aluminum many years ago (quick and dirty). Anyways, I'm going to make four of these nuts
for this project out of this scrap piece of 3/16" steel.
|
|
 |
|
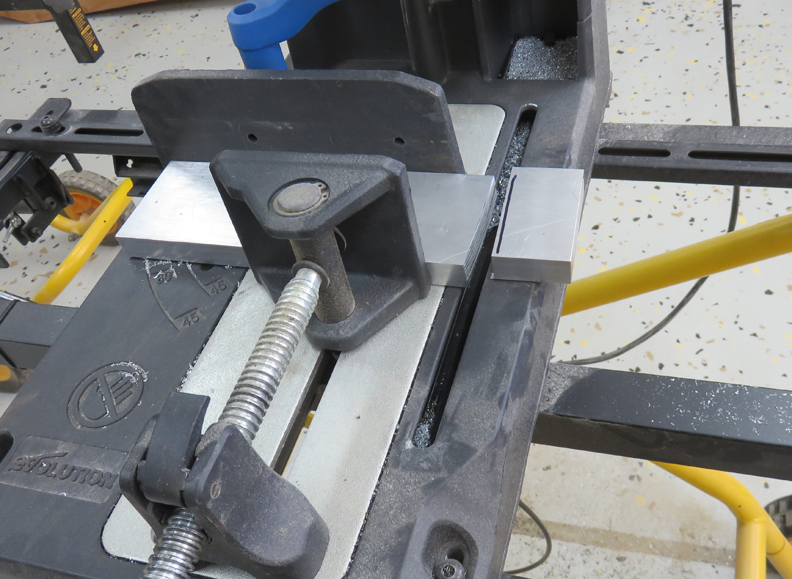
First I cut my work pieces to .700" long and then
I'll
machine them to a length of 5/8". Notice the work stop I'm using on
my metal cutting saw. It's a magnetic base with a 1/4" rod to locate my
work piece with. This worked out pretty good so I'm going to leave this
magnetic base attached to the saw for future use.
|
|
 |
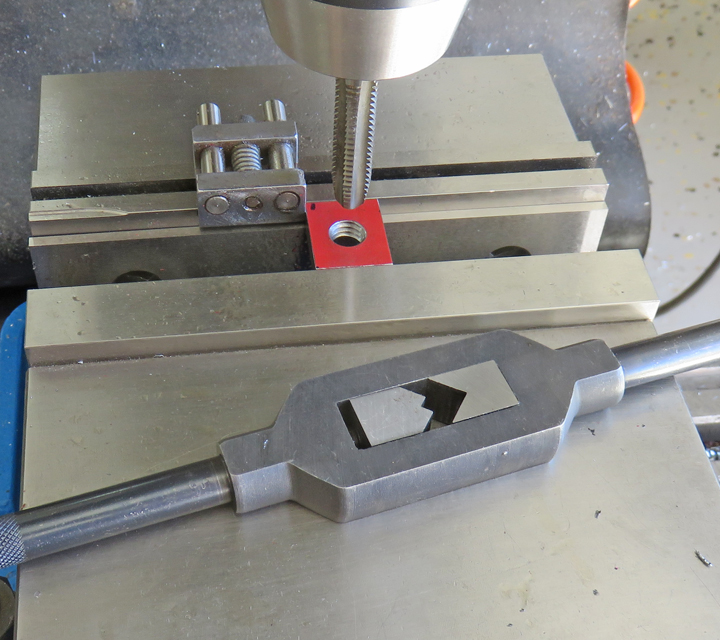
After machining the length and width, I drilled and tapped some 3/8-16
threads in them.
|
|
 |
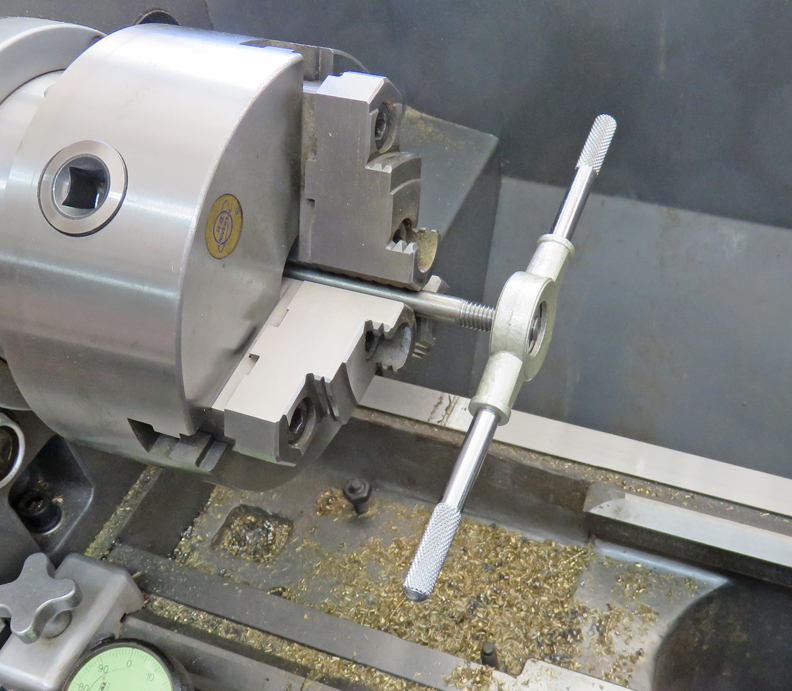
This didn't take long and now I'm ready to work on the 3/8" diameter threaded pieces
that will attach to these nuts.
|
|
 |
I cut two pieces of the 303 stainless steel to 7" long and then threaded
one end on each piece. I also cut a piece to 18" long of the same material
for the longer part of the work stop.
|
|
 |
Here I'm cutting a piece of aluminum that will be have 3/8" holes in it
for the rods to side in. I'm calling this piece the 'Main Block'.
|
|
 |
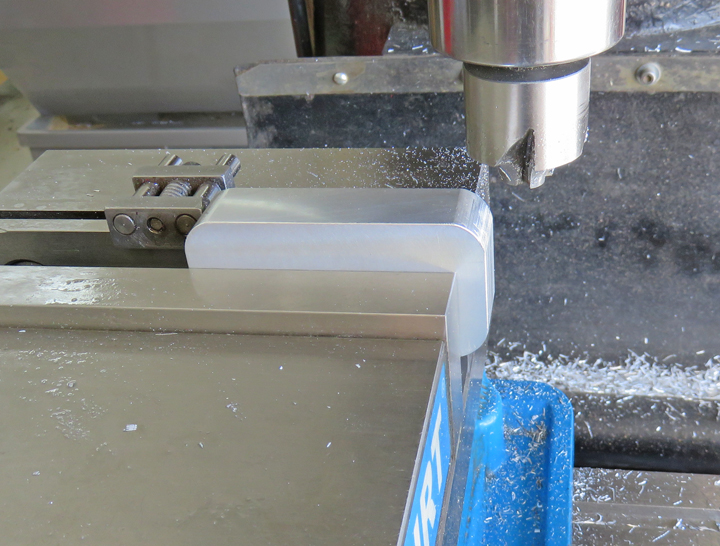
Here I'm machining the aluminum main block square, which is 3" X 1 1/2"
X 3/4".
|
|
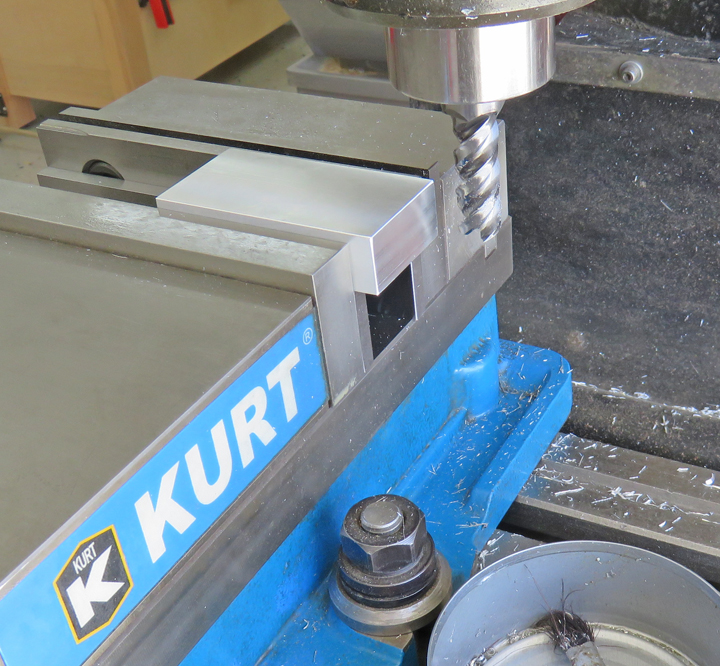 |
Next I put a 3/16 radius on each corner using a corner rounding end
mill.
|
|
 |
|
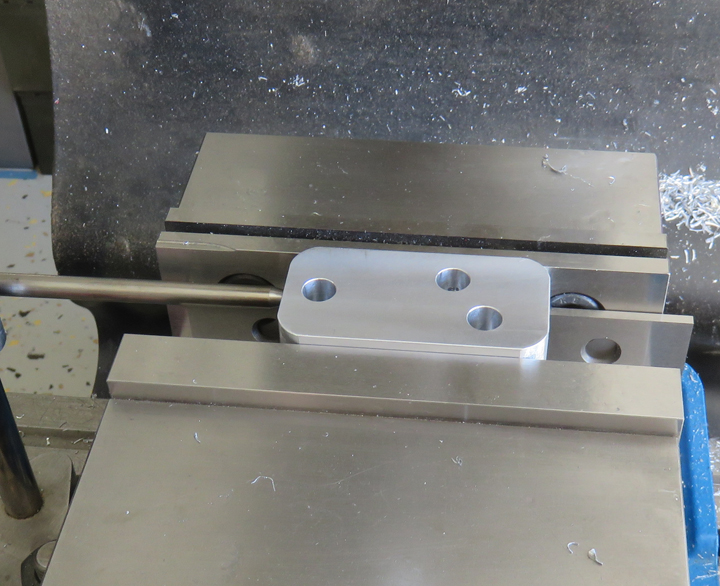
I made a small upgrade to Matt's work stop compared to
mine. Matt's will have three holes in place of only two that mine has.
The reason for this is because every now and then I would've liked to
have my work stop right next to the miter saw deck and fence for thinner
and/or smaller material. By adding this extra hole in a different location
that I have should solve this problem.
|
|
 |
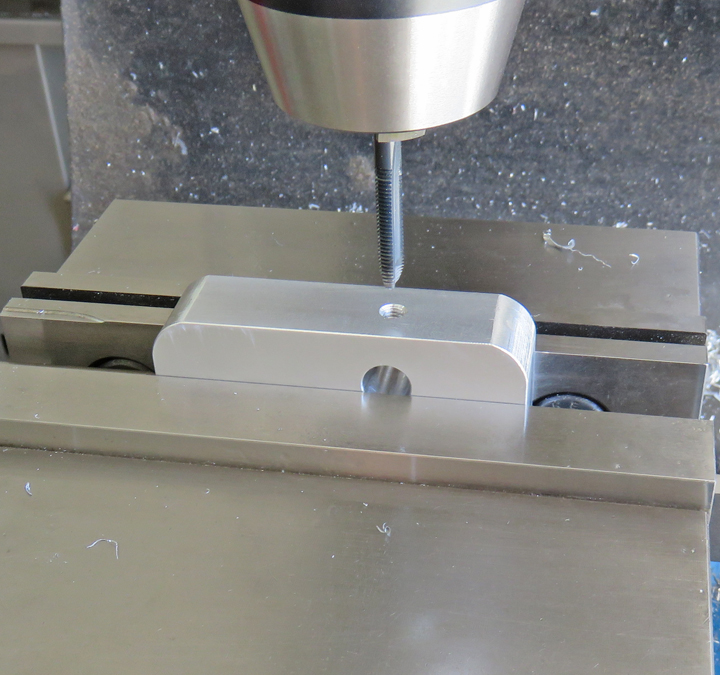
Here I'm tapping some 10-32 threads for a thumbscrew. I did this for all
three holes.
|
|
 |
|
1
2
3 |