|
This project came about from working at my daughter's
Escape
Room business a few weeks ago. While my son-in-law Matt, and I were working
together I saw him cutting multiple pieces on the tablesaw, which
would've been much easier on his miter saw. Then it hit me, I should make him a work-stop
like I did for my miter saw.
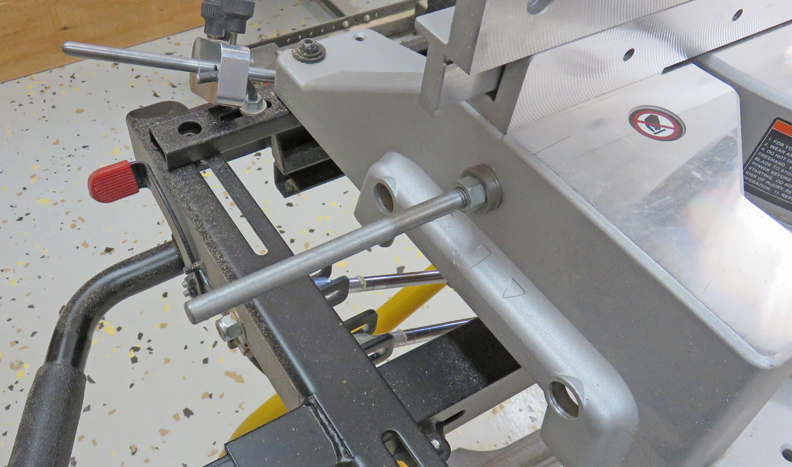
What you see below is my miter saw, and if you look
close you can see that I've added a 3/8" diameter rod to the left side of it
(there is another rod on the right side as well).
This is one part of the saw stop that I made awhile back. The other part
of it is hanging towards the back so it's always close by when I'm not
using it.
|
|
 |
|
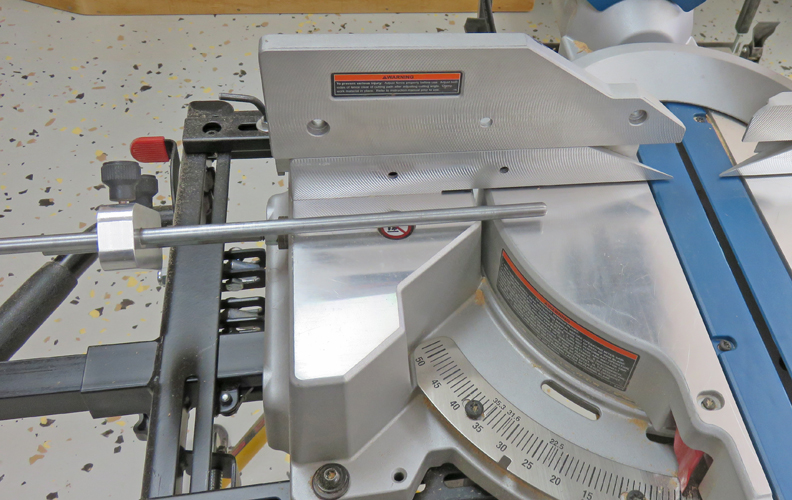
Here is the miter saw stop in position and ready to use.
It's fully adjustable, works from either side of the saw, is very easy to setup and works
really good. This is
what I'll be making for Matt, which should make his life easier when
he's cutting a few pieces of the same length.
|
|
 |
|
Working With Metal
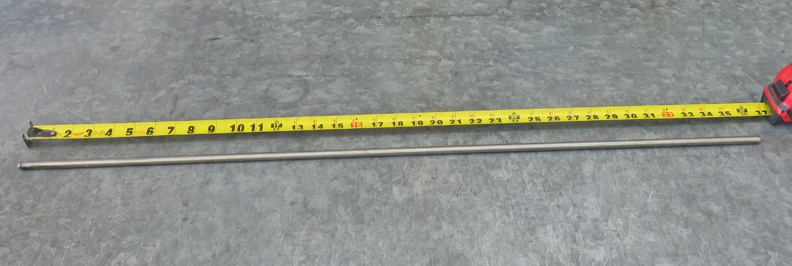
I bought a three feet piece of 303 Stainless Steel for this work stop,
which has very good corrosion resistance and should last a long time.
The diameter is 3/8".
|
|
 |
These are parts on my work stop, which I'll be making for Matt's saw.
|
|
 |
|
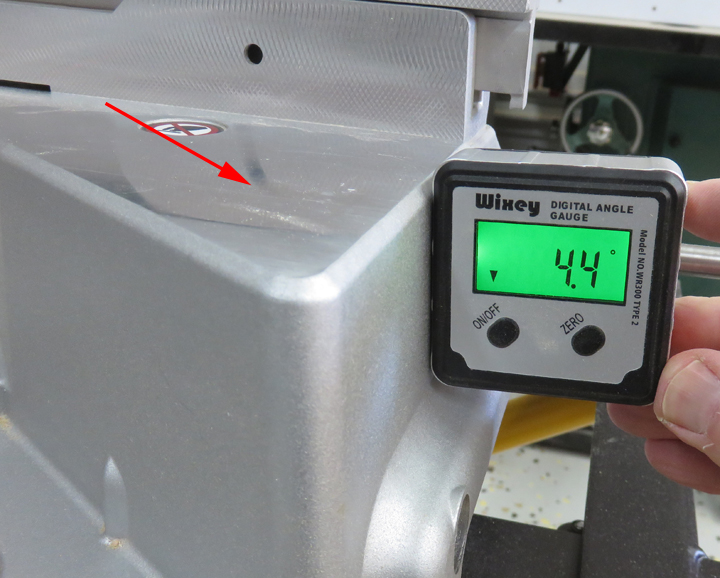
I'm checking the angle on the side of my miter saw
because I'll be making some angle-shims with a hole in the middle so the
threaded piece will end up parallel to the deck of the saw. Even though
my saw is made by a different manufacture than my son-in-law's, I think
the angles should be the same.
I set my angle gauge to zero on the deck of my saw first
(arrow). Then I checked the, which was about 4 1/2
degrees from the deck. This angle is very common in aluminum castings because it
helps release and eject the piece from the mold after the aluminum has
been poured. Now that I know what
angle I need, it's time to make some shims.
|
|
 |
|
I'm using aluminum for the shims which should work great for this. Why
do I have four pieces? Because I'm making two for myself while I'm here.
You see, the way I put my work stop together was to use conical washers,
which worked but they're not the greatest. Once I'm finished with these, our saws will look and work the
same.
|
|
 |
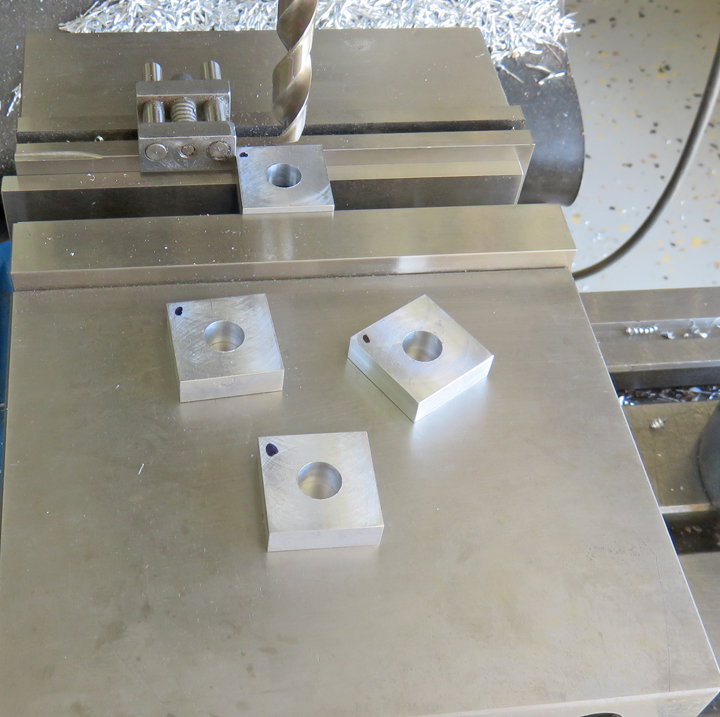
After squaring all my pieces, I put in a clearance hole for the 3/8"
threaded rod.
|
|
 |
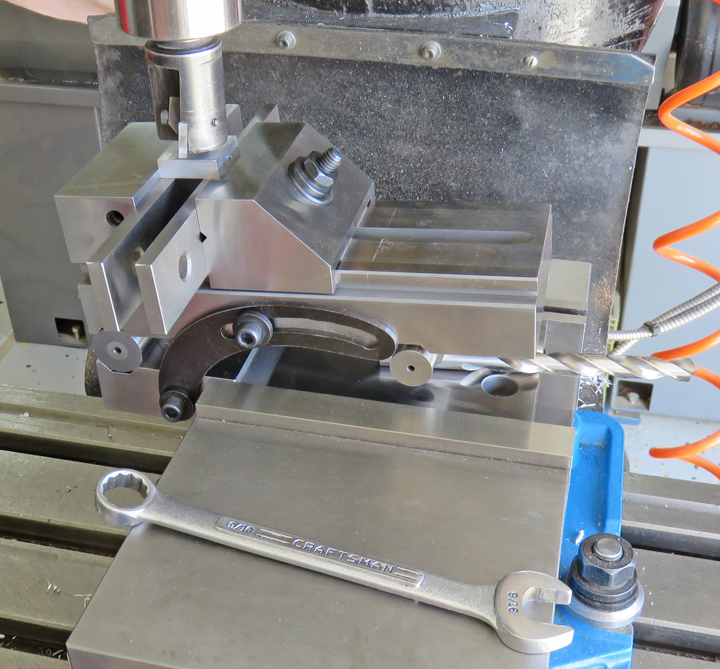
Here I'm cutting a 4 1/2 degree on all of my shims using my sine vise.
|
|
 |
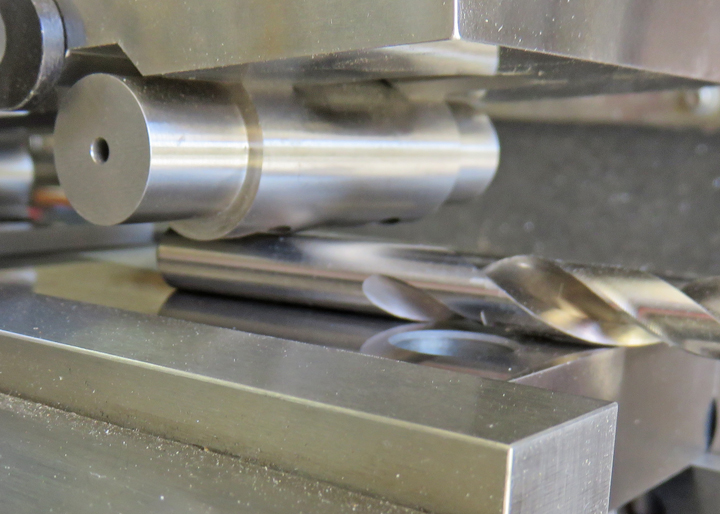
The size of the shim needed for my 4 1/2 degree was very close to this
drill size, so I used it for my setup. Quick and easy!
|
|
 |
|
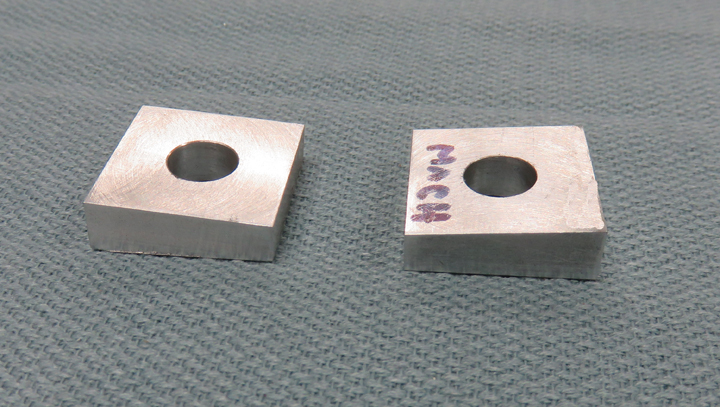
Here are the finished angled shims. The reason I'm only showing you two
of them is because I've already installed the other two on my saw. I
also put a note on each piece that needs to face the side of the saw.
|
|
 |
|
1
2
3 |