|
Features Continued
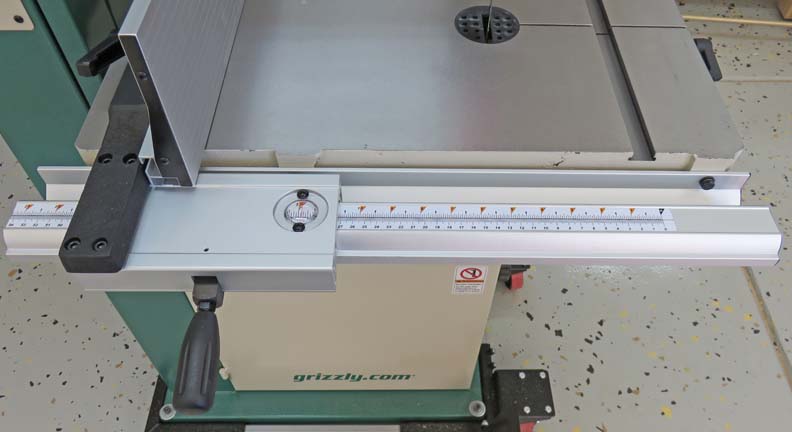
This saw also has a very good fence system. First, the scale is very
easy to read and locks in place with that handle. Second, here you can
see the fence in the upright position but it's easy to change to the
lower position.
|
|
|
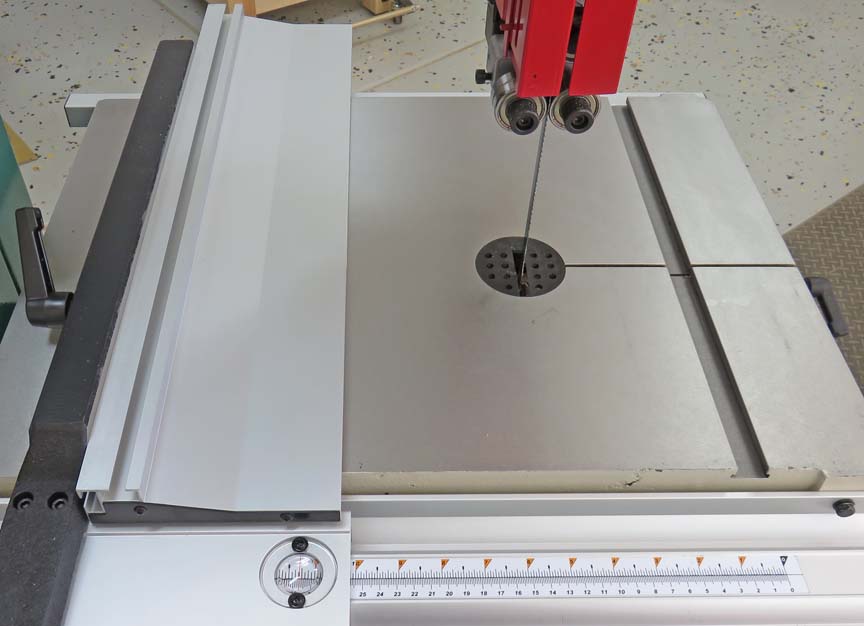
To change the fence to the lower profile you just move
that lever on the left, pull the fence out, turn it 90 degrees and slide
it back on. The fence system works on a T-track making it very easy to
switch between one or the other.
|
|
 |
|
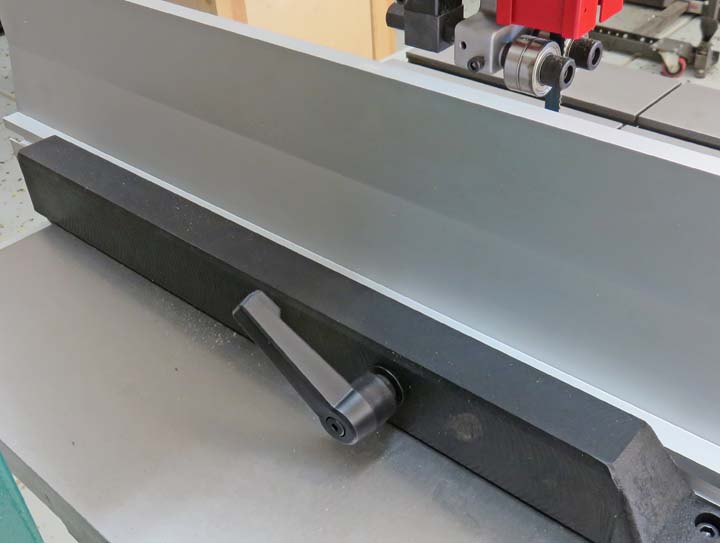
Here is the lever that you loosen for the fence. This
handle is spring loaded meaning you can pull on it, move it to another
position and then let it click in allowing you to loosen or tighten as
you need. I like it!!
|
|
 |
|
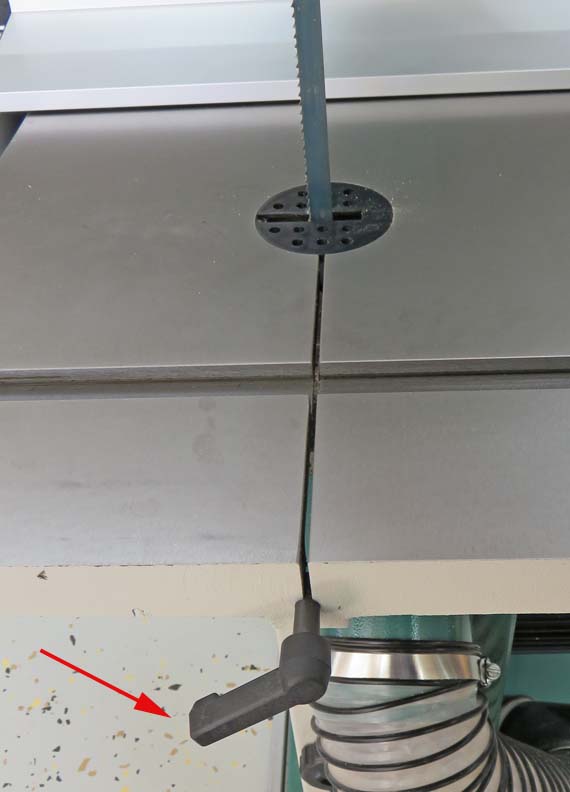
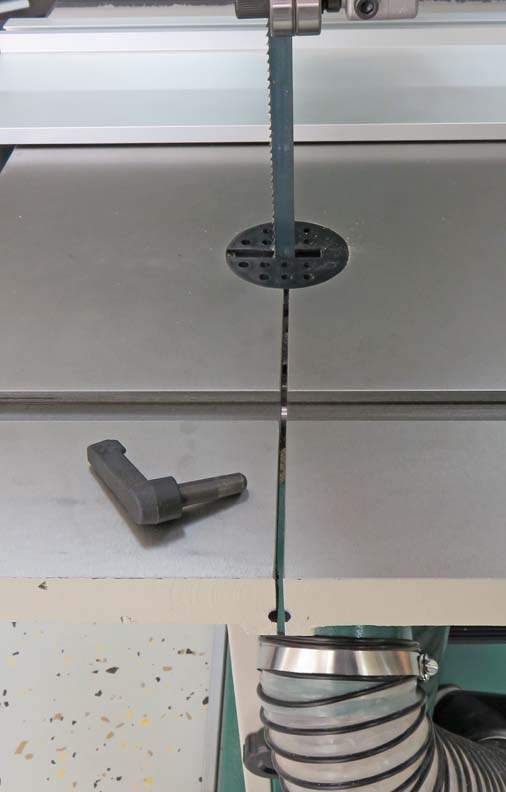
To change blades, you pulled out that tapered pin with
the small handle on it (arrow), loosen the blade, remove the plastic
blade guard and then slide the blade out using the slot in the table.
|
|
 |
|
The reason the tapered pin is to make sure the
cast iron table stays in alignment. This is common practice because when
the table was ground at the factory, it was nice and flat. But when you
cut a slot in it (for the blade in this case), it releases stress within
the material allowing it to move. However, when you insert that pin into
the hole, the table is aligned again.
|
|
 |
|
Modifications
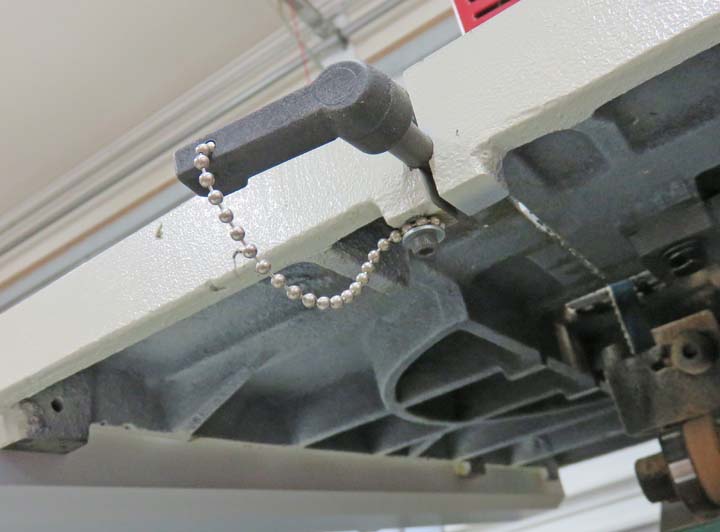
I added a small chain to the tapered pin so I won't
loose it. I drilled and tapped a 8-32 thread under the cast iron table,
hooked the chain to the screw, then drilled a hole through the handle
and fastened the chain to it. This way it will be right at my finger
tips whenever I need it.
|
|
 |
|
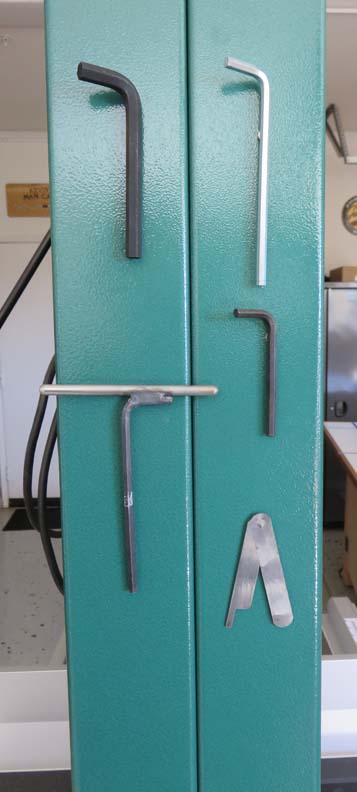
I used some magnets to hold some of the tools which is
located on the back. To adjust the guild rollers on the bottom, I made a
custom T-handle wrench (bottom left) that will work much better than the one that came
with the machine. Also, notice the feeler gages on the bottom. These are
to set clearance on the guild rollers, one is for the rear and the other
is for the sides.
|
|
 |
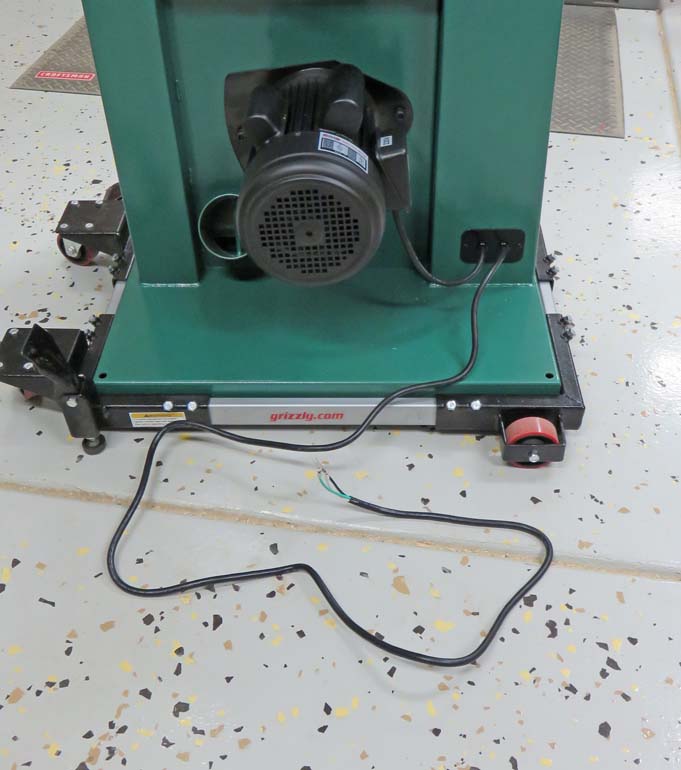
The electrical cord that came with the machine was too short so I
thought I'd replace it with a longer one.
|
|
 |
I removed the switch panel and removed the original wire.
|
|
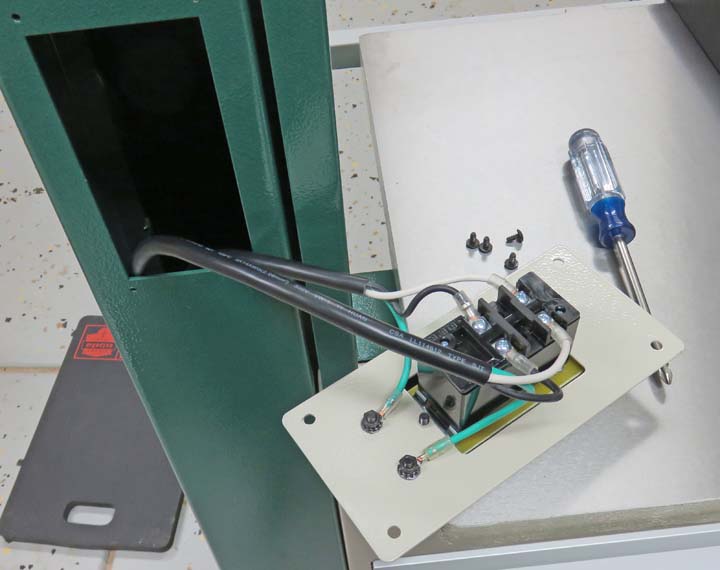 |
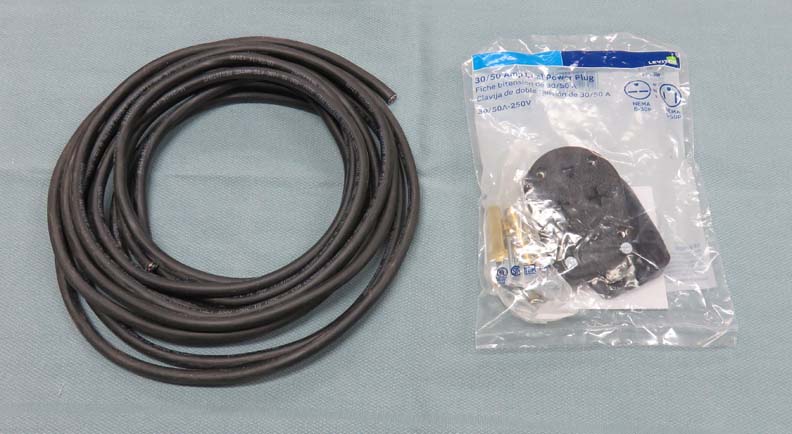
I took a trip to the hardware store and bought about 20 feet of wire and
a plug.
|
|
 |
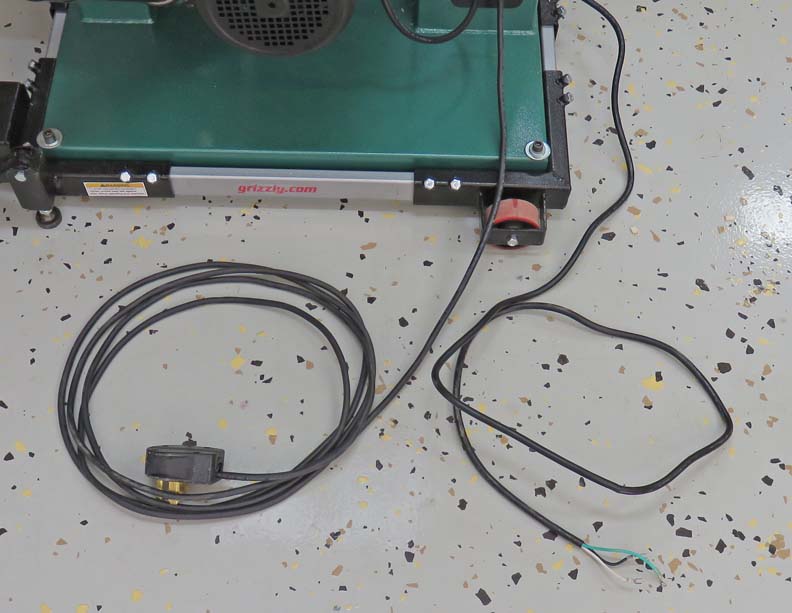
This modification only took a few minutes and didn't cost much either.
And now I can plug the saw in while it's in the middle of the garage.
What a difference!
|
|
 |
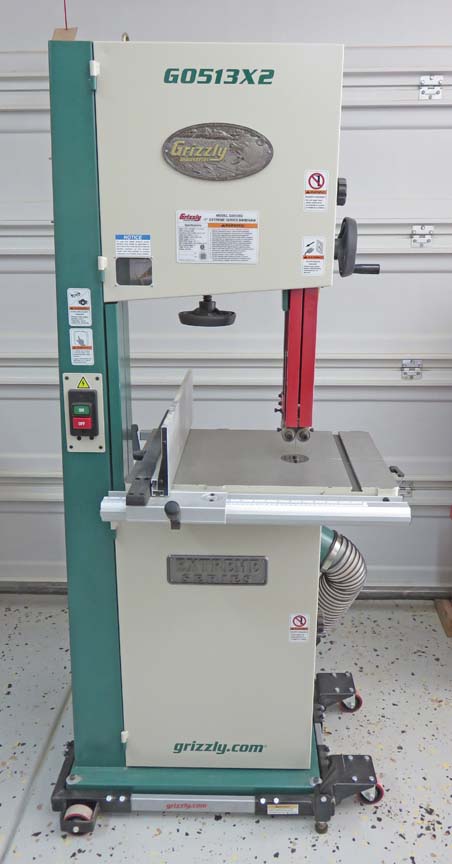
This saw works really good and runs very smooth without any vibration
and my only regret is that I should've bought it many years ago.
|
 |
|
1
2
3
4 |