|
Assembly Continued
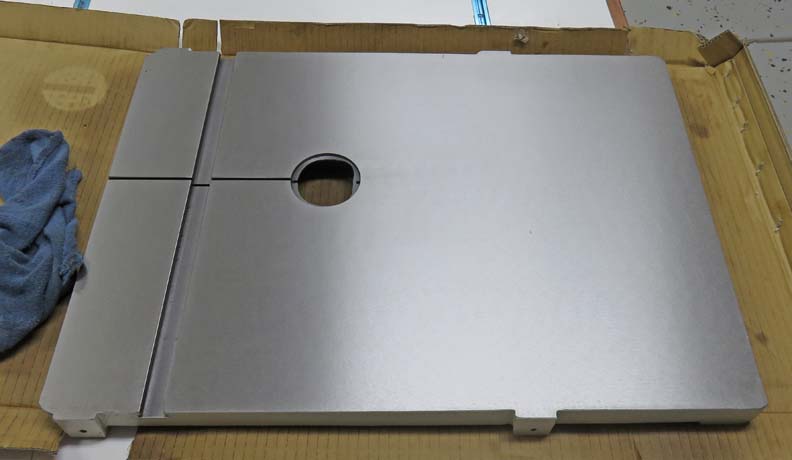
Here is the cast iron table that looks really nice. The table also has a
miter slot and a small slit for changing the blade. But before I install
the table I'm going to put the saw on a mobile base.
|
|
 |
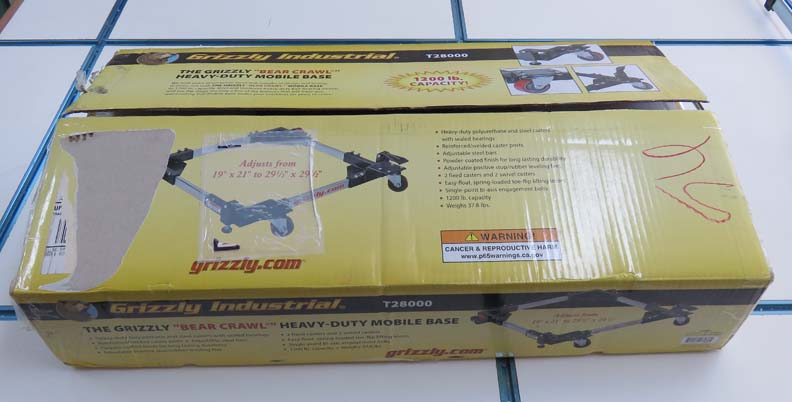
This mobile base should look familiar
because it's the same one I have on my table saw and planer. Grizzly
makes many different models but I'm going with what I know works.
|
|
 |
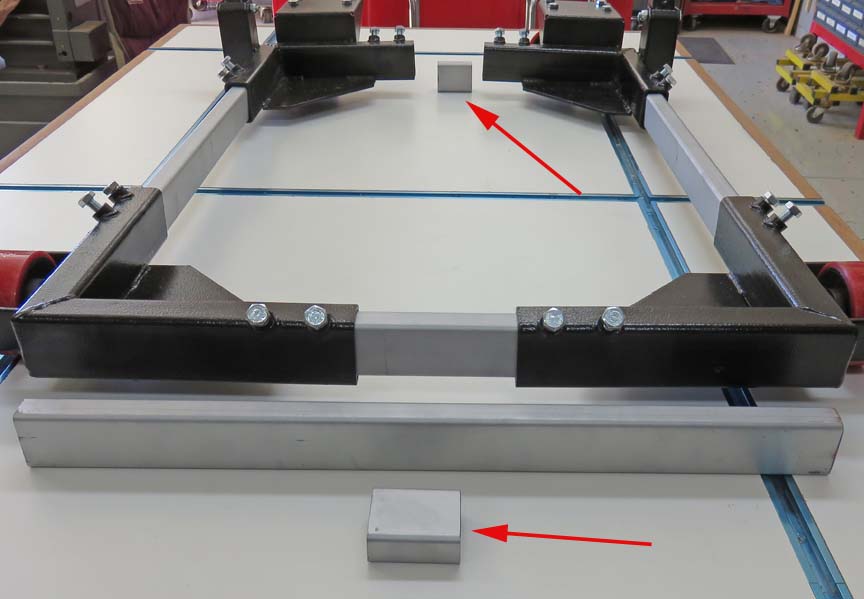
I had to cut a small 3" piece out of each end (arrows) because this base was too
wide for a bandsaw. However, I knew I had to modify this before I bought
it and it only took a few minutes.
|
|
 |
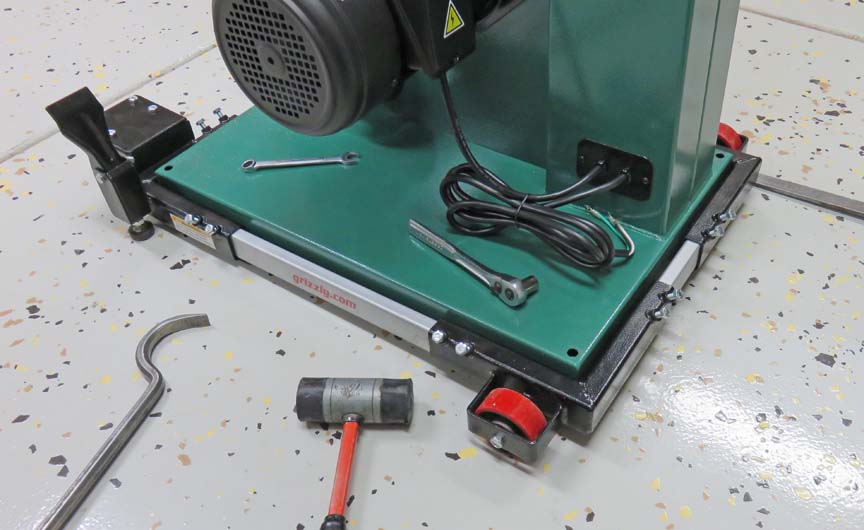
Here I've got the mobile base under my bandsaw. Now it's time to bolt it
down because bandsaws are very top heavy.
|
|
 |
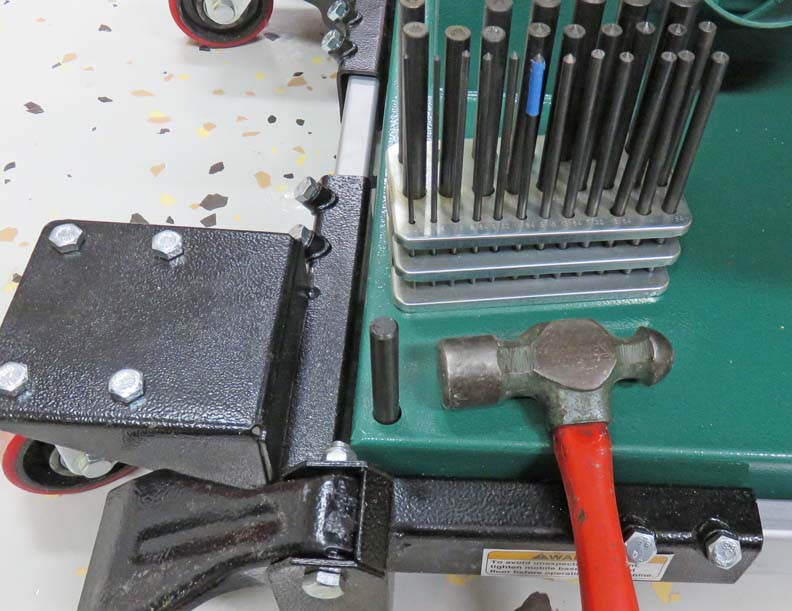
I'm going to use the holes that are in the base of the bandsaw for
attaching to my mobile base. Here I'm using my transfer punches to aid in
putting my holes in the right spot.
|
|
 |
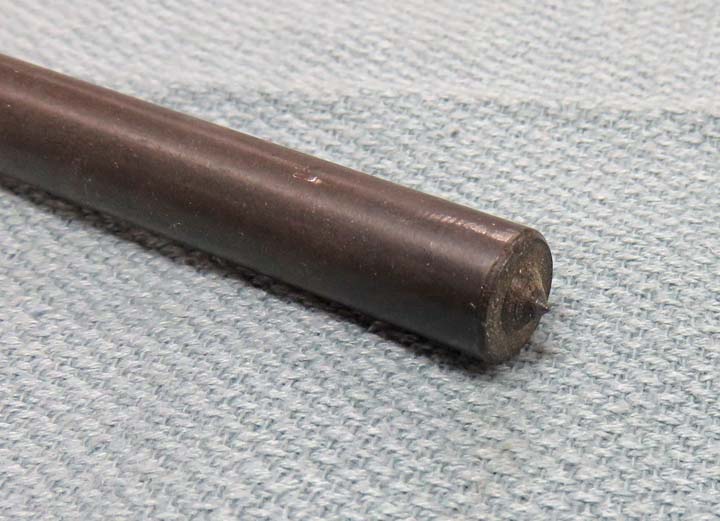
In case you don't know, this is what the bottom of a transfer punch
looks like. All you do is place the punch in the position that you want,
hit the other end with a hammer and it leaves a small dent like a center
punch.
|
|
 |
Here you can see what the transfer punch does. Now all I do is use a
center-punch to make the spot a little deeper.
|
|
 |
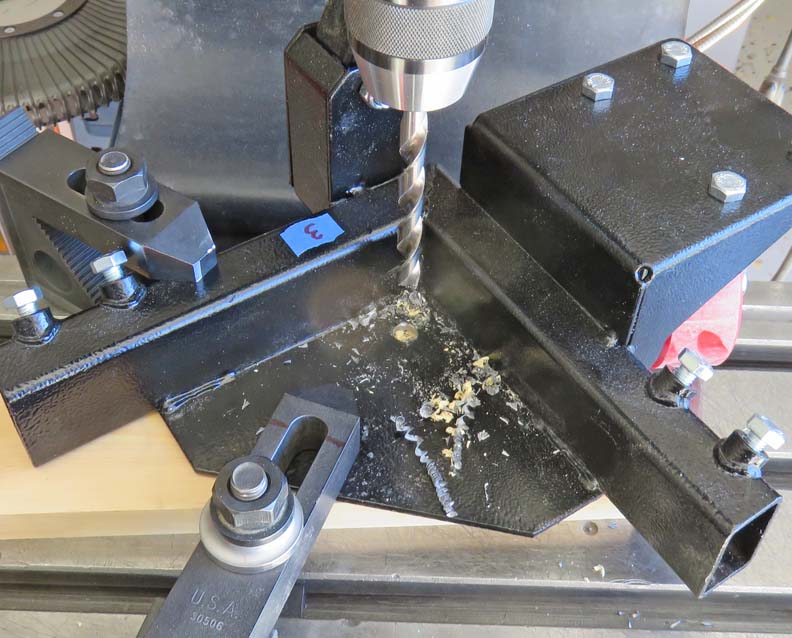
Next I clamped each corner of my mobile base to my milling machine,
picked up my transfer punch location and then drilled my holes.
|
|
 |
Then I welded on a 3/8" nut to the bottom using a bolt to locate it.
|
|
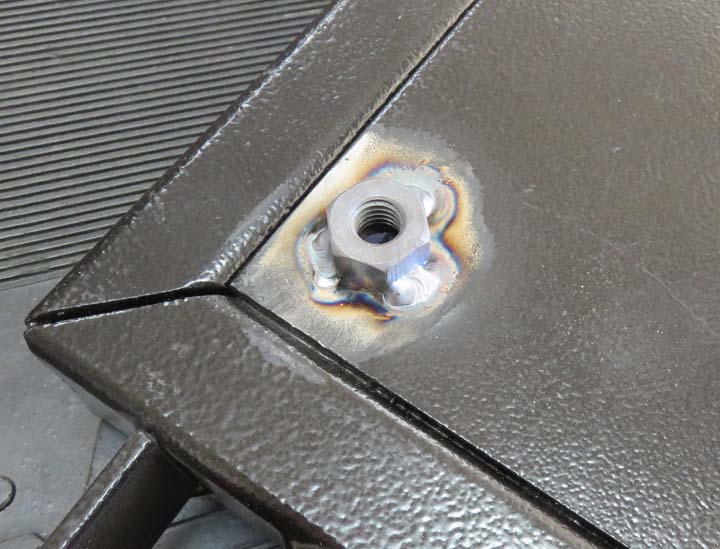 |
Once things cooled down I shot some black paint on the bare steel.
|
|
 |
|
1
2
3
4 |