|
Working With Wood Continued
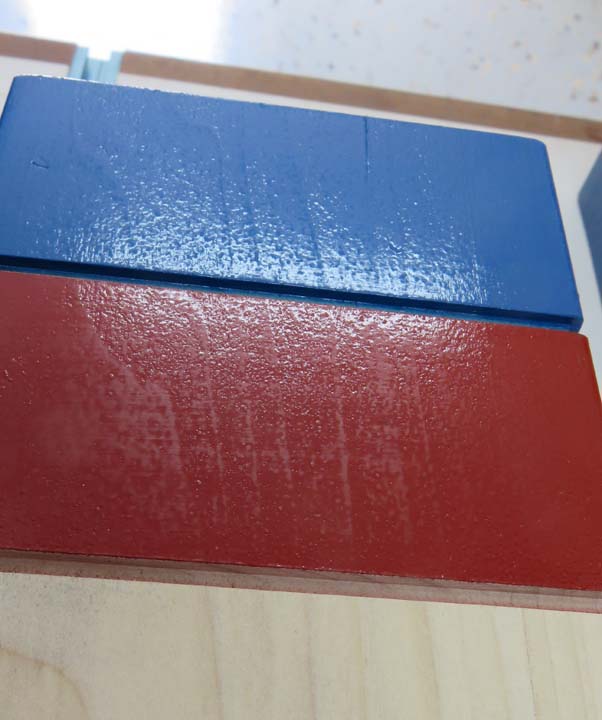
I used some 320 grit paper and lightly sanded both
colors, even though the blue didn't need to be sanded. This removed most of the
rough surface on the red but it also removed the glossy look as well. My
plan to add gloss back to the legs is to use some gloss clear when
I'm finished painting.
|
|
 |
|
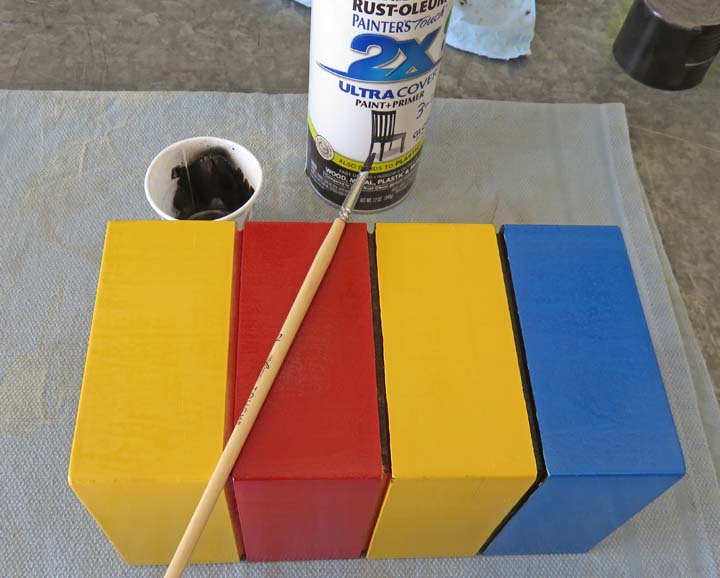
After I was finished spray painting the three colors, I
wanted to fill in the areas between them. I sprayed some gloss black
spray paint into a small cup and hand painted each recessed area, which
was more challenging that I thought. This took a long time to do and had
to take a brake now and then because my neck got sore from looking down
for so long.
|
|
 |
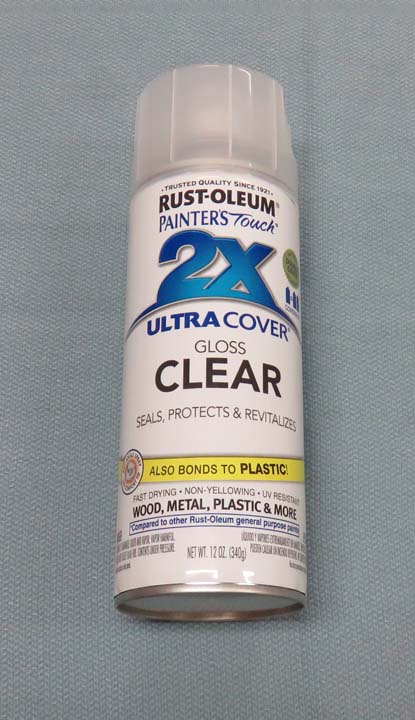
Now it's time to use the gloss clear to see if I can get back some of
the sheen I had before.
|
|
 |
|
I put the clear on the table top first and for some reason
three of the four corners wrinkled. But everywhere else was perfect so I
don't know what happened here. Note the top of the of the side rails and
how nice they look, except the corner. Weird!!
|
|
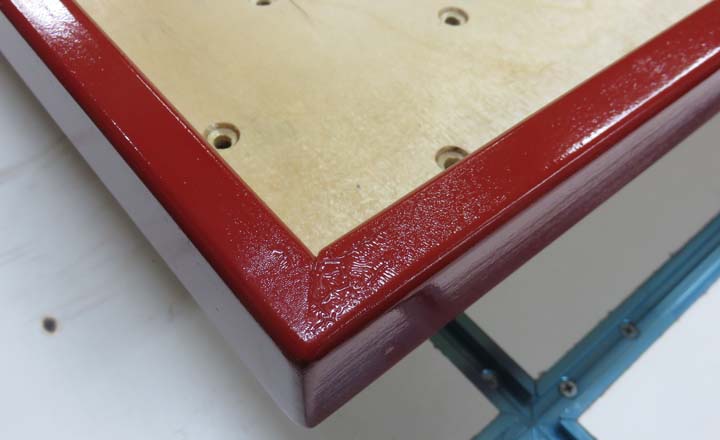 |
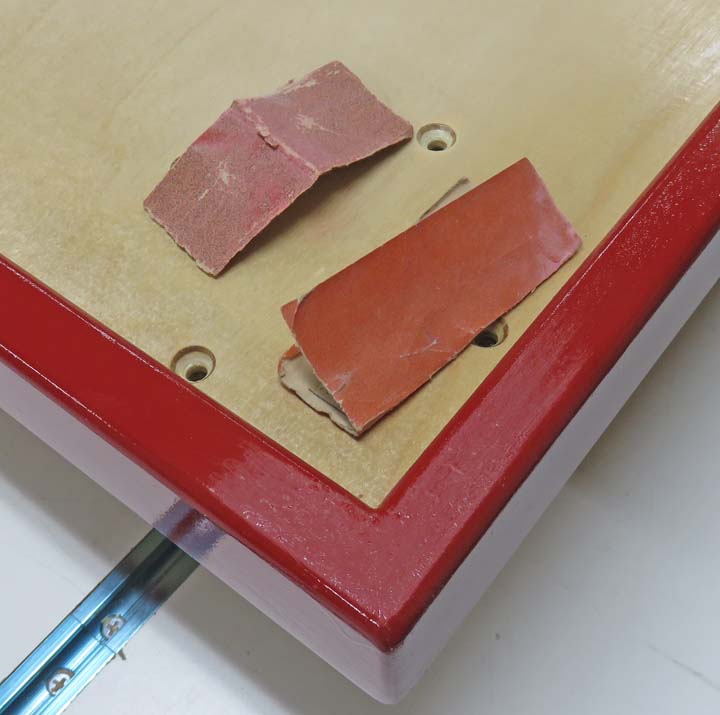
I took some 150 and 320 grit sandpaper and removed only the wrinkled
area first.
|
|
 |
|
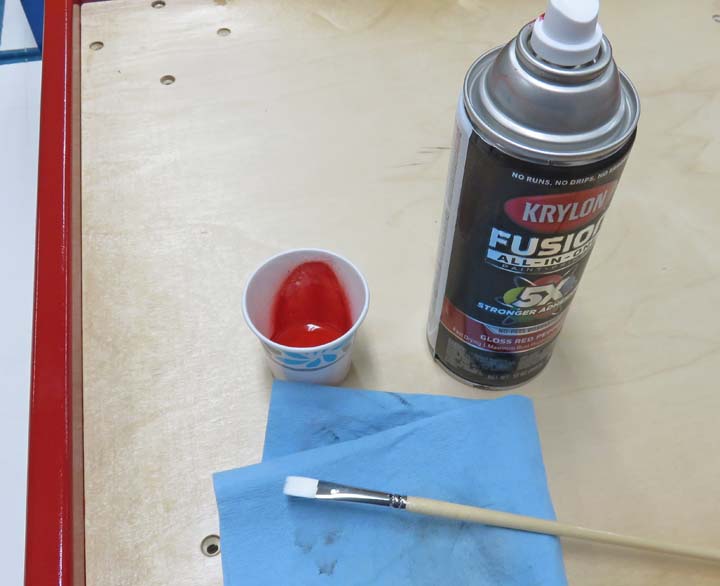
Next I sprayed some of the red into a small cup and hand
painted those three corners only. A few hours later I used this same
method with the clear and hand painted it over the red.
|
|
 |
|
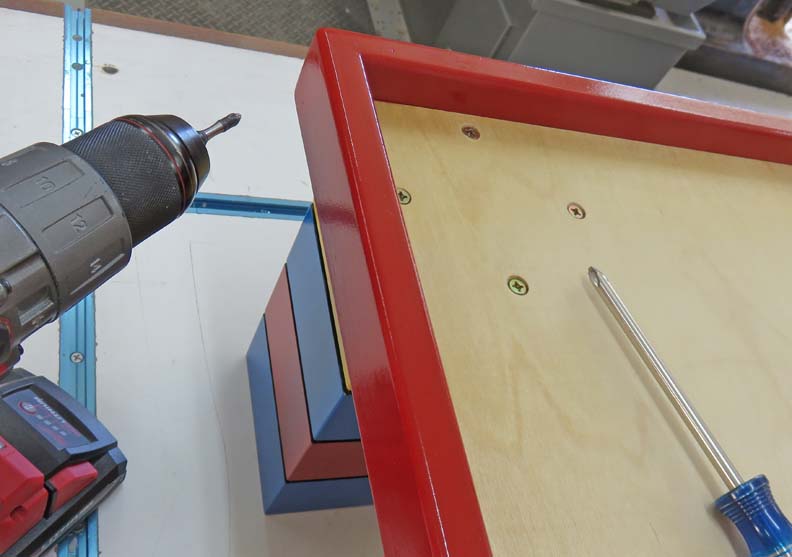
As you can see this hand painted technique worked, but I still don't
know what happened the first time.
I'm also installing the legs here, which were dry fit before I
applied any paint.
|
|
 |
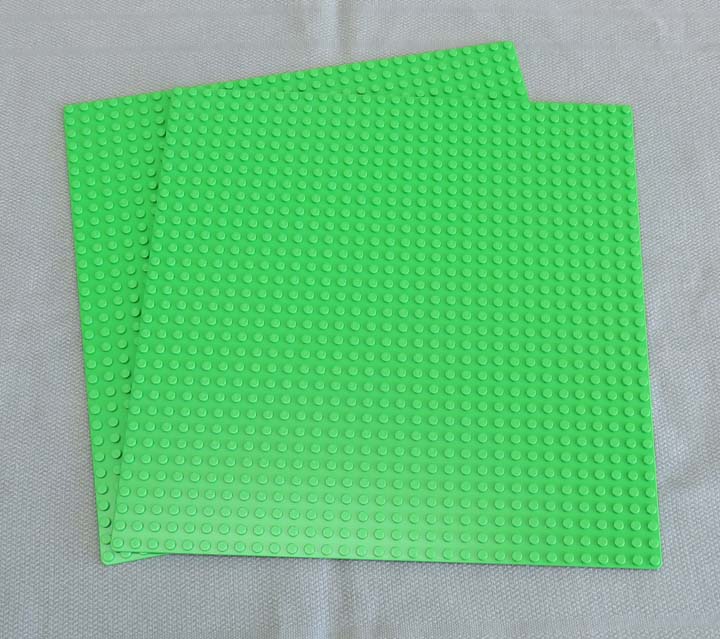
Here is the main piece of the Lego table, the base plates.
|
|
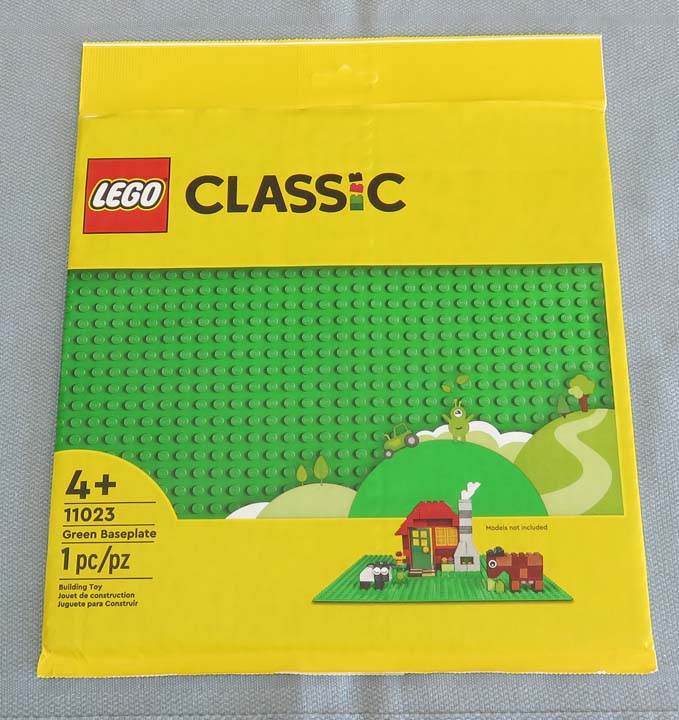 |
I bought four of these, which measure 10" X 10" and will cover the
entire top surface.
|
|
 |
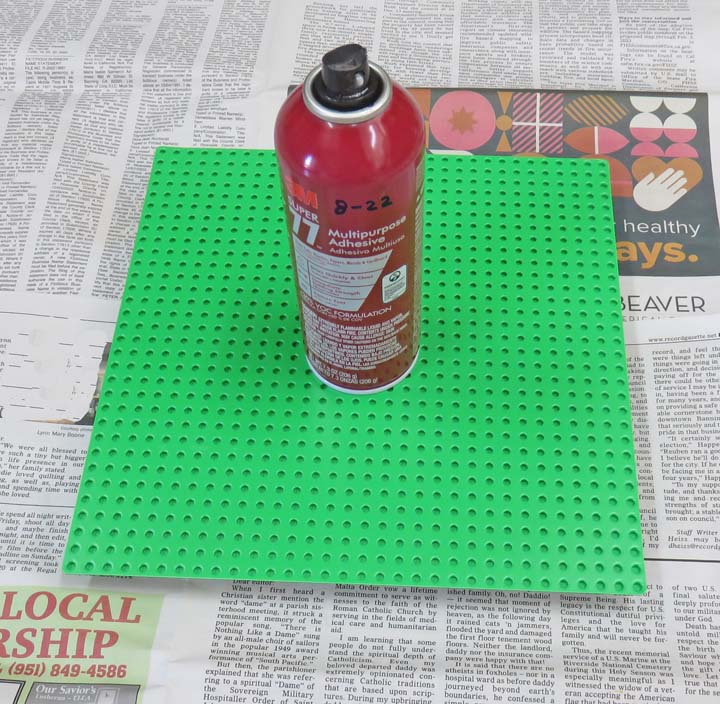
I used a small amount of this 3M adhesive, which worked really well. I
sprayed it on the back and then stuck it to the wood surface.
|
|
 |
|
1
2
3
4
5 |