|
Working With Wood Continued
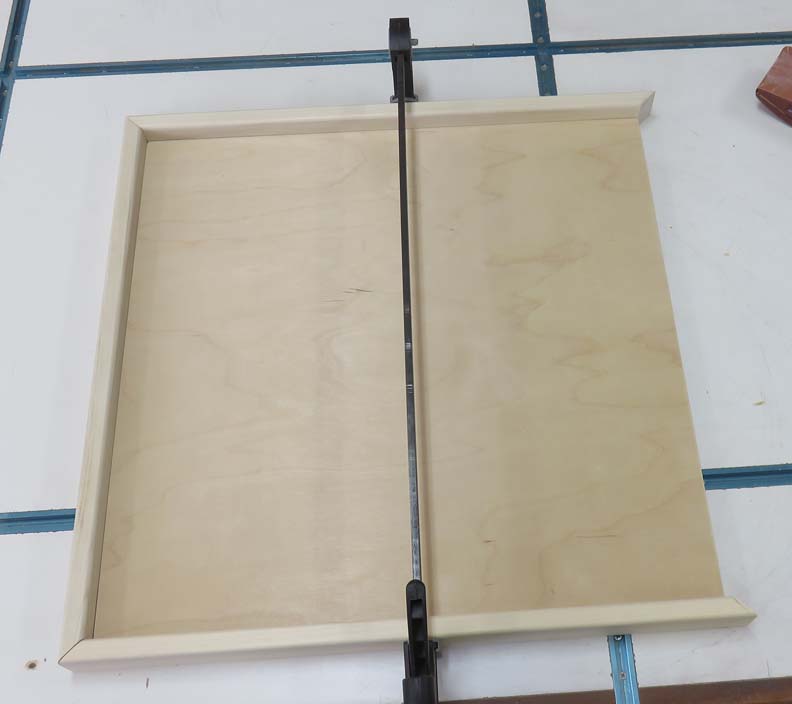
Here I'm cutting and fitting the mitered corners, which is something
I don't do very often. Going slowly here is time consuming, but it
works.
|
|
 |
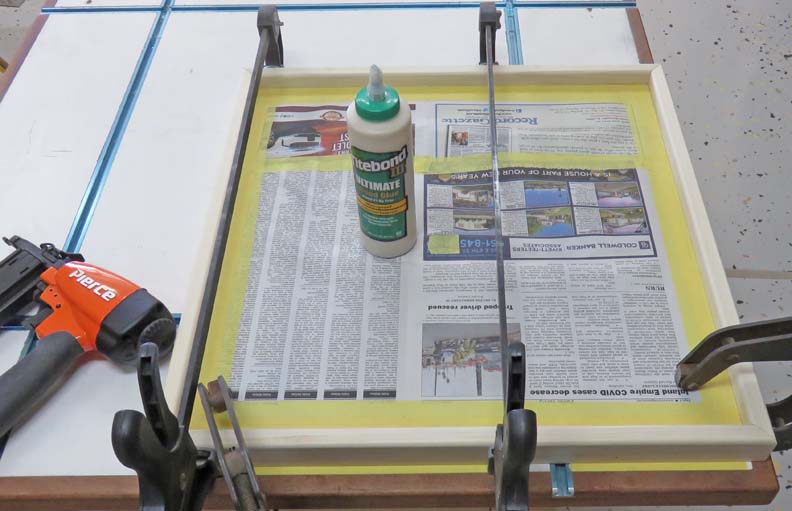
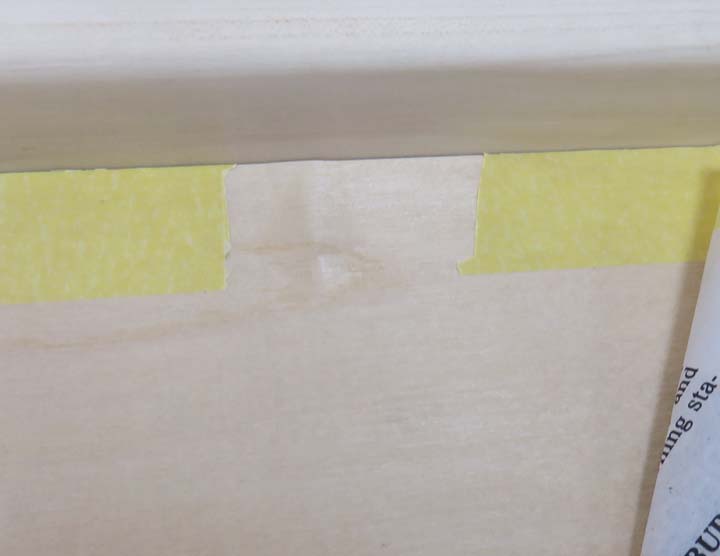
I glued and nailed the raised sides to the
plywood and then masked-off the top and bottom surface because I only
want to paint the raised sides.
|
|
 |
|
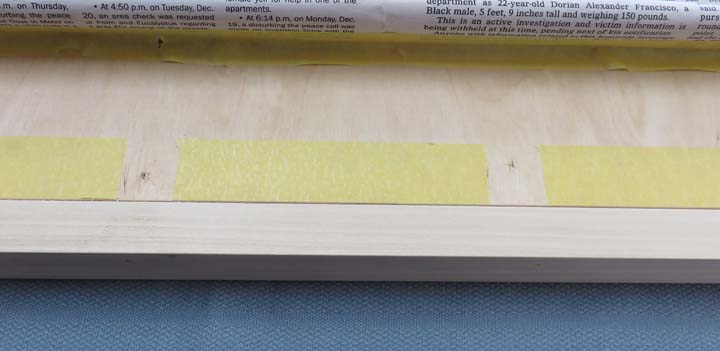
As I was shooting some of the nails, I noticed the
newspaper moved in two places. And as you can see the nails came through
the top surface. Now it's time to fix them. I used some wire cutters to
remove the majority of of the nails but now I need to remove the small
amount next to the surface.
|
|
 |
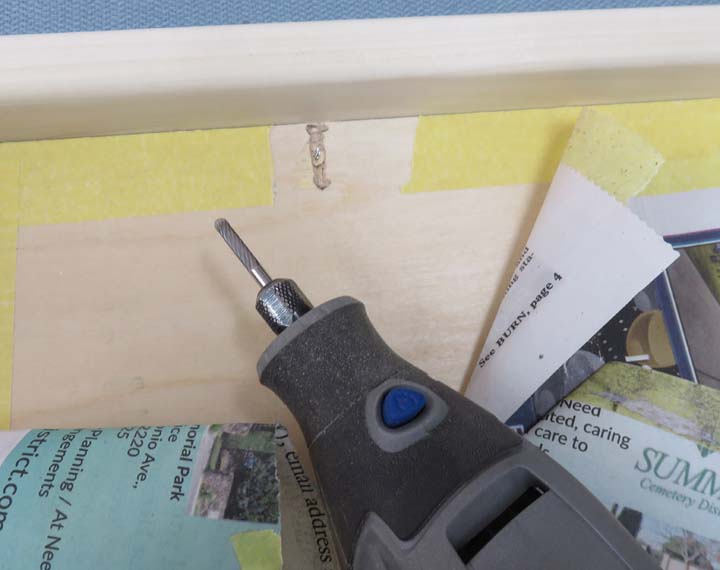
I used my Dremel and a carbide burr that has a rounded end to remove the
nail.
|
|
 |
Next I applied some wood Spackle to fill the voids. An hour later I
sanded the filler flush and then re-masked my plywood again.
|
|
 |
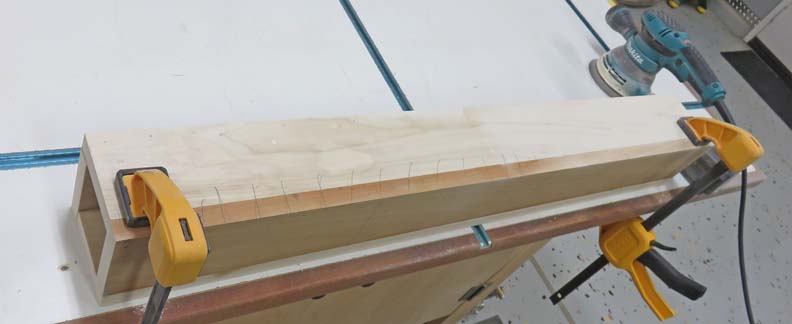
While the glue was drying on the table top, I started sanding on the
legs.
|
|
 |
Once I had all the surfaces sanded, I filled all the nail holes with
Spackle.
|
|
 |
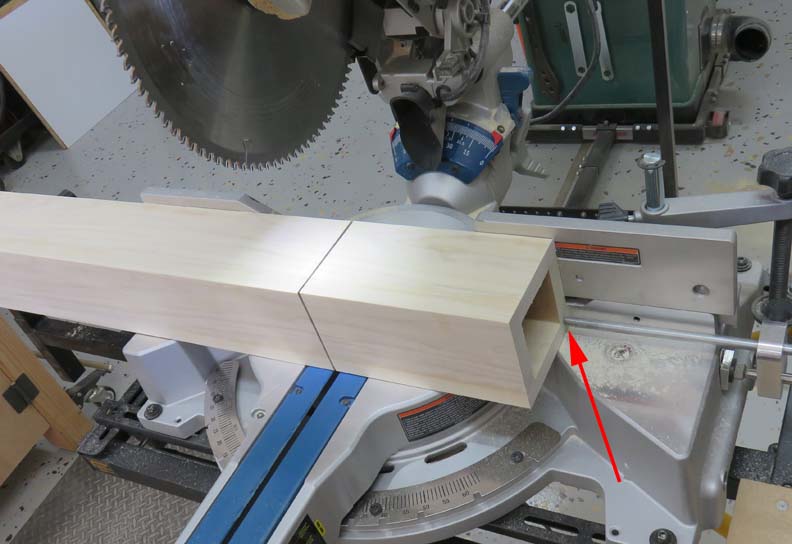
The next day I cut all the legs to 8 1/8" long, leaving them oversize by
1/8". Notice my work-stop (arrow) which made this process very easy.
|
|
 |
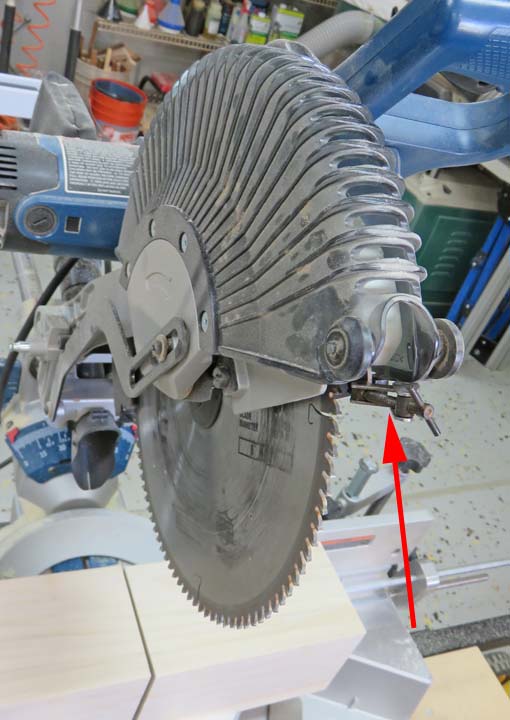
I used a small clamp to hold the blade guard open while cutting (arrow).
This was to make sure the guard didn't drag across the sanded surface.
|
|
 |
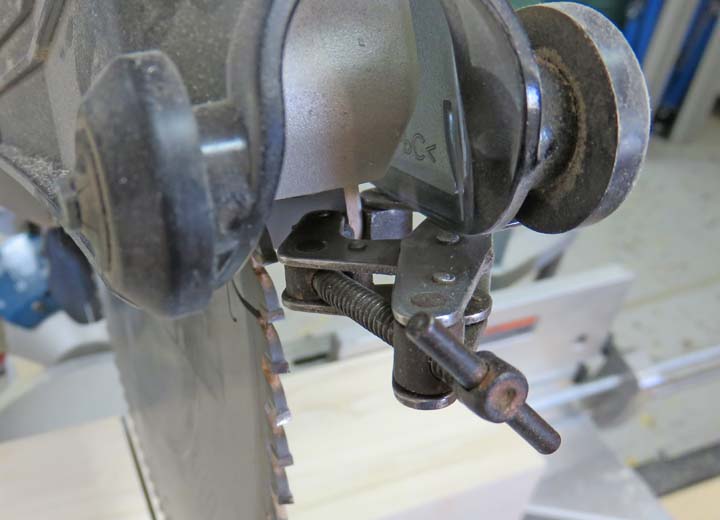
A close-up of the clamp I used, which is made by Kant-Twist. I have many
sizes of these types of clamps and they work so much better than any
C-clamp.
|
|
 |
|
1
2
3
4
5 |