|
Milling Machine 2
09-2020
|
Milling Machine Continued
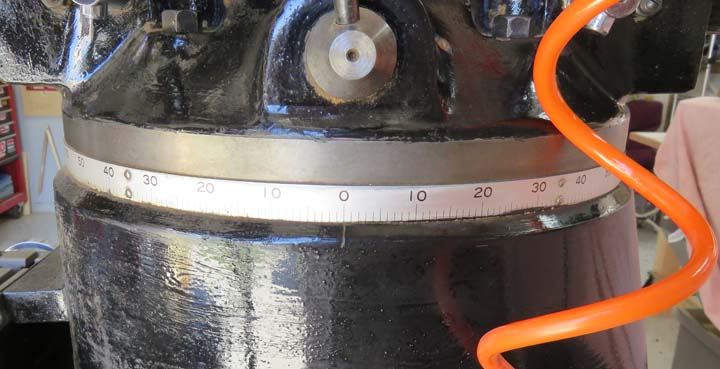
Once all four nuts are loose, you can turn the column
360 degrees. I've used this feature many times as well and
it works great. The number scale below is for reference, giving you an
idea what angle
the column is at. And this doesn't have to be right at zero to work on
something because once you've indicated in your work piece, you're good
to go regardless of what this says.
|
|
|
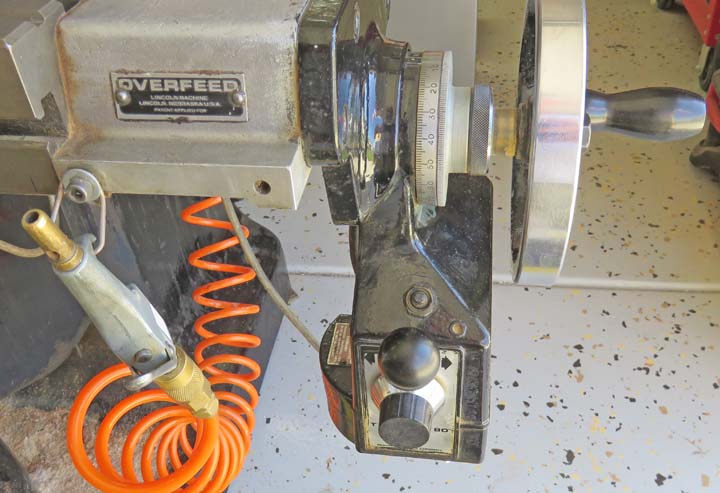
This is the power feed for the X axis. Now this didn't
work when I brought the mill home but after taking it apart, replacing a
few parts, it works great now. The lever with the black knob; you move
it in
the direction you want the table to feed in. And the black dial below it
is a variable speed control for the feed rate.
Now it depends what I'm working on to determine
if I'd use the power feed or not. And if I'm not using it, I would just
move the round handle by hand to move the table. However, the power feed
really shines when you have a large work piece or multiple parts that you're cutting. The dial between the power feed and round handle has one
thousandths increments that go from zero to 200 thousandths. You can
reset this dial to zero by loosening the round knurled nut that is next to it. And
the same goes for the Y axis. I use
this feature all the time, even if I'm using my digital readout because
this dial doesn't depend on electricity. Five full turns equals one inch
of travel.
|
|
|
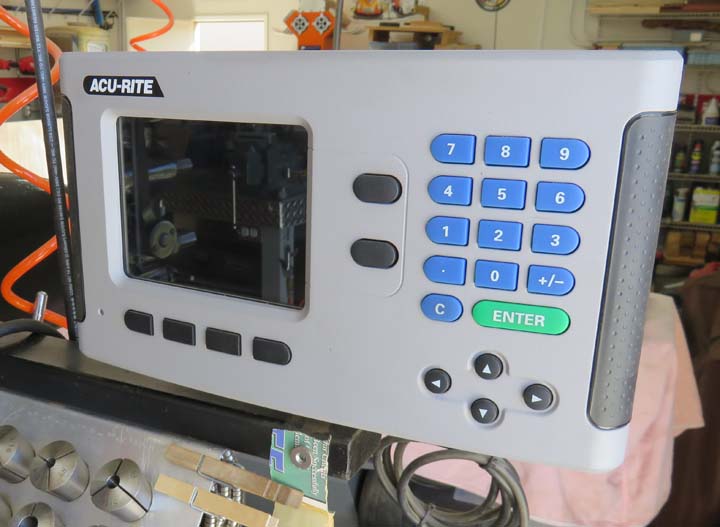
Here is my digital readout or DRO for short. This makes using
a machine like this a 'game changer' because of what this unit is capable
of. Now most of the time I use it for telling me where my X or Y
axis is at, but it does so much more. And to save power, it goes to sleep if
you don't move either axis for 20 minutes.
Now if you've been to my website before, then you might
remember seeing a cheat-sheet near this or attached to my collet rack
below it.
This sheet would have coordinates on it for the X and Y axis, helping me
go from one location to the next. These digital readouts aren't cheap,
but they sure do work good.
If you needed to drill some holes in a square,
rectangle, triangle or circle pattern, all you do is input a few
parameters and this unit will tell you where each location needs to be.
Then all you do is dial to each position and drill your holes.
This DRO also has a password protected area that you can adjust
some parameters depending on
different factors. And I've used this when I first set it up because I
wanted to make sure that when I moved the X axis a certain amount, that
it actually moved that amount. I could go on and on about what
this digital readout can do but just know that I'm very happy with it
and I wouldn't be able to machine some of the things I make with out it. |
|
|
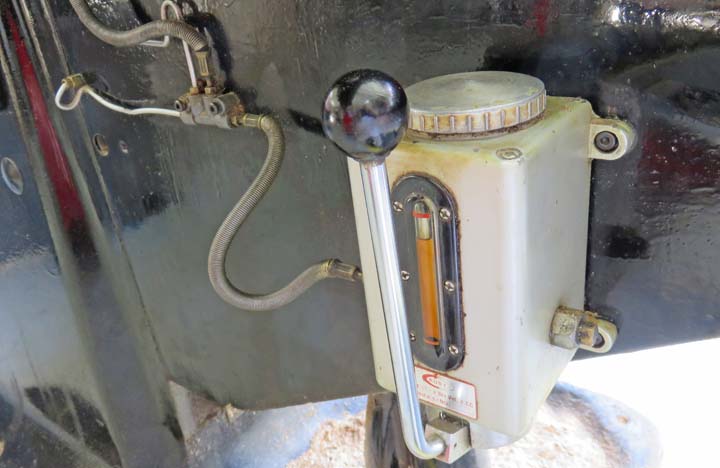
This unit distributes lubricating oil, or 'way oil' throughout the machine by
pushing down on that handle. You can see the oil line to the left of the
reservoir that feeds a manifold, which then feeds the machine. Now this oil
is special and is somewhat thick, and sticky. The reason for this is so
it will stay where it's applied, which is on the slide-ways for the X, Y
and Z axis. And some of these surfaces that get oiled are upside-down,
which is why the oil is sticky....so it stays put.
Note: This oil would not work in a car engine because of
how sticky it is. Something tells me that it would end up becoming one
big blob of oil going around in place of going through all the oil
galleys. And way-lube like this comes in different viscosities, just like most
oils do.
All you do is give that handle two or three pumps and
you're good for a day or two, depending on how much you're using the
machine.
|
|
 |
|
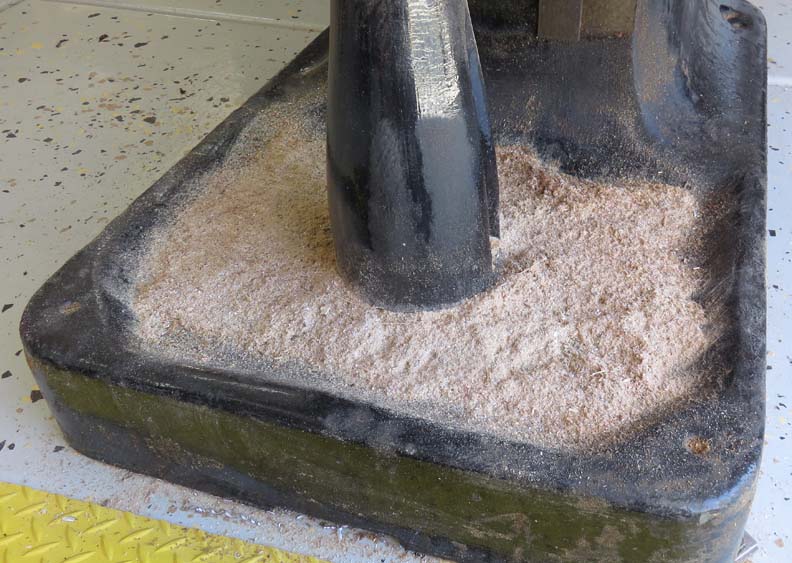
The base of the machine is lower in the center than the
edges. This is so all the way oil (or cutting coolant) has a place to
end up before going onto the floor. And this is
the reason I put sawdust here, so it soaks up all that oil. Once
all the sawdust is wet, I remove it and replace it with dry stuff.
|
|
 |
|
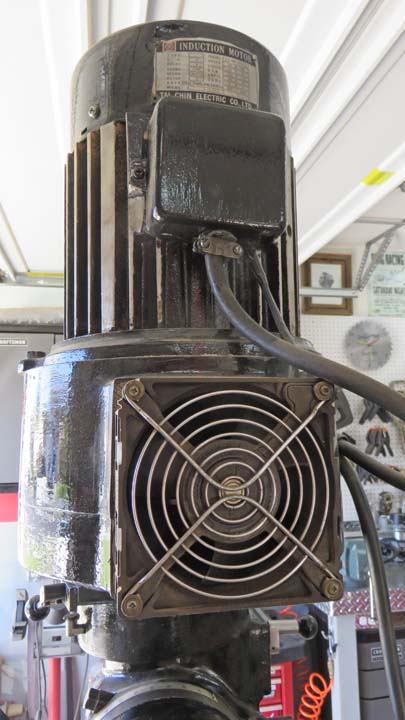
This fan is to help cool the gears and pulleys inside
the head of the machine. However, this didn't work either so again I
removed it, rewired it and got it working again. This fan makes a huge
difference now that it works again.
|
|
 |
|
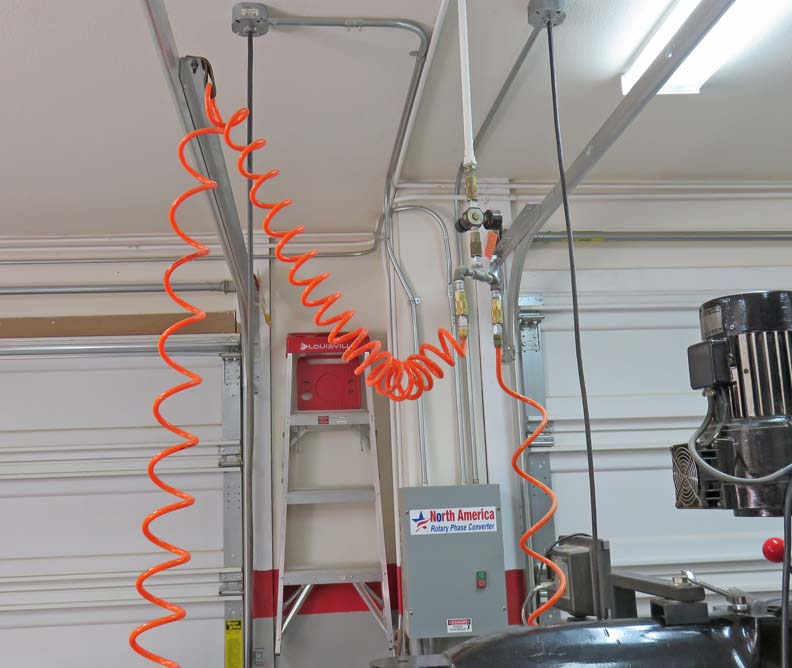
Last but not least is compressed air. If you look close,
you'll notice a regulator before the air lines are split between the
lathe and milling machine. This regulator is set at 40 pounds so not to
blow chips across the garage.
|
|
|
Electrical
My milling machine runs on 220 volts, 3 phase power, but
my house only has 220 volt single phase power. One way to remedy that is
to use a 'phase converter' which generates the third leg of power needed
to run machinery. I bought this system and installed it myself, doing
everything to code.
|
|
 |
|
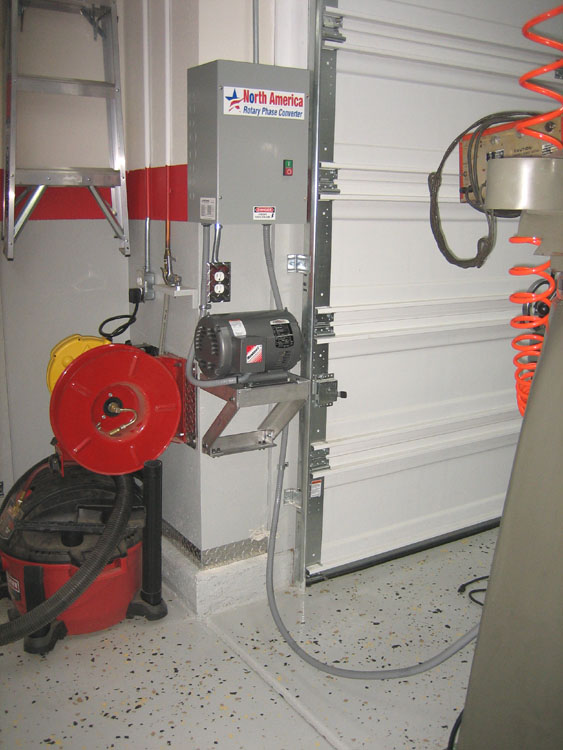
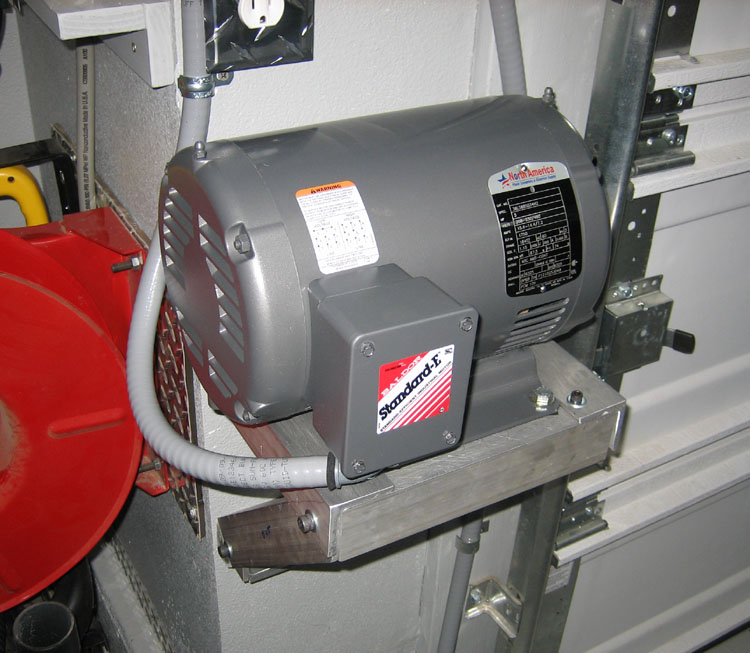
There are different types of phase converts and mine is
a "Rotary Phase Converter", which means it has a generator. This
generator is the "rotary part", and produces the third leg of power.
Phase converters come in all different sizes (power
requirements), depending on what you're trying to run. Mine is good for
a 2 to 5 horsepower motor and it works great. However, it's a little
noisy because that generator has to run. The good news is, once you
start the milling machine you don't really hear it that much anymore.
|
|
 |
|
Now my lathe runs on 220 volt single phase power, so I
don't need the phase converter for it. However, with the 220 single
phase power already in the cabinet, I used this for the lathe.
To get 220 single phase power you just need to run two 110 volt lines,
and a ground.
I also ran a 110 volts below the cabinet to use for my
milling machine. These plugs are used for my DRO and power feed. And a
lot of times I am using them both at the same time.
|
|
 |
|
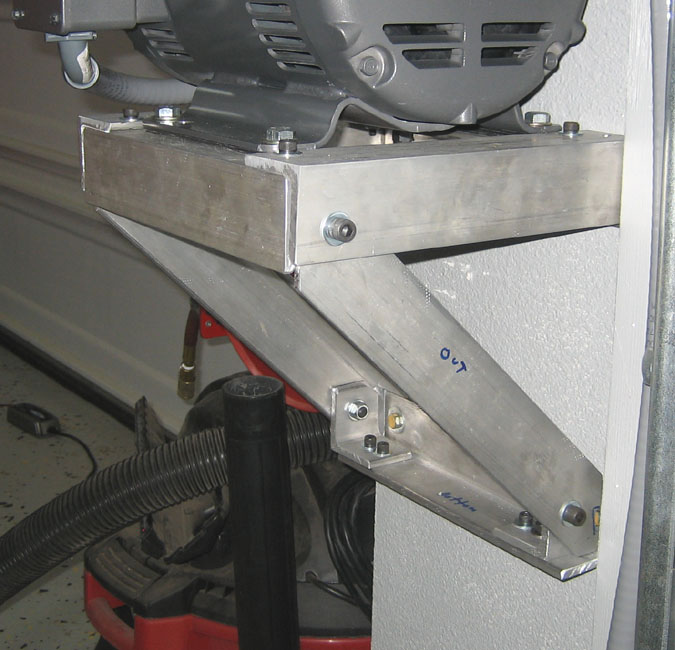
I made this bracket to hold the generator. It's bolted together (no welds) so I could take it apart if I need to. And the
generator is rubber mounted so it doesn't rattle.
Well that pretty much does it for my lathe and milling machine
for now. I hope you liked it and maybe you learned a little about each
machine in the process. So far I've been having fun with both of them
and love being out in the garage working on my next project.
|
|
 |
|
1 2 |
|