|
Painting And Staining
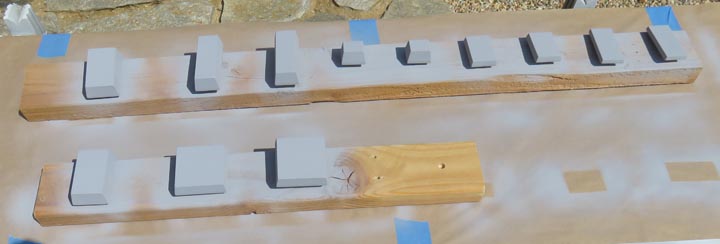
I'm getting ready to prime and paint the gold bars. I
drilled some shallow holes in the wood and put some 3/8" dowel pins in
the holes. This way I can paint the bottom first, turn the bars over,
place each one on a pin and then paint the other side.
|
|
 |
This method worked out pretty good.
|
|
 |
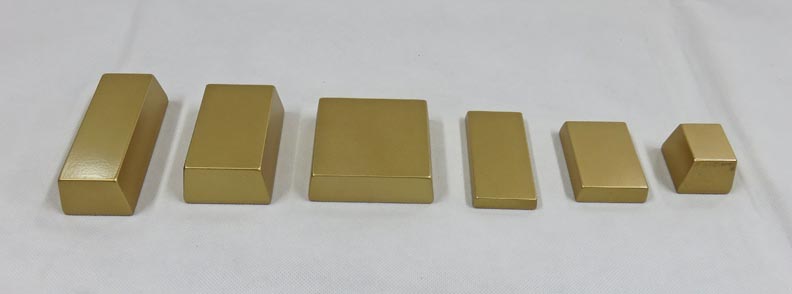
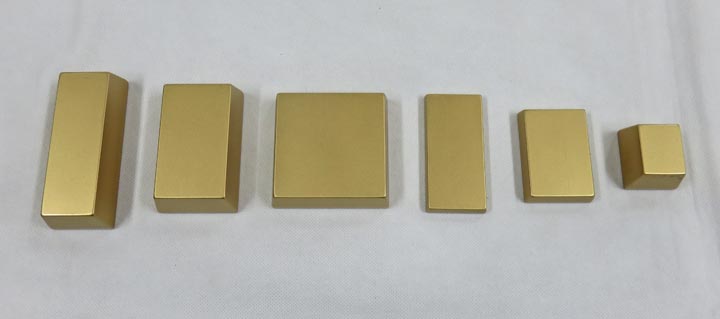
Here is what the gold bars look like after painting. They came out
pretty nice and I'm happy with them. However, I ran into a problem this
late in the build. And it was all my fault.
|
|
 |
|
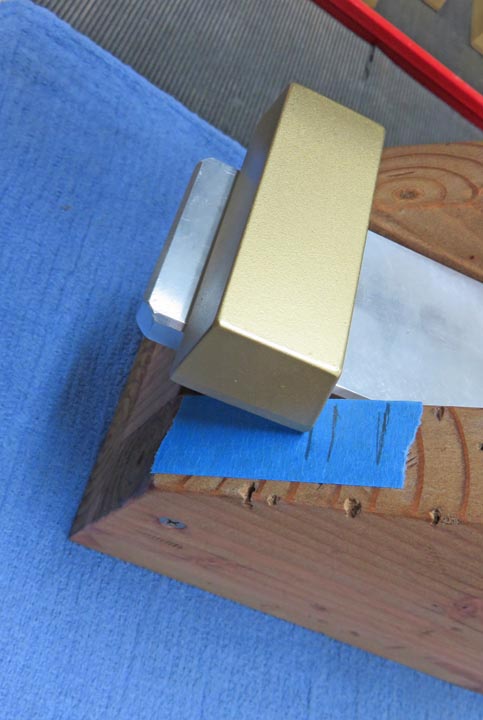
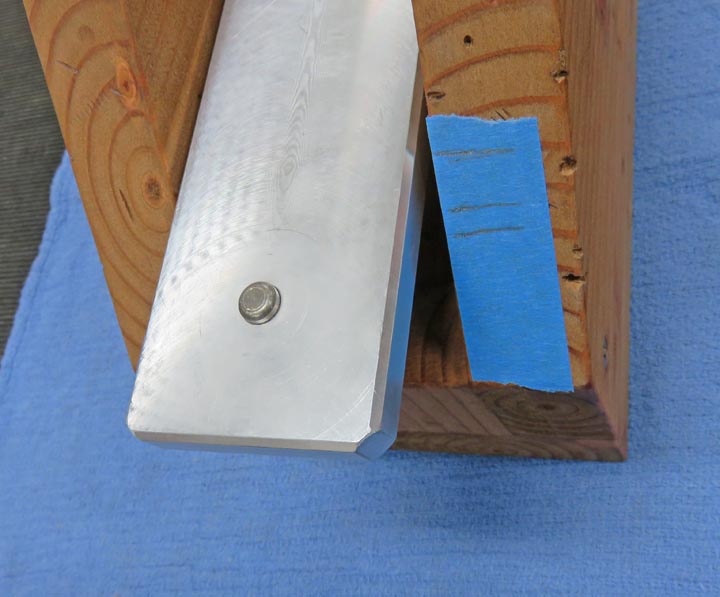
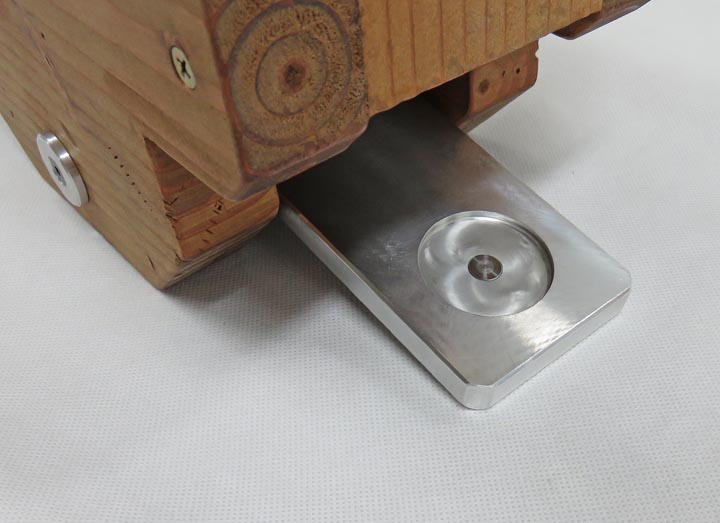
Once I had the scale assembled, I noticed something that
needed to be fixed. If you remember earlier, I made the scale to locate
the bars on the pin. That means the game players might place the bar on
the scale like you see below. And if they do, it will hit the sides of
the base. Well, that's not going to work right because as the bar is
riding on the arm, and no counterweight is on the other side, the bar
will hit the base and slide off.
|
|
 |
|
Notice the lines on the tape. I had three of the larger
bars that were a problem at various heights, which I'll need to address.
Now you might be asking how this happened? I mean, I'm the one who
designed and make it...right? Well, yes. But while I was adding the
washers to the cylinders, and weighing everything out, I was using my V
blocks the whole time instead of using the assembled scale. This was a
rookie mistake which is why I'm having
a problem now. So, it's time to fix this issue.
|
|
 |
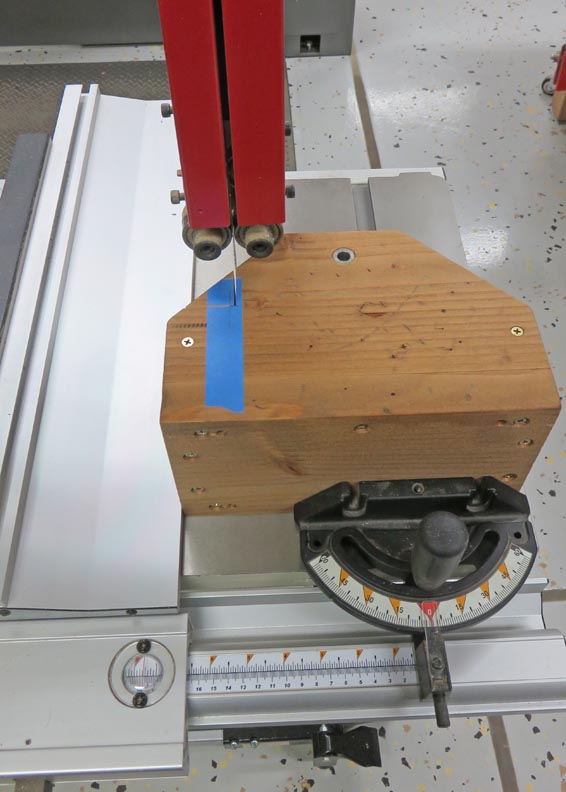
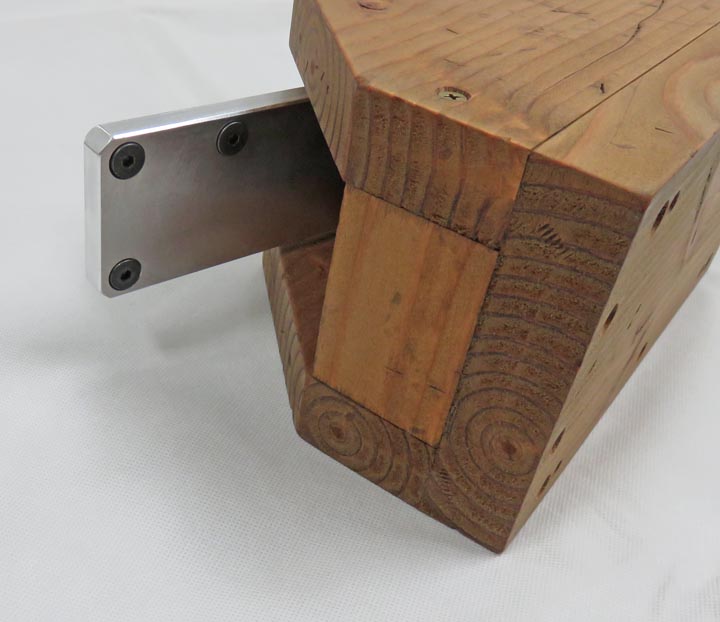
I figured out how much needed to be removed and decided to cut the one
side only. I used my bandsaw for this along with the fence which made
quick work of fixing the much clearance for my bars.
|
|
 |
I gave these newly cut surfaces a sanding and then beat them up like I
did before. Then I applied some stain to these areas and called it good.
|
|
 |
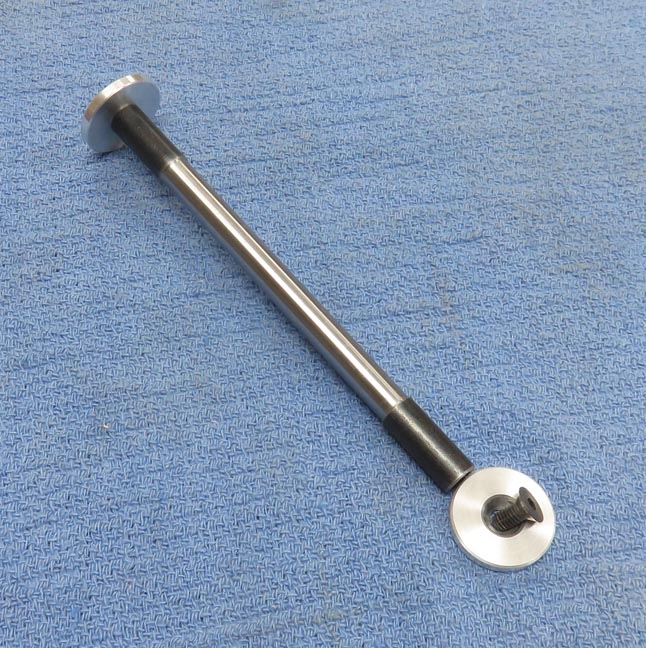
Now it's time to reassemble everything. I made sure to add a small
amount of light oil to the pin so it wouldn't rust.
|
|
 |
|
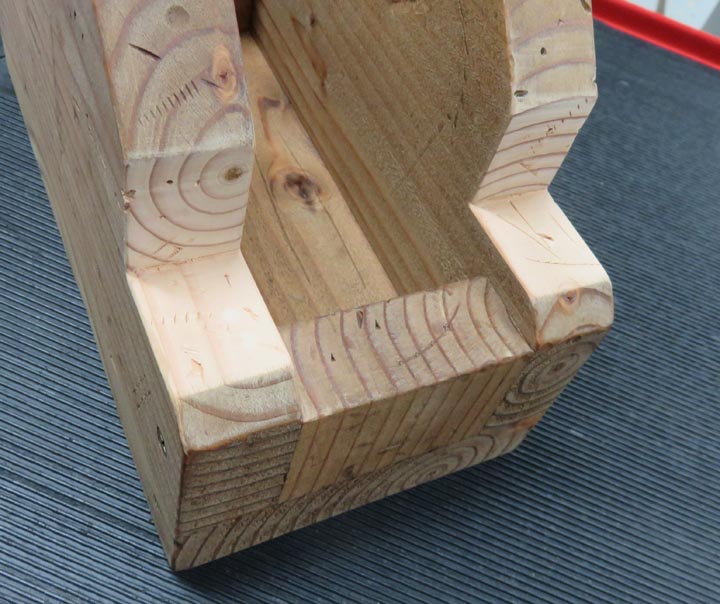
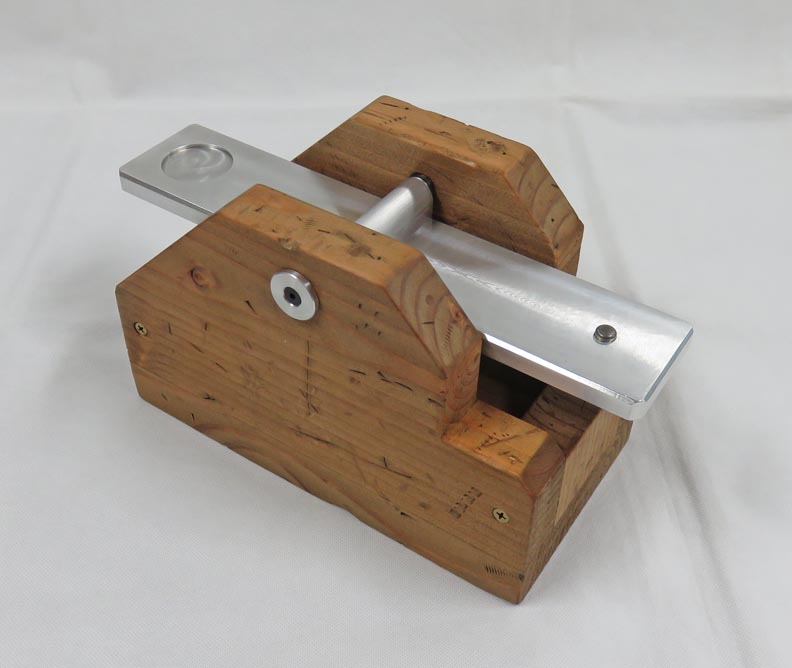
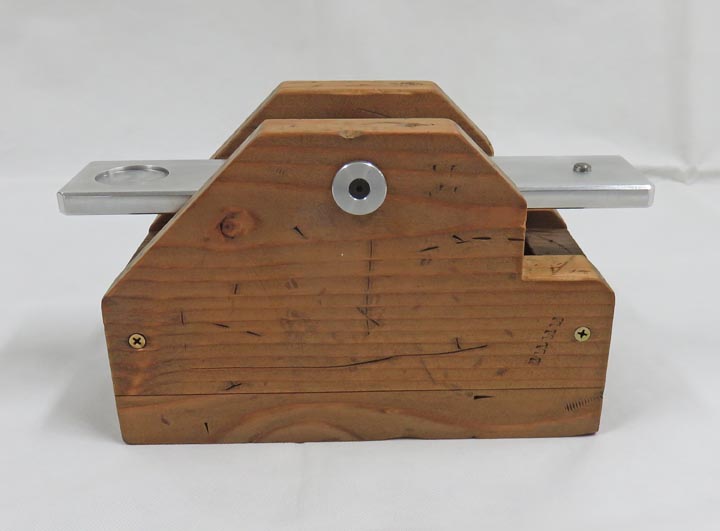
It's Finished
Here it is all finished. I hope the kids like the cut out on one side
only. But if they don't, this would be an easy fix to make it match the
other side.
|
|
 |
Now you can see the dings and dents a little better.
|
|
 |
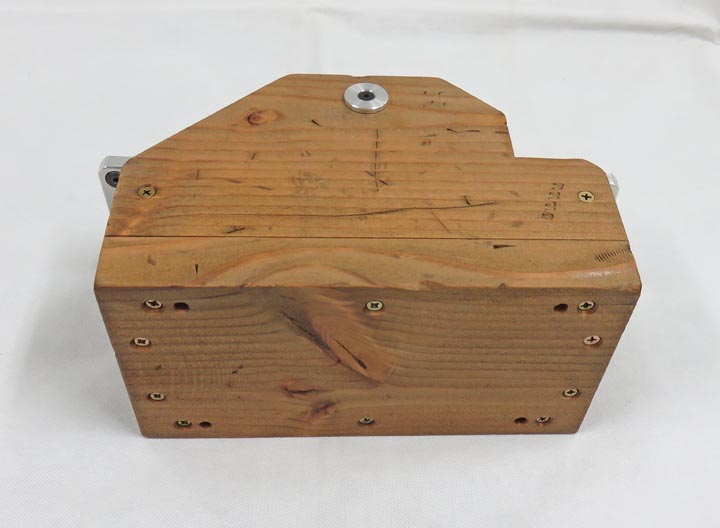
The bottom didn't get the old looking treatment because it will be
fastened down.
|
|
Here you can see the three counterweight screws I put in. But the
players won't see them.
|
|
Here is the bottom side of where the pin is.
|
|
|
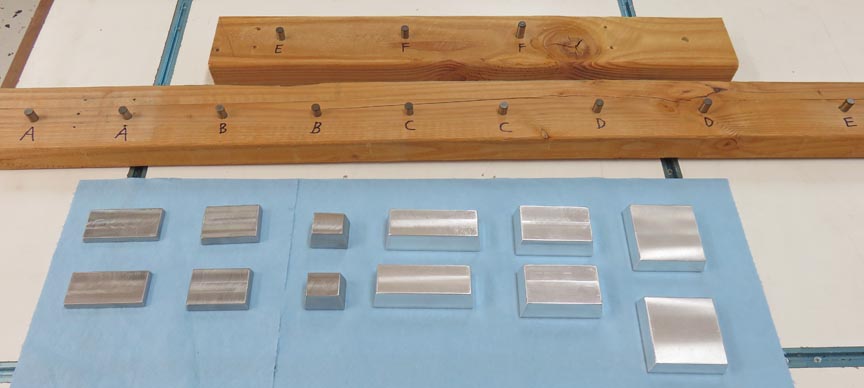
Here is one of the two sets of the gold bars. I
didn't make any extras because they are made out of metal. That means
they won't crack or break. But it is possible that someone might take
one, which would be a bad day.
|
|
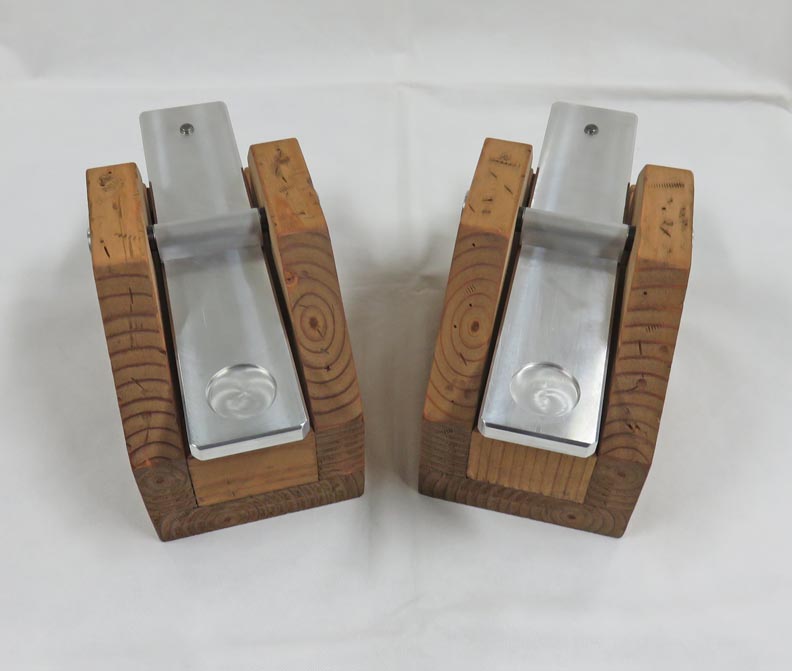
Here are both weight scales ready to be used. I hope they work like the
kids wanted and I hope they like them because they were fun to make.
|
 |
|
1
2
3
4
5
6
7
8 |