|
Working With Metal Continued
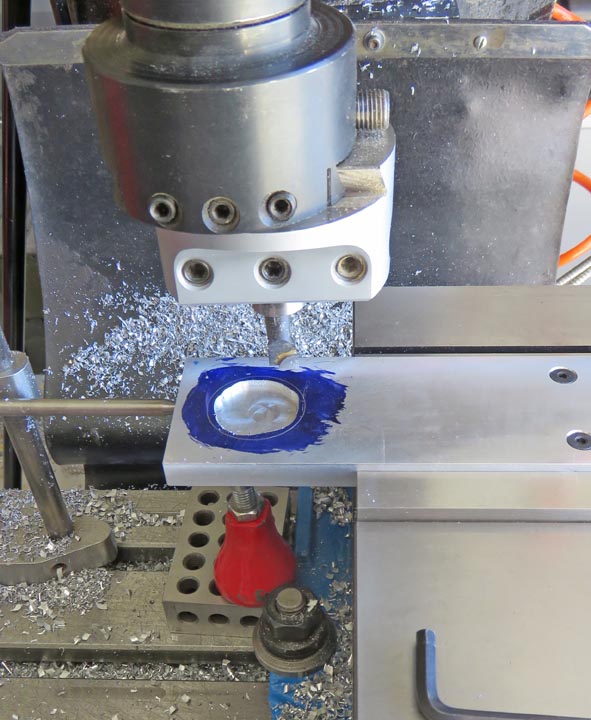
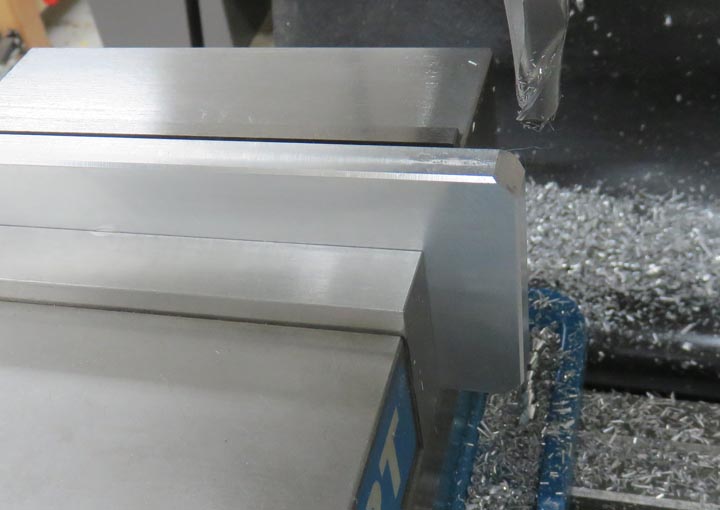
To make sure the bottom of the pocket is flat, I first
used and end mill and removed as much material as I could but stayed away
from the line. If you look close, you can see the pocket isn't round
(which is normal using this method). However, by using my boring head and
a boring bar, I can make the pocket round.
Now you might be asking, why don't I just use my boring
bar for the entire operation? Because a boring bar is made so it has
clearance at the bottom, with only the point touching your work first.
If I were to use the boring bar method only, there would be a series of
grooves every time I adjusted the boring head to cut larger.
|
|
 |
|
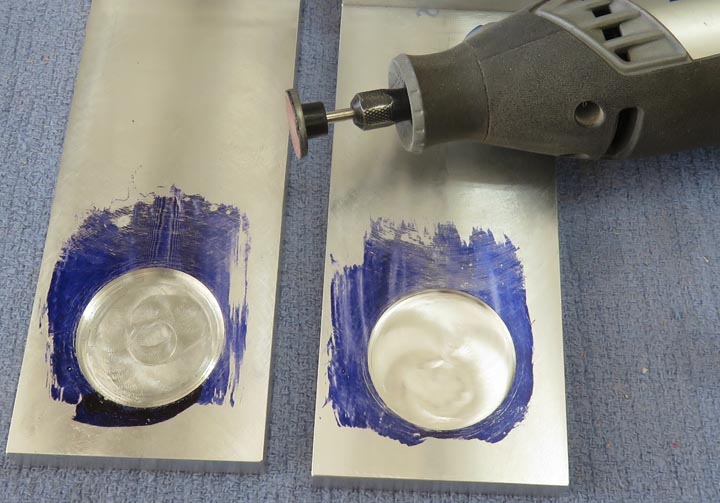
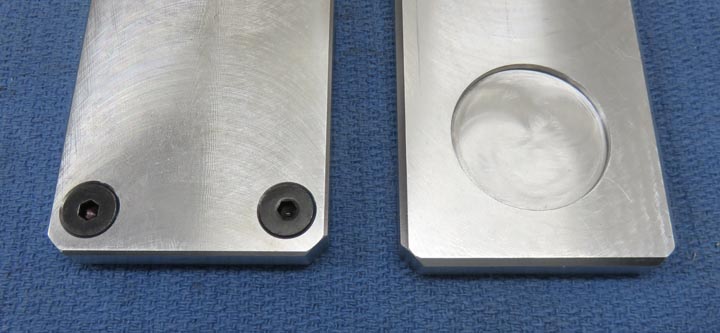
If you look close, you can see the endmill marks in the
pocket on the left. This is unavoidable but a necessary evil by doing it
this way. No big deal because those tool marks were quickly removed
using my Dremel and a sanding accessory.
|
|
 |
|
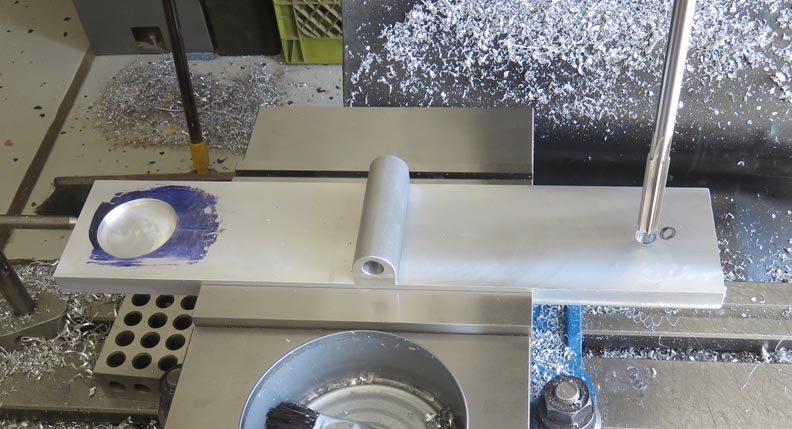
At the opposite end of the pocket, I'll be installing a 3/8"
diameter pin to help locate the gold bars. The reason for this is
because if you randomly placed the gold bar at the end of the balance
bar, this would throw off the center of mass and wouldn't work right. What I came
up with is to locate the gold bars on this pin so the center of mass
stays constant. The gold bars in turn will have a 3/8" diameter pocket
in the bottom of them. This way the players will be able to locate each
gold bar easily and they will be in the exact location, no matter which
way they are placed on the pin.
|
|
 |
|
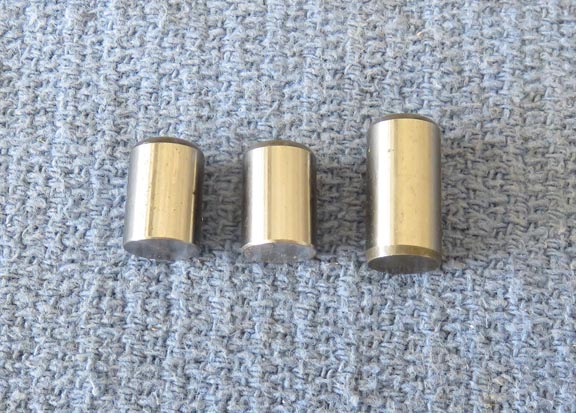
I'm using 3/8" hardened dowel pins for the pins. This way
they won't wear out and should last for years. I had to shorten the pins
by 1/4" using my lathe, which was really hard to do. The final length
for the dowel pins are 1/2" and will be pressed in.
|
|
 |
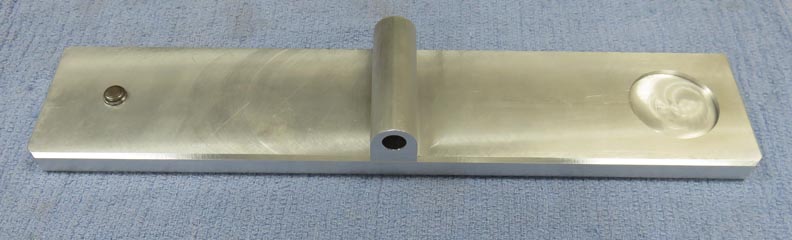
I added some chamfers to all the sides of the balance bar. I gave the
ends a nice large chamfer, because chamfers make everything look better
:-]
|
|
 |
|
As I was doing some testing, I noticed the dowel pin was
too heavy and nothing balanced any longer. To help off-set this, I added
some 1/4-20 flat head cap screws to the opposite end of the pins.
|
|
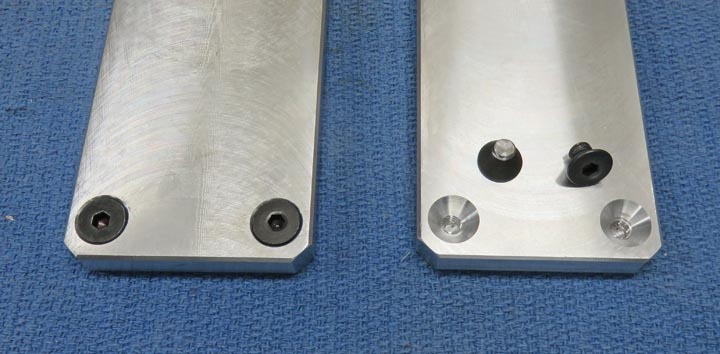 |
The side where the cylinders will sit is the side I added the flat head
screws to the underside. This worked pretty good but it's not perfect
yet, so
I'll have to revisit this later.
|
|
 |
Here is what the top side looks like. It's getting closer but I did make
a couple of changes.
|
|
 |
|
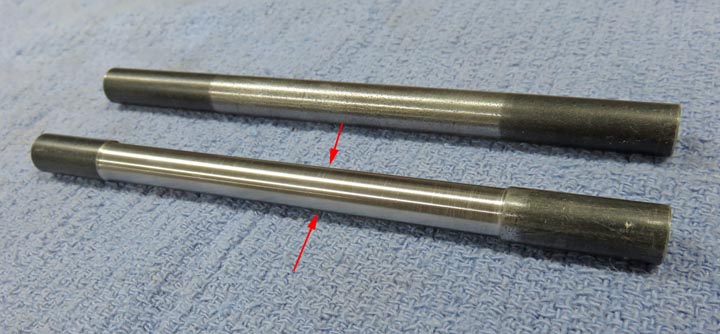
The first change I made was to reduce the pin diameter
the center only. By reducing the diameter by
a small amount (arrows), this allows the pin to work more freely with
less friction. Now the balance bar works much better, or with less drag
making it more sensitive.
|
|
 |
|
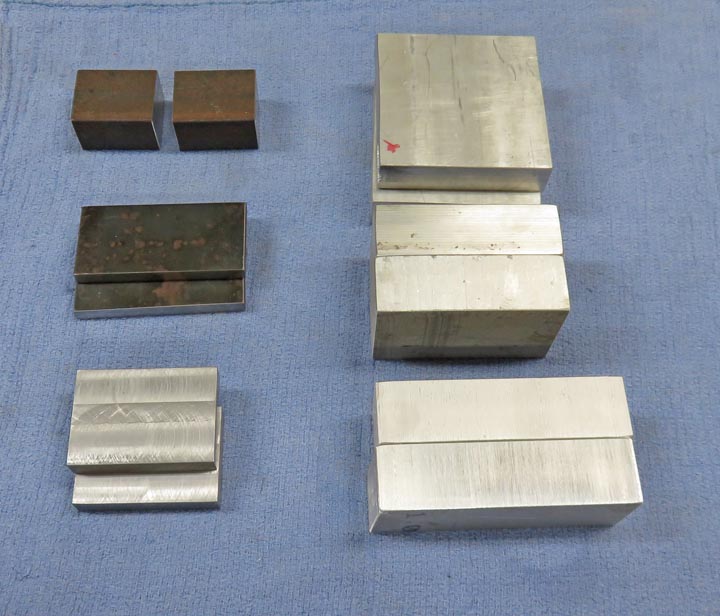
The pieces that you see below will become the gold bars.
The three on the left are steel and the others are aluminum. Once
they're painted, it will be hard to tell what material they are, but
that
won't really matter.
|
|
 |
|
1
2
3
4
5
6
7
8 |