|
Angela and Matt wanted my assistance building another
chair in one of their
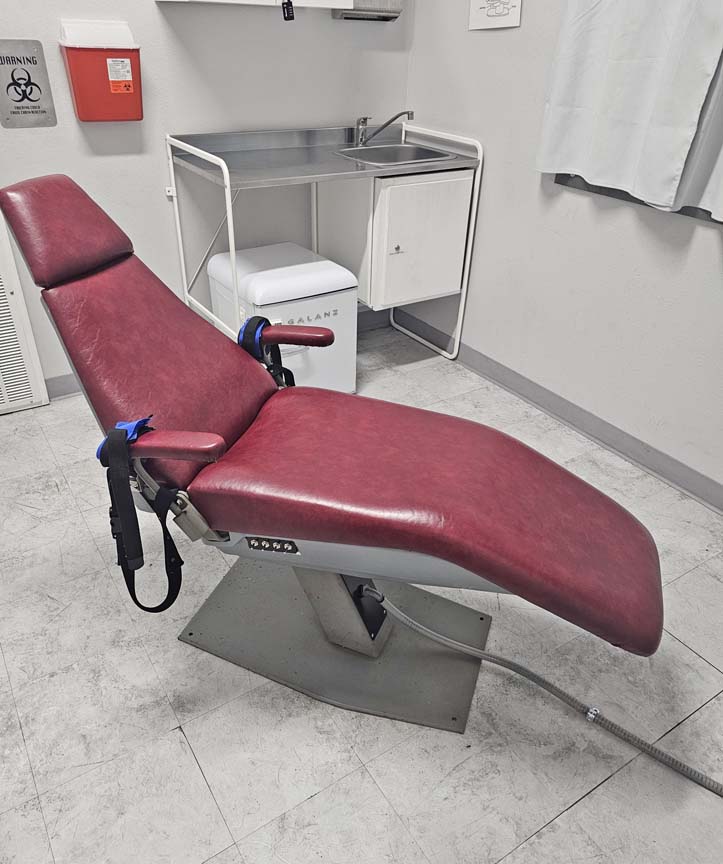
Escape Rooms called 'Lethal Injection'. The chair that you
see below is what they've been using for about eight months or so and
Matt really wanted something more unique in place of this old dentist's
chair.
After he told me what his vision was, I told him that we
can start on it anytime. And knowing that this new chair would require
welding, Matt wanted to learn how to stick some metal together. I
thought this was a great idea and would give us a fun time together.
We will be using the solid steel base this chair is
sitting on along with the restraint straps and some of the electrical
that is hidden in the support post attached to the base. With all that
being said, let's get started building a new chair.
|
|
 |
|
Working With Metal & Welding
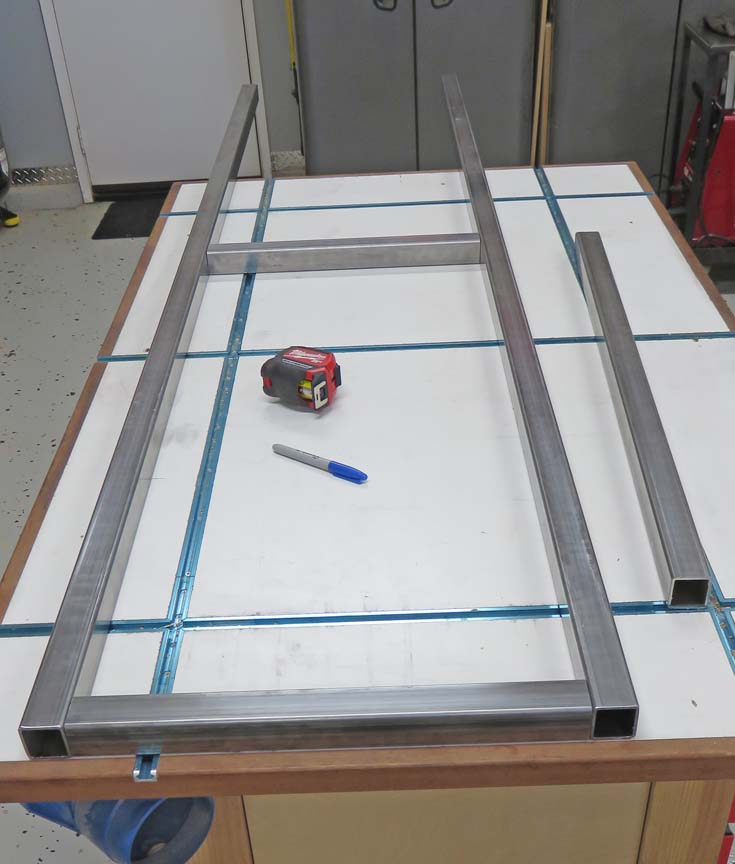
I'll be using some 1 1/2" square tubing with an 1/8" wall
thickness for this project. Square tubing is very strong and this stuff
is a little overkill but I already had a 10 foot piece leftover from one
of there previous projects so why not get a little more and do the job
right.
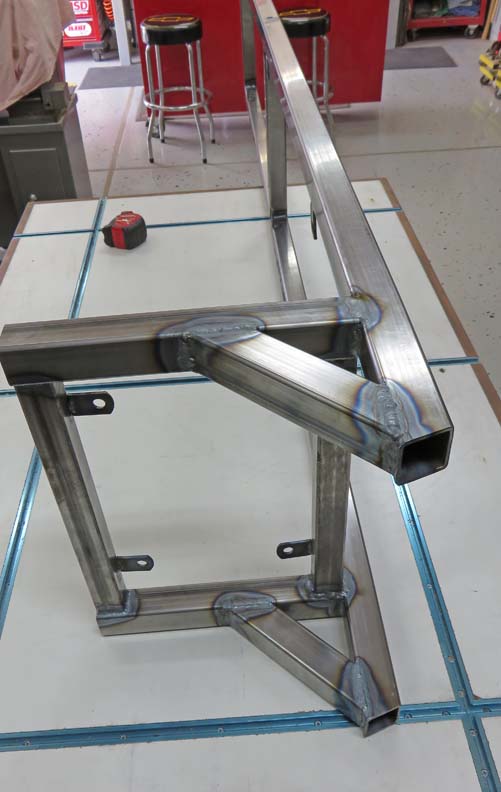
Below we're laying out some pieces that will be used for
the back of the chair. The size is 17" wide by almost seven feet tall
and will be set an angle of about 20 degrees when its finished.
|
|
 |
|
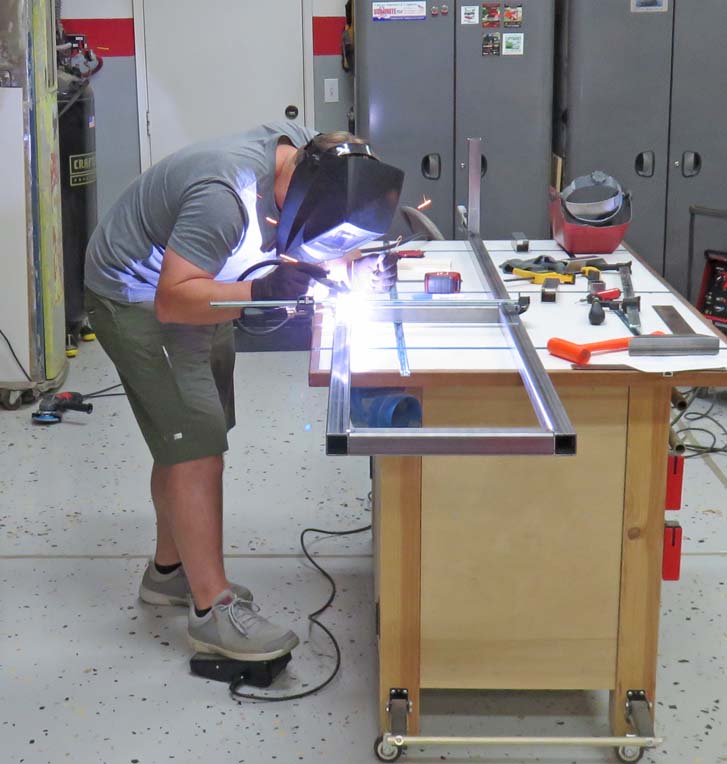
I showed Matt a few basics of TIG welding (Tungsten
Inert Gas) on some scrap pieces to get him use to this type of welding.
Now I knew this would be a challenge for him because this was the very
first time in his life to do ANY kind of welding whatsoever. After about
a 1/2 hour of practice he had an understanding what was required doing
this kind of welding.
TIG Welding Basics:
If you're not familiar, TIG welding isn't easy. You
have a torch in one hand, filler rod in the other and then you have to
use one of your feet to control the heat. if that's not enough, you have
to keep your torch at the correct angle (aprox. 15 to 20 degrees) to
your work while creating a puddle that your torch should never touch.
That means you have to ride the hairy edge of the tip of the torch being
right next to your molten puddle, but not too far away either, all the
while making sure to dab in some filler rod into your puddle, along with
moving your torch ever so slowly as you go creating a bead of weld. Stay
in one place too long and it can burn right though your work. Move too
fast and you don't get the penetration that is required to have a
successful weld. Like I said, there is a lot going on and if you do
everything even close to being right, those two pieces of metal should
stick together. In other words, Matt is jumping into the deep end trying
to learn this type of welding. But he was adamant about learning so I
give him a lot of credit for doing so.
I tacked some of the pieces together and then had Matt
do some welding on his own, which he's doing below. At the end of the day, he did
pretty well for being his first time. But he wanted me to weld most of
it so I jumped back in.
|
|
 |
Here you can see a bottom piece has been attached, which is the area
that you would stand.
|
|
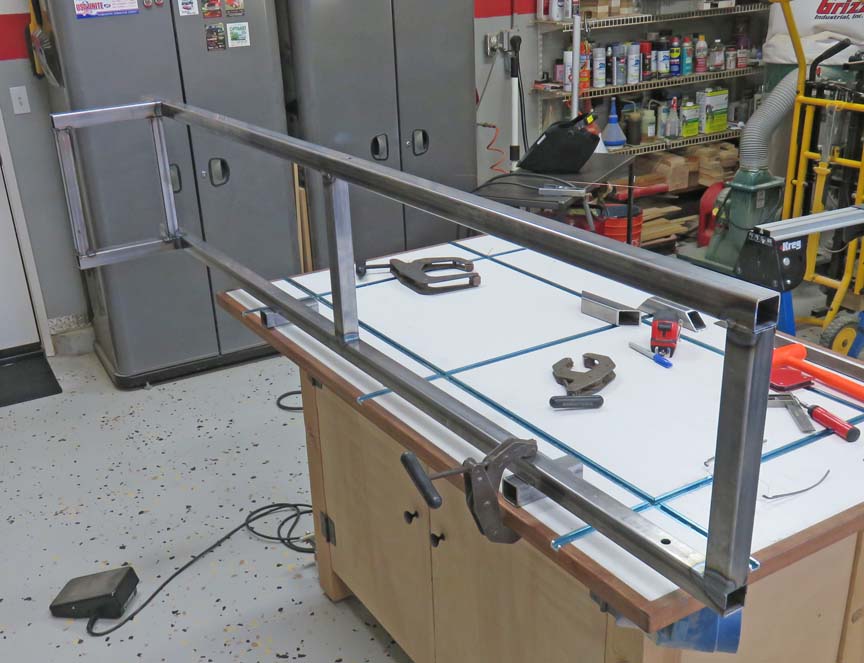 |
Adding some braces to make it stronger. Also notice the 20 degree angle
at the bottom. This angled area will get welded to the solid steel base later on.
|
|
 |
|
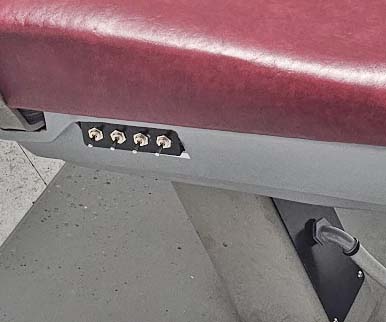
Here is a close-up of the old chair along with the
switch panel on the side (there is another switch panel like this one on
the other side). The new chair will need these switches as well, so we reused all
eight of them. However, we won't be using the old metal box they're
mounted in.
|
|
 |
|
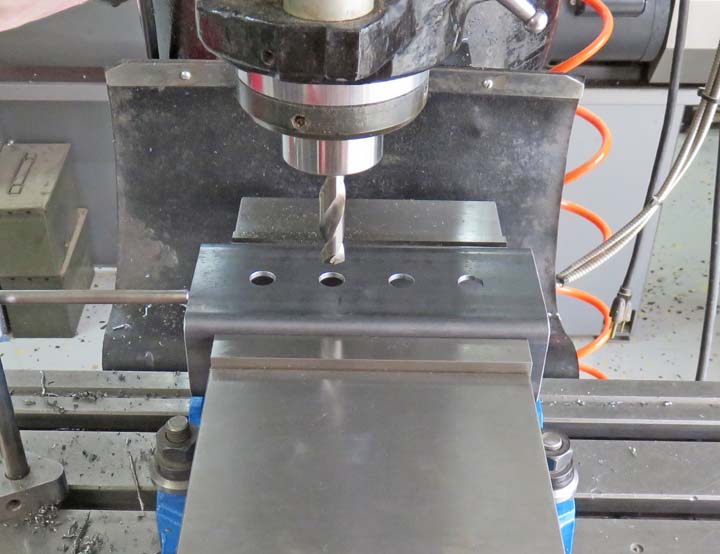
Working With Metal
I had some leftover 2" X 3" X 1/8" wall rectangular
tubing from the
table and bench project I
did a few months ago so we're going to use it for the new switch panel.
I'm putting in the 1/2" holes that are required for the switches below.
|
|
 |
|
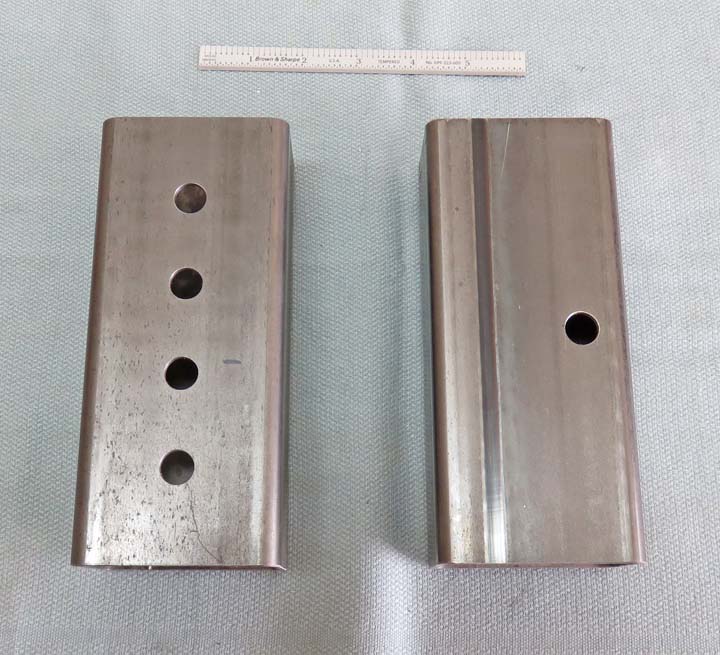
I made two switch panels that are identical, one for
each side. What you see on the right side is what the back looks like.
The single hole is for the wires that will go to each switch and then
run down inside frame of the chair.
|
|
 |
|
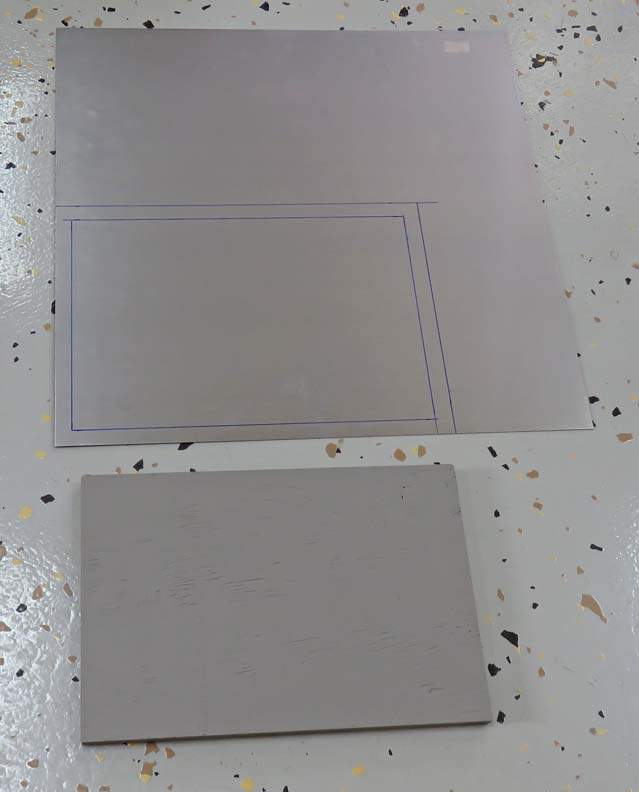
Making A Foot Step The piece of
sheet metal below is 24" square and will be
used at the bottom as a foot rest. This is 16 gage material and it
should work great for this. The piece below the sheet metal is 3/4"
plywood that has been painted gray. Matt made this piece which will be
fastened to the chair at the bottom. What I'm going to do is cover this
piece of wood with the sheet metal so the wood won't wear out.
|
|
 |
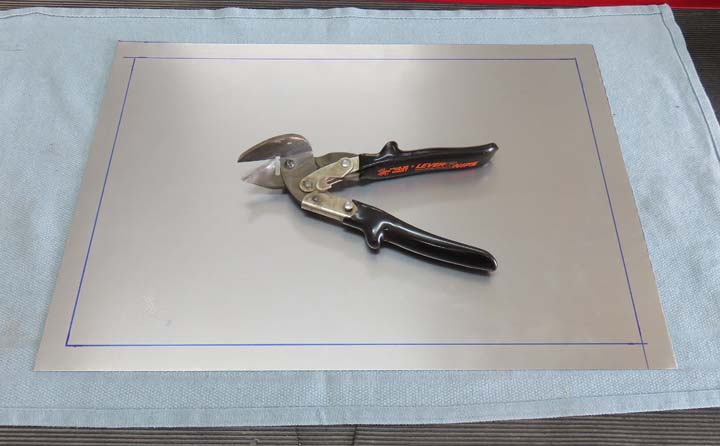
I cut on my layout line with these sheet metal shears and now I'm ready
to start forming it to go around the wooden piece.
|
 |
|
1
2
3 |