Cutting Board     1                                           08-2021


My daughter, Tracey, was visiting from back east and while she was here we talked about another project for her. This time she wanted a cutting board that was a little smaller than the first one I made her in 
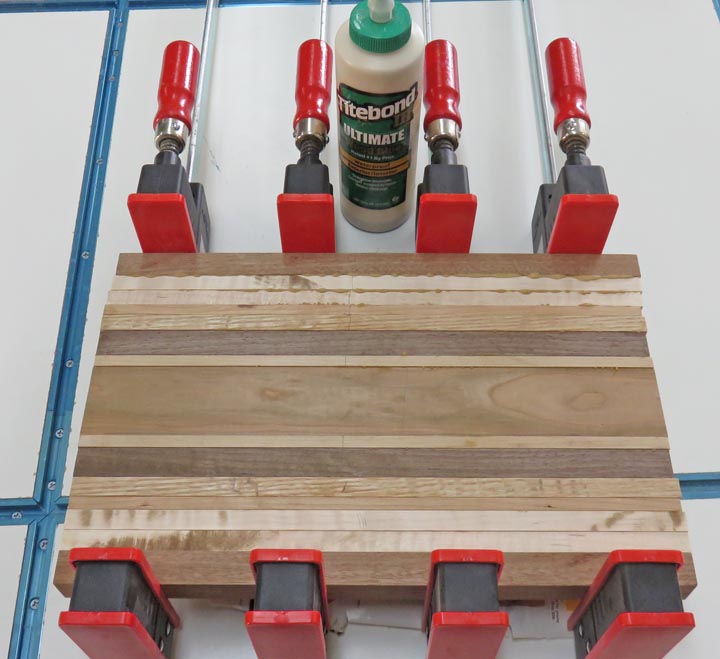
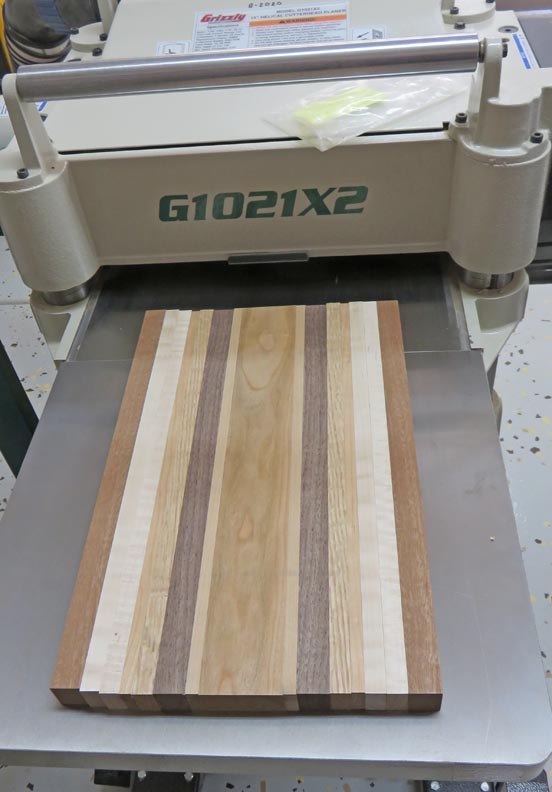
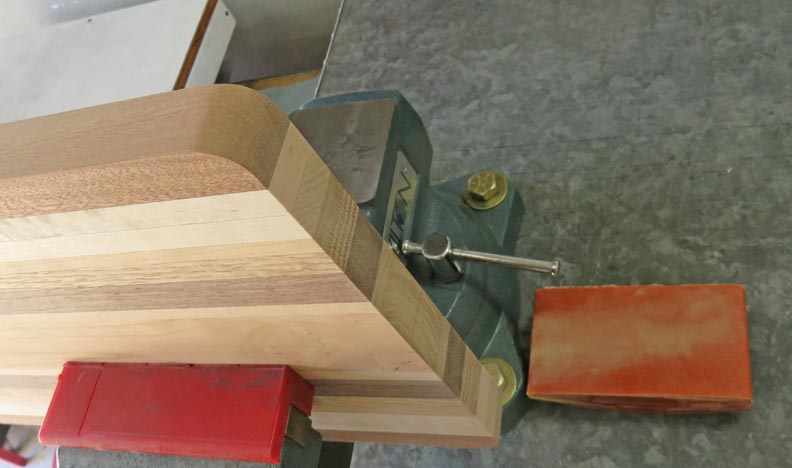
2006. This one will be 14" X 9 1/2" X 1" and should be much easier to use.

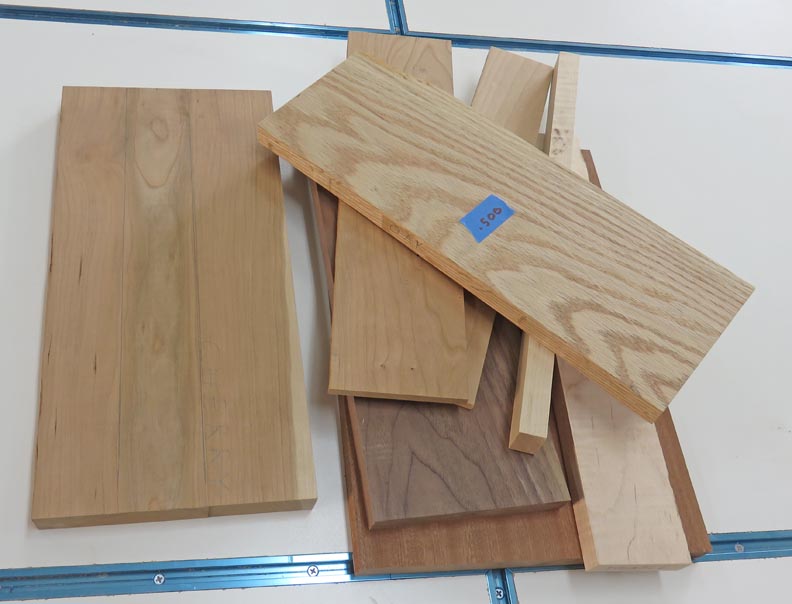
One nice thing about this new one is that Tracey picked out all the wood for it, including which piece went where and the size of each piece as well. That works for me because it will be exactly what 
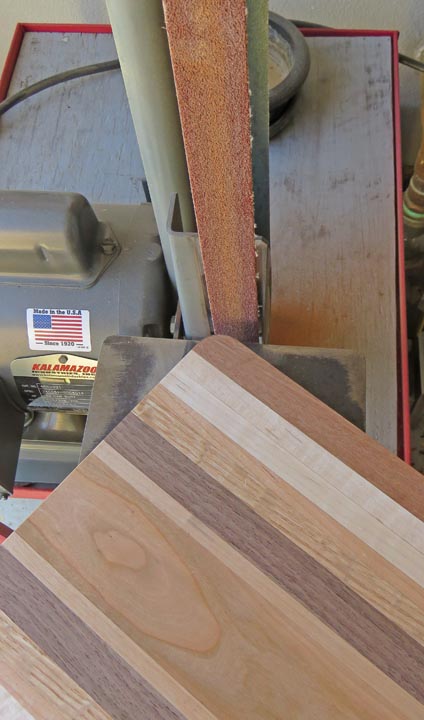
she wants. The spices of wood that will be used are oak, cherry, hard maple, sapele, black walnut and alder.

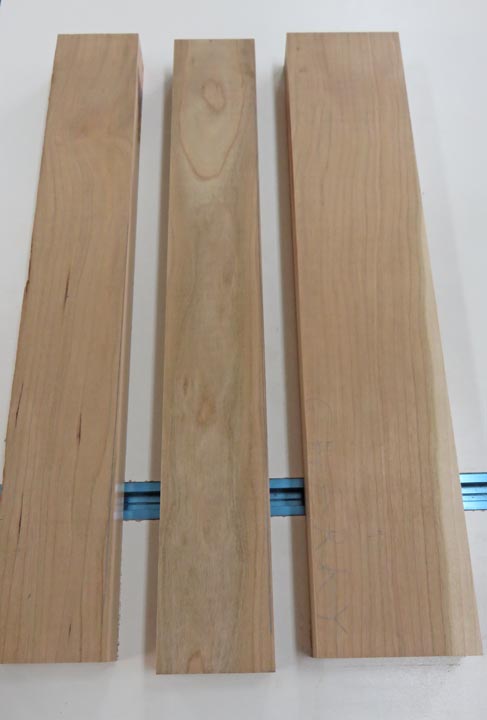
The piece on the left is cherry and if you look close you can see two pencil lines that are two inches apart near the center. Tracey asked me if she could have this section for her project, which I said yes. So I'll be cutting on the line using the middle of that piece and using said piece in the center of her cutting board. Now that you know what I'll be doing, let's get started.


Making A Cutting Board


I cut out the two inch section on my table saw which should look nice for this project.


The pieces that you see below need to be 1/2" thick so I'm getting ready to run them through my planner. However, Tracey wants the maple to be one inch wide so I'll be using two pieces right next to each other to make that happen. If you're wondering why I have five pieces, this is so I can pick and choose the best ones.


I sanded each piece and then glued them together.


The next day I ran the board through my thickness planner to clean up both sides. This goes extremely fast and does a great job as well.


Next it was time to make both sides parallel.


After that I trimmed both ends to length with my cross-cut sled on my table saw.


A few minutes later it was time to put a radius on each corner so it was time to break out one of my sockets.


To produce the radius I used my belt sander. This goes very fast and it's easy.


I followed that up by using a sanding block to make sure the radius looks nice.


1    2