|
Working With Metal Continued
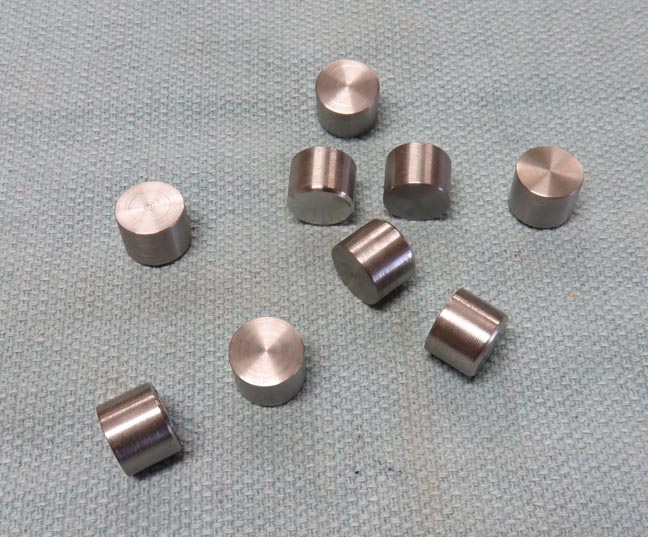
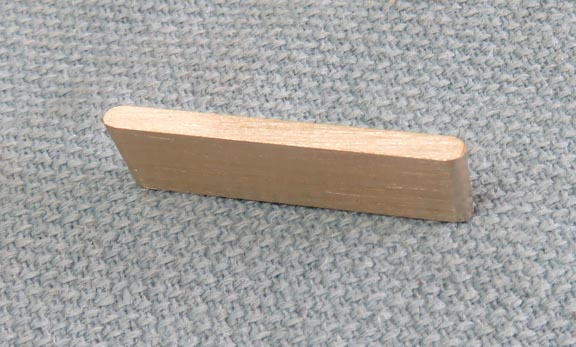
I added a small chamfer to the back of each stainless piece to act as
a lead-in when it's time to install them. This will help keep them
straight and won't shear any wood when the go in.
|
|
 |
These measure .400" long and are ready to
be installed. Now it's time to work with some brass.
|
|
 |
I cut off some pieces from the angle brass and then cut them once again
to what you see below. The brass thickness is already 1/8" which means I
don't have to machine that dimension.
|
|
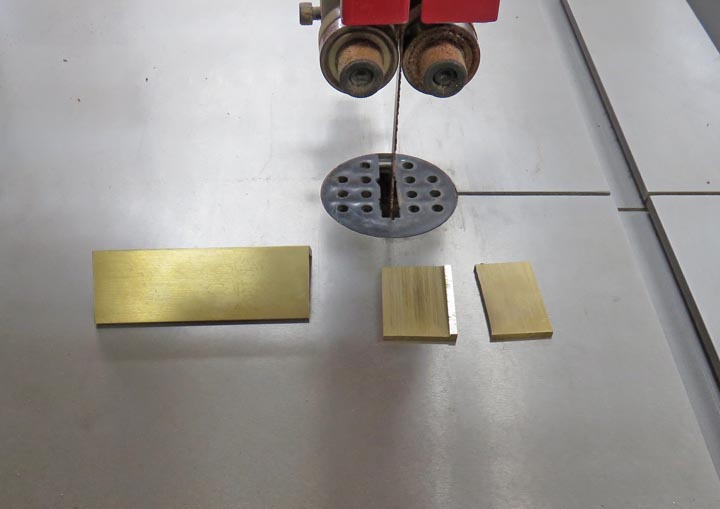 |
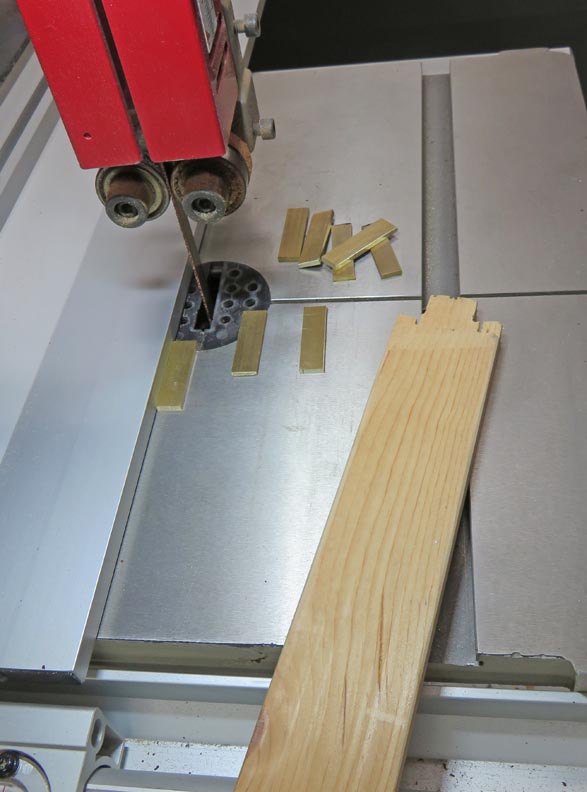
Here I'm cutting my pieces to about 1/2" wide, which is oversize.
|
|
 |
Next I placed four at a time in my vise to machine them to size.
|
|
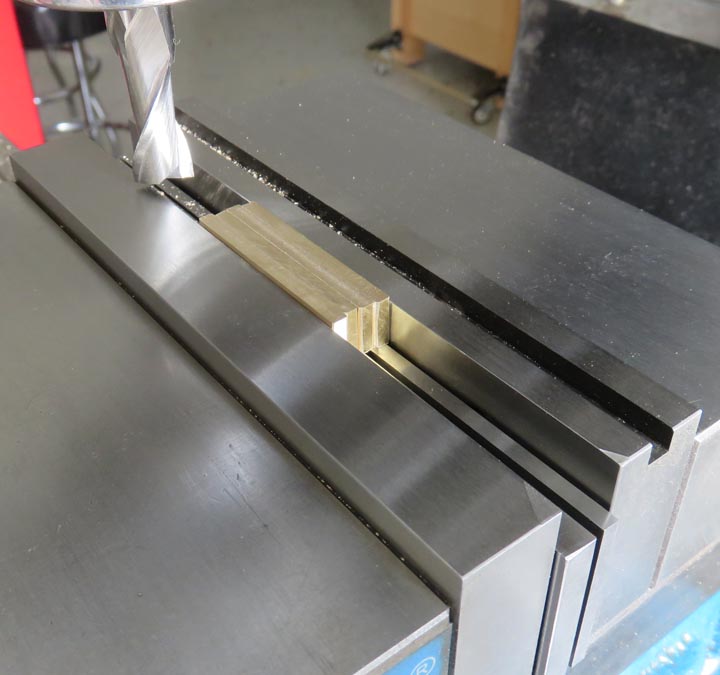 |
Here I'm cutting each one to 1.500" long, which will match the slot
length. Now I need to put a full radius on each end.
|
|
 |
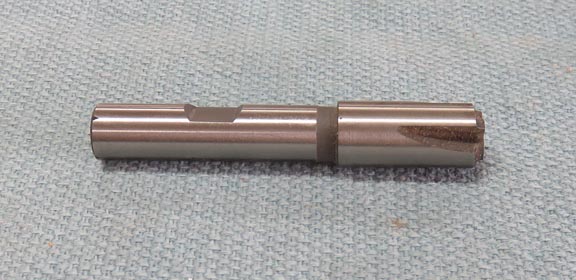
This is the tool I'll be using to cut a radius on each end of my brass
pieces. This is called a corner-rounding end mill.
|
|
 |
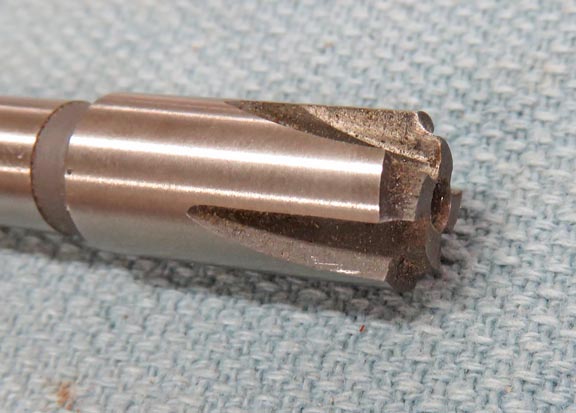
This end mill has a 1/16" radius and once I machine both sides, this
will give me my full radius on my brass pieces.
|
|
 |
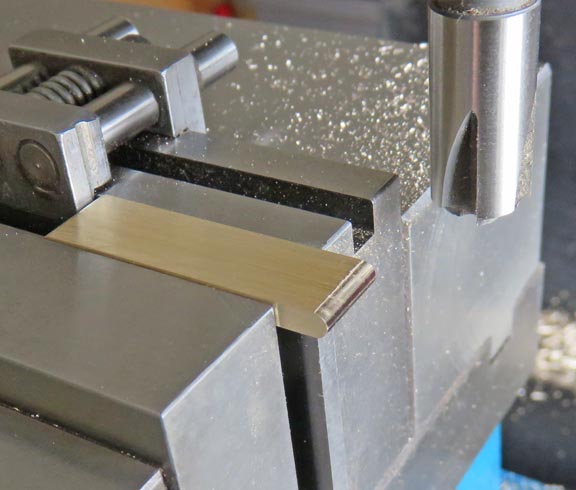
Here you can see my brass piece that has my desired radius on it. Once I
deburr both sides, it will fit my slots in the clock face.
|
|
 |
Here is what my finished brass piece looks like after deburring.
|
|
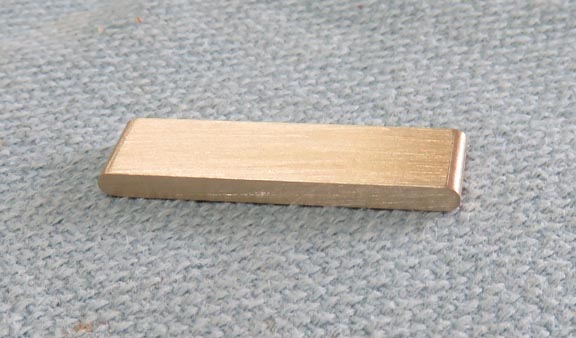 |
As you can see, it has a full radius on both ends. These came out as
expected and didn't take that long. Now it's time to work on some wood
again.
|
 |
|
1
2
3
4
5
6
7
8 |