|
Woodworking Continued
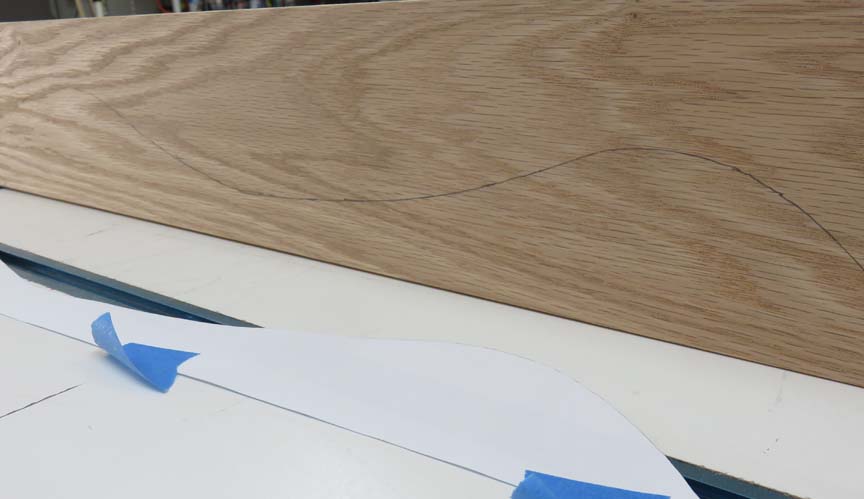
Here you can see the pencil line a little better.
|
|
 |
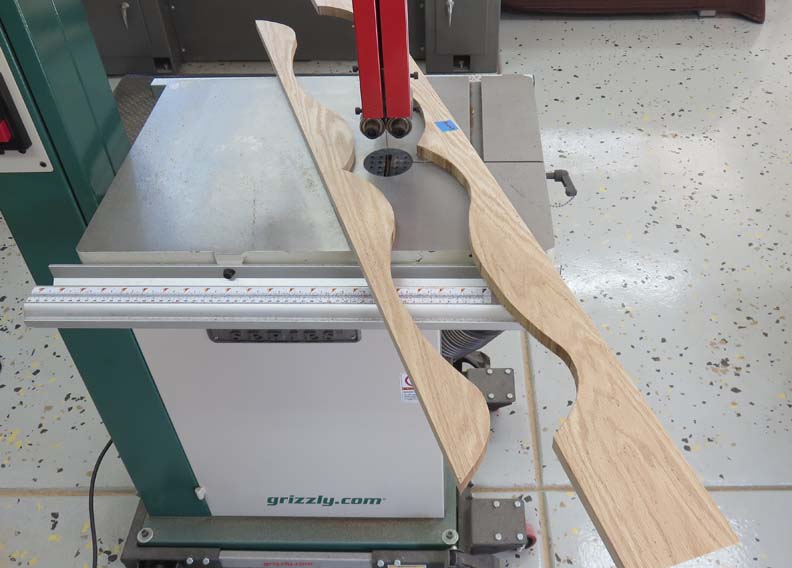
Next I used my bandsaw to cut out all my
pieces which went quick and easy. I should have bought a
bandsaw years ago.
|
|
 |
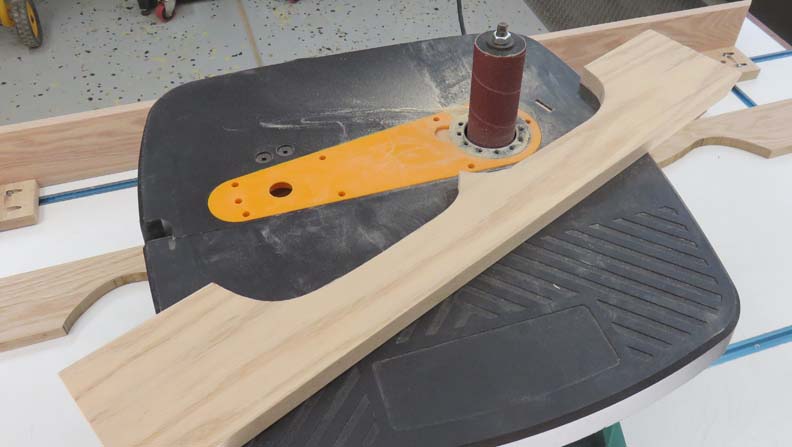
To sand all the contours I'm using my spindle sander. This sander works
great and makes quick work of whatever it eats.
|
|
 |
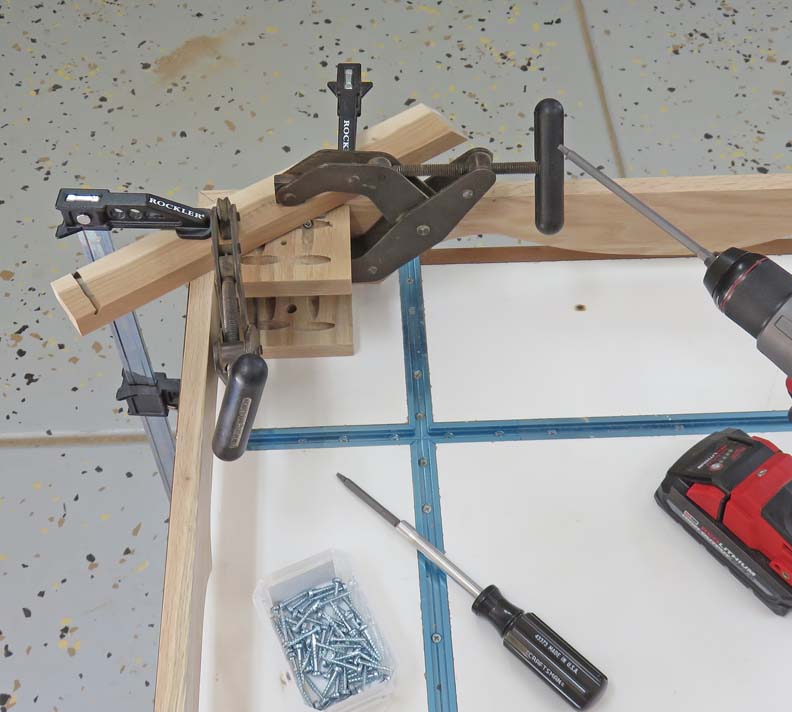
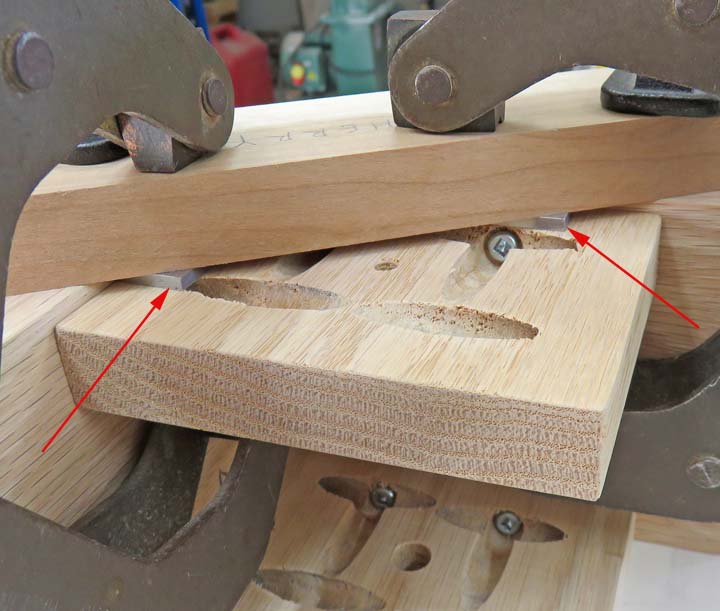
I'm using a scrap piece to locate the top block parallel to the upper
edge.
|
|
 |
But what you can't see in the picture above is the block is sitting 1/8"
lower than the base (arrows). I figured this small step would locate the
chest a little better.
|
|
 |
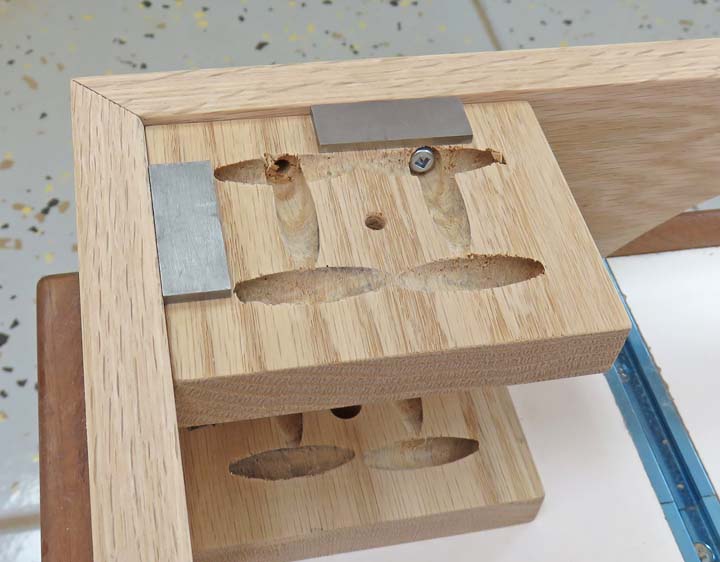
Here you can see the 1/8" spacers (steel parallels) that I used for
this, which worked out great.
|
|
 |
|
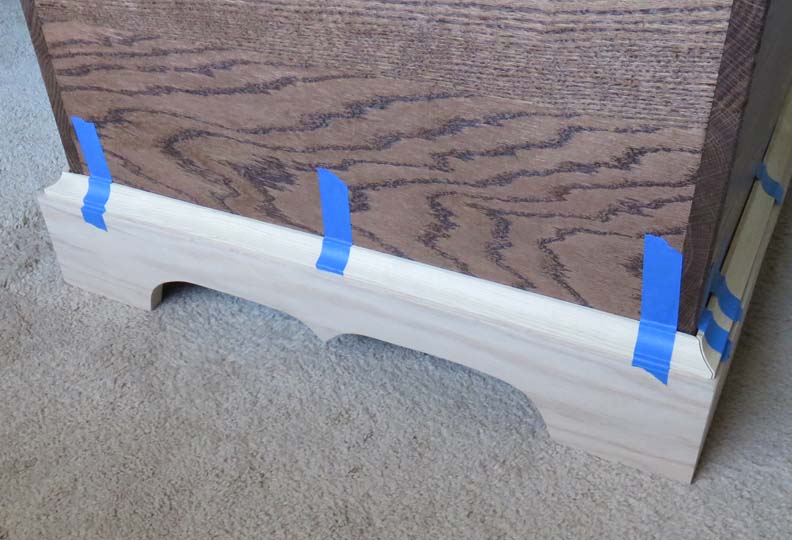
Next It was time to set the chest in the base so I could
cut all my molding to length. Now I'm no expert cutting miters so this
took me many trips from my bedroom to the garage making sure I didn't
cut too much off. The tape is used to hold each piece in place while I'm
working on a different one.
|
|
 |
|
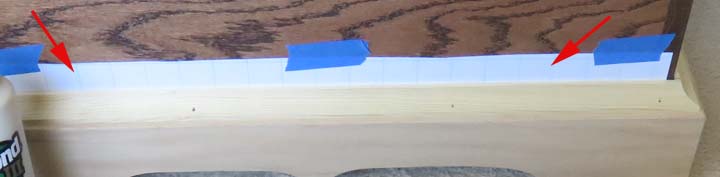
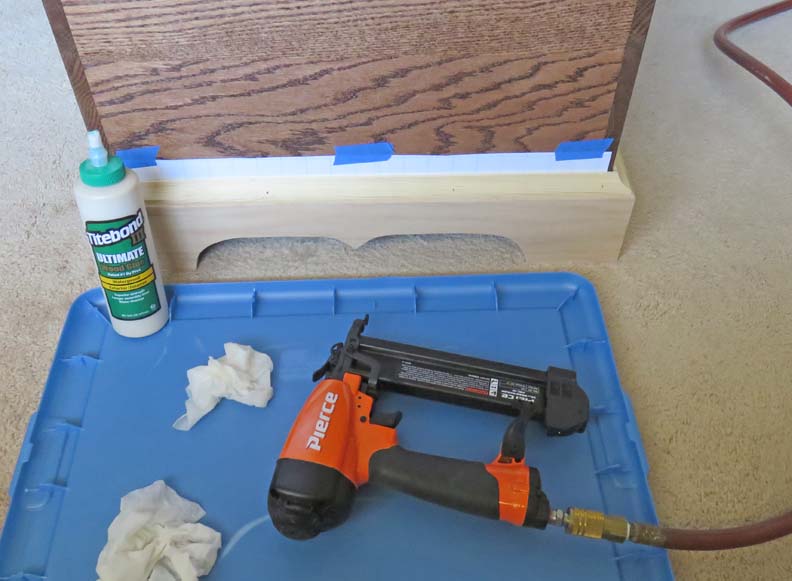
Now that I have all the miter cuts finished, it's time
to glue and nail it in place. But before I do that I'm placing some
paper between the molding and chest (arrows) creating a small amount of clearance
along with a glue barrier just in case I have too much squeeze-out.
|
|
 |
|
I hooked two air lines together and ran them into my bedroom
so I could use some 18 gage brad nails that were 3/4" long. Once I had
the glue on both pieces, I put the molding in place and then shot in some
nails.
|
|
 |
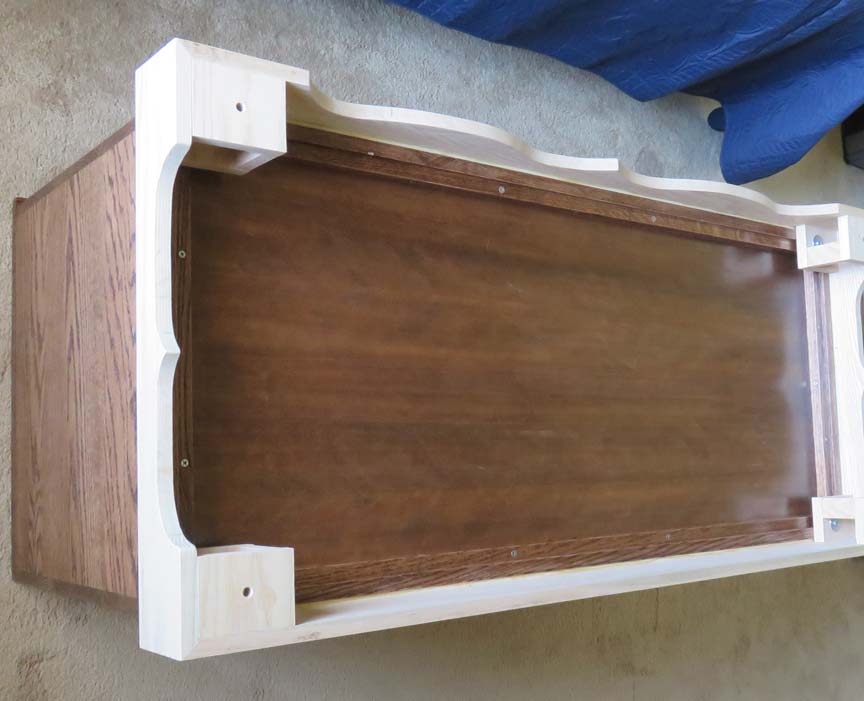
Afterwards I pulled out all the paper, turned the chest over and
transferred the hole locations for my screws.
|
|
 |
|
1
2
3 |