|
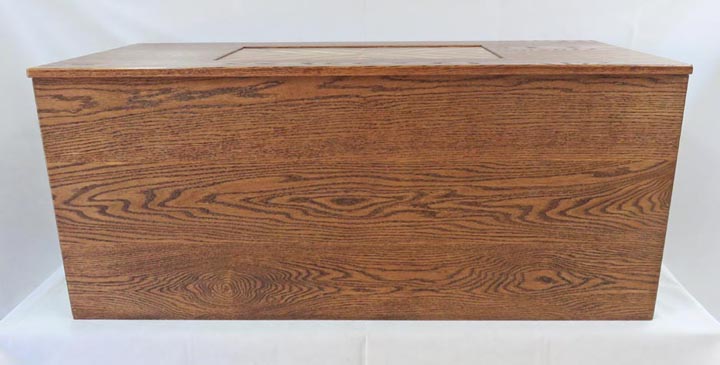
I made this chest for my bedroom just over one year ago
and it has served us really well up to this point. It has lots of
storage and doesn't look to bad either. But when I was making it I asked
my wife if she wanted something fancy at the bottom so it would match
the other furniture we had. Her answer was no, I just want it plain
looking.
Now I've always thought it needed something else, hence
the question I asked my wife a year ago. Well I finally decided to add
that small detail to the bottom after all this time so that's what I'll
be doing here, making a base for this chest.
If you'd like to see how this chest was made
click
here.
|
|
|
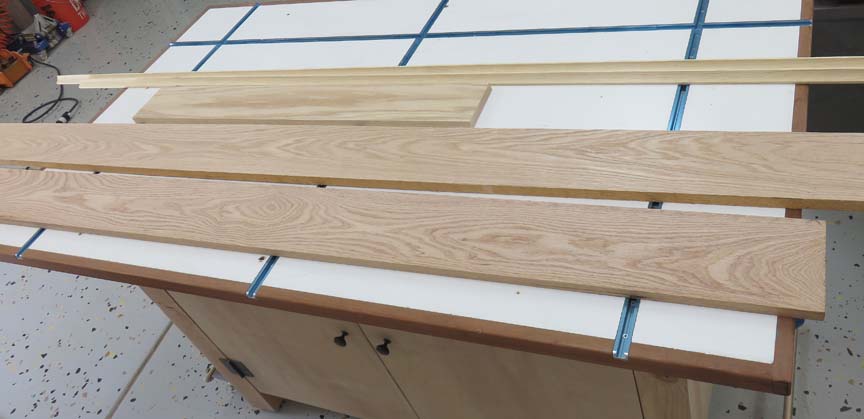
Woodworking I'll be using more oak here and some pine trim for this
base. Then I'll stain it and finally put some clear on it so it all
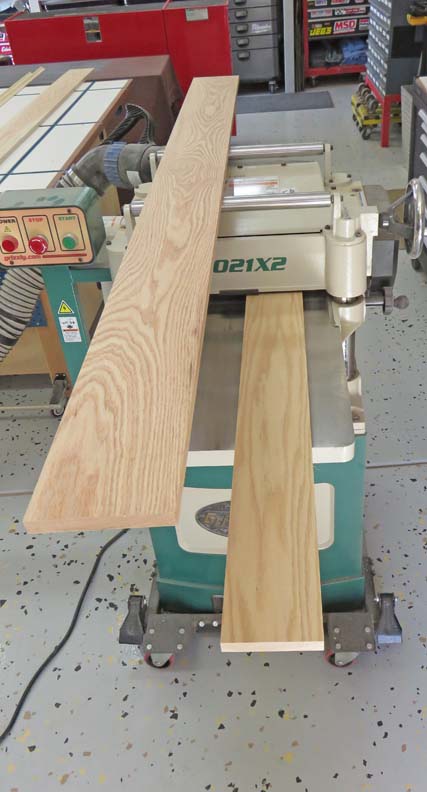
matches. The first thing I'll need to do is make sure all my material is
the same thickness so it's time to get out my thickness planer.
|
|
 |
|
I had to buy one piece of oak because I didn't have
enough sitting around. However, the piece I bought will be used for the
front because it seems to match better.
|
|
 |
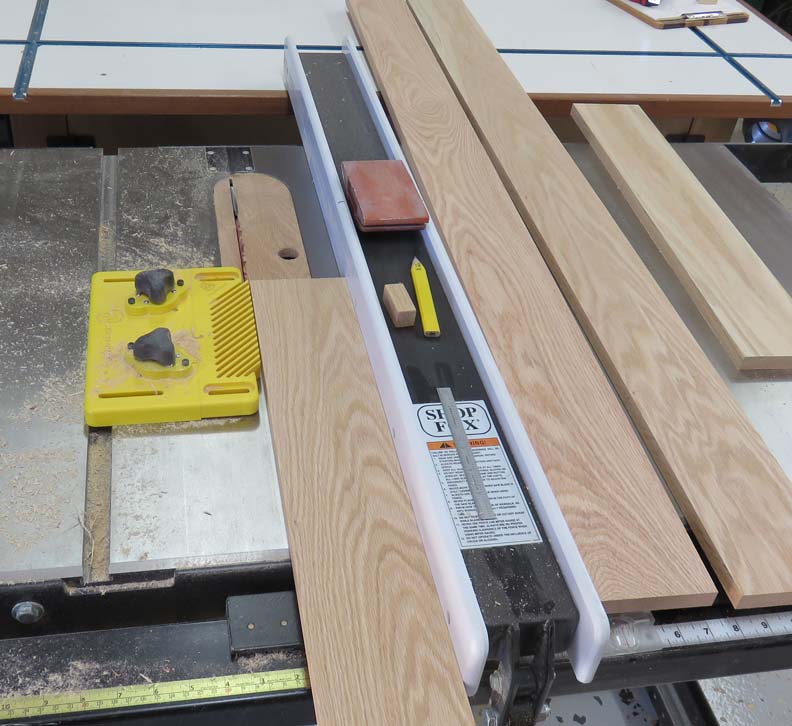
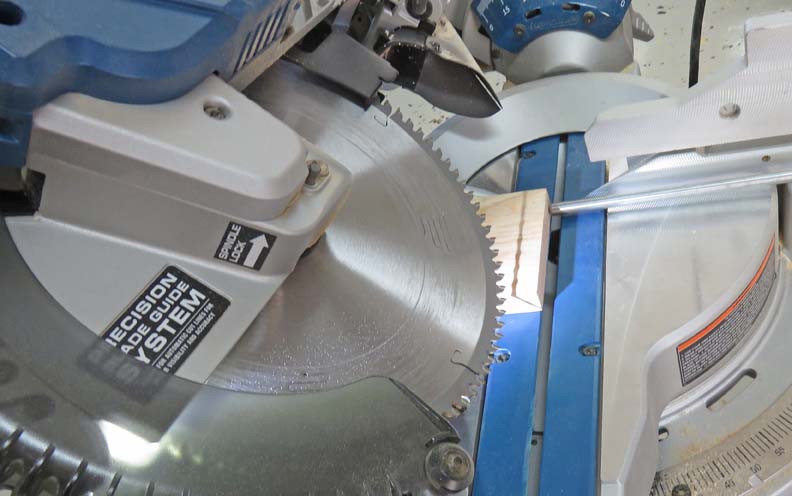
I set my table saw at four inches and ran all my boards through it. Next
I cut them all to length on my compound miter saw.
|
|
 |
I'll be mitering all the corners so I adjusted my saw to 45 degrees and
cut all my pieces.
|
|
 |
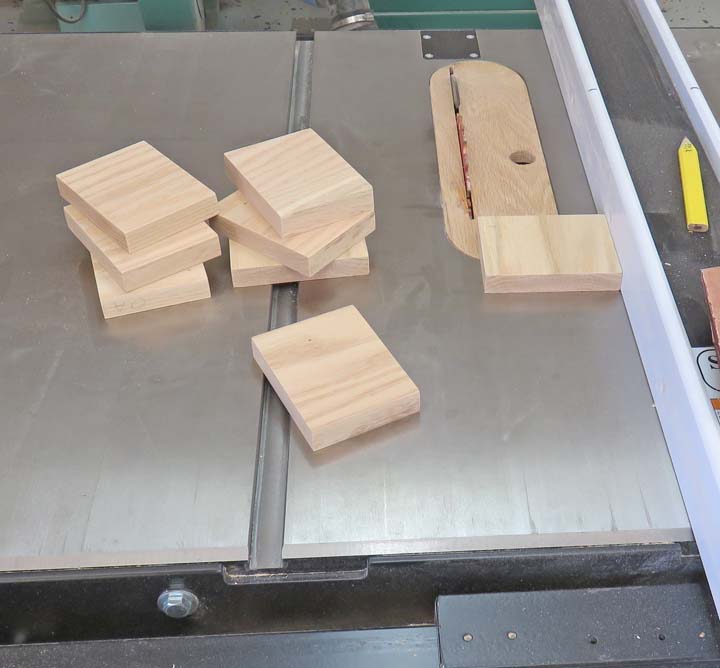
I'm going to hold the base together with these blocks, two in each
corner.
|
|
 |
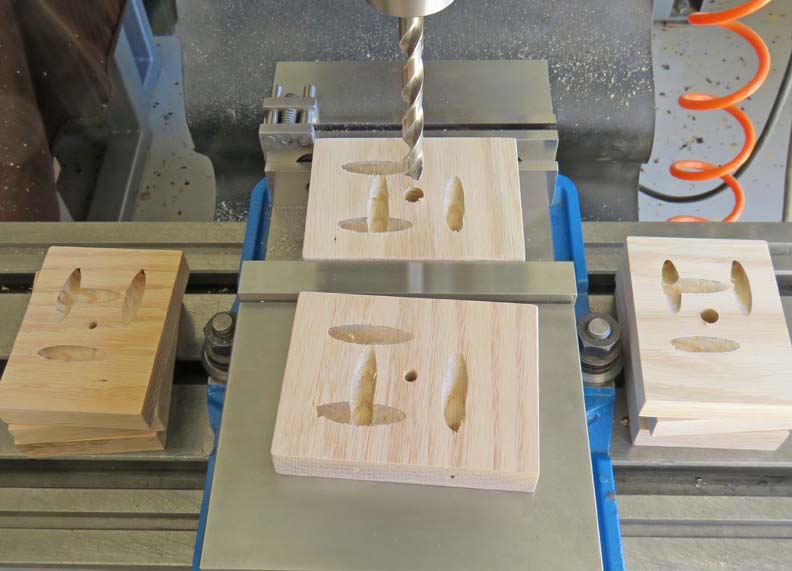
To attach all the blocks I'll be using my pocket jig. This pocket
hole jig made by Kreg works great for this kind of thing. Plus, it's
really easy to use.
|
|
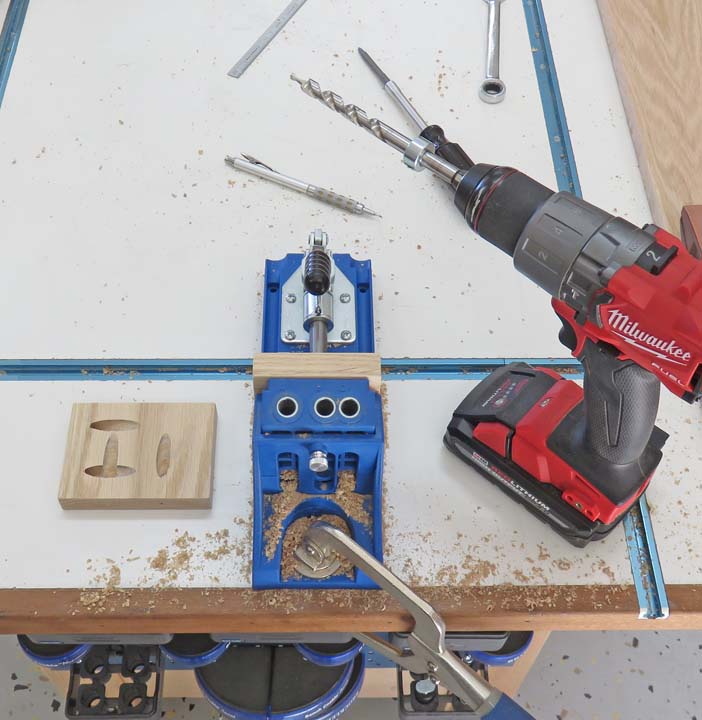 |
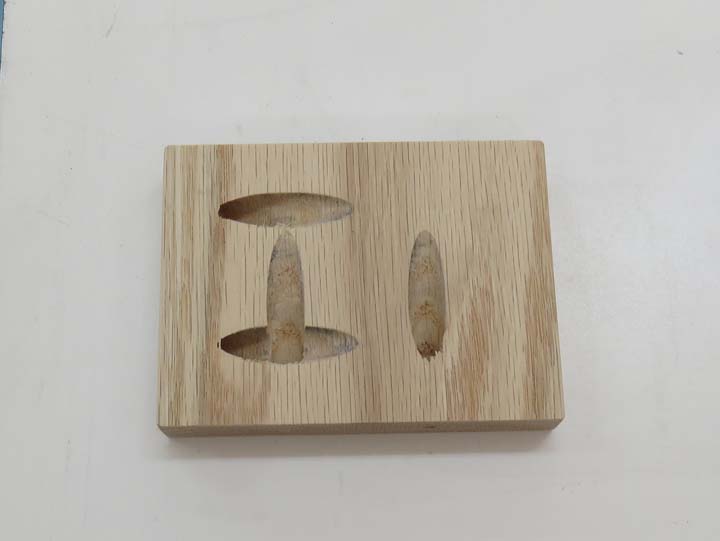
This only takes a few minutes to drill all the holes and now I'm just
about ready to screw it together.
|
|
 |
I'm going to use one large fastener at each corner to hold the base to
the chest. Here I'm drilling some clearance holes. Now one size is for the
screw and the other is for a screwdriver to pass through.
|
|
 |
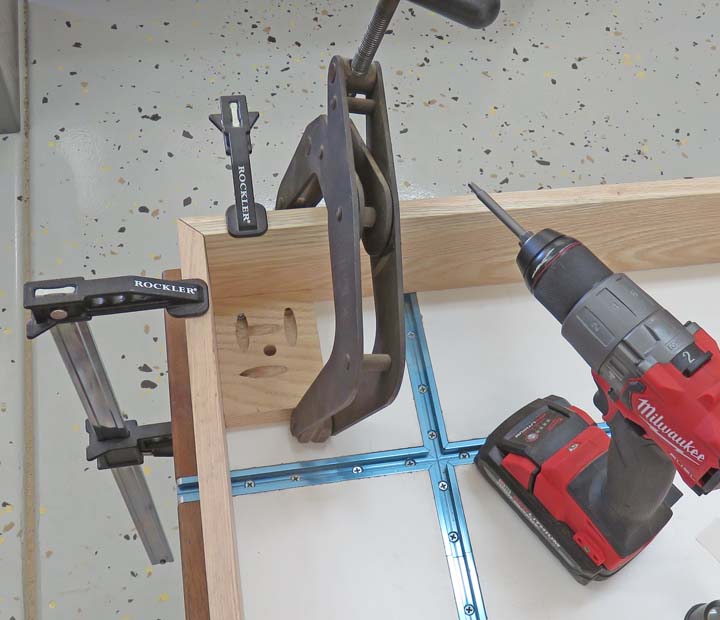
I clamped the base to my mobile work bench and then clamped the block to
the base. After I made sure everything was in the proper location, I
drove in the screws.
|
|
 |
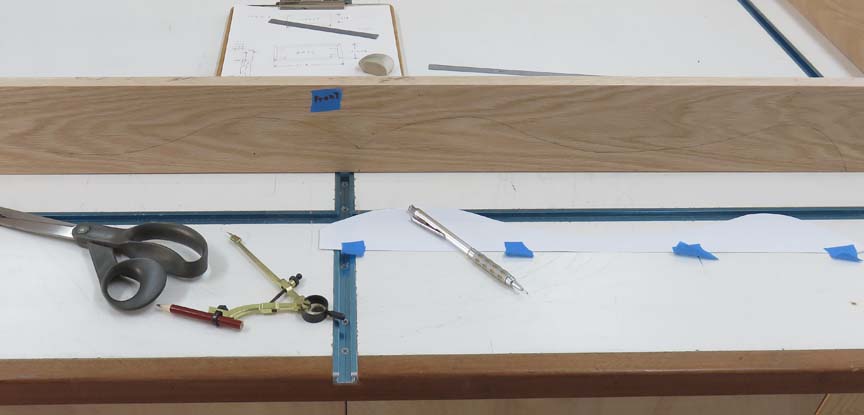
What you see below is a paper stencil that I cut out with the shape that I
wanted. I taped it to the base and then traced around it with a pencil.
|
|
 |
|
1
2
3 |