Car Club Plaque 1            01-2016


I'm in the process of selling my 33 Ford Coupe so one of the first things I started doing was removing all the items that I wanted to keep. The items I was hanging on to were: cleaning supplies, hat, sweatshirt, a few tools, organizer, etc. But one of the most important items to be 
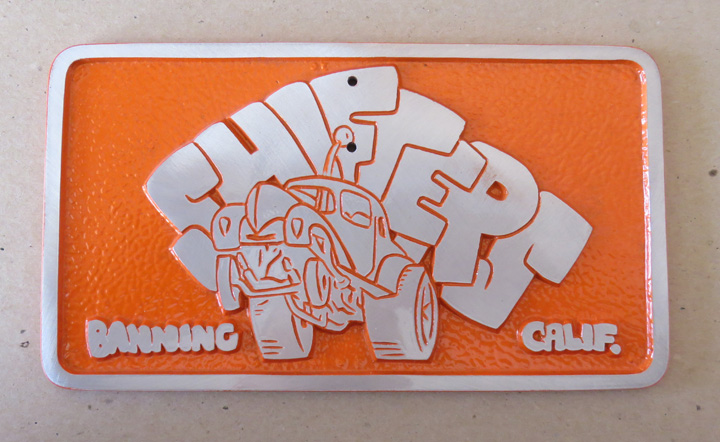
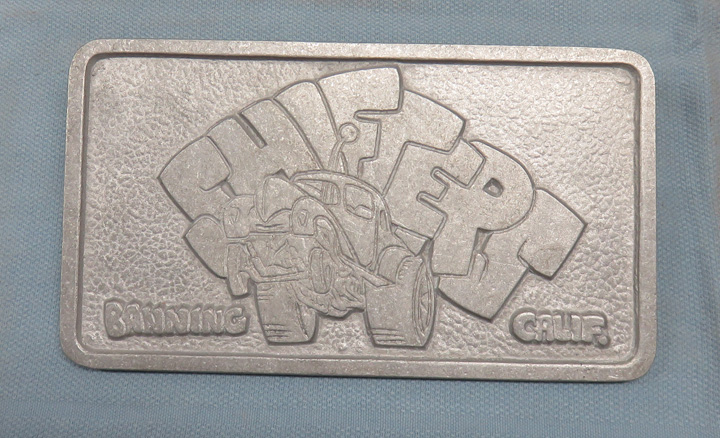
removed was my Shifter's Car Club plaque. Why? Because whoever the new owner ends up being, they would put their own car club plaque in it.

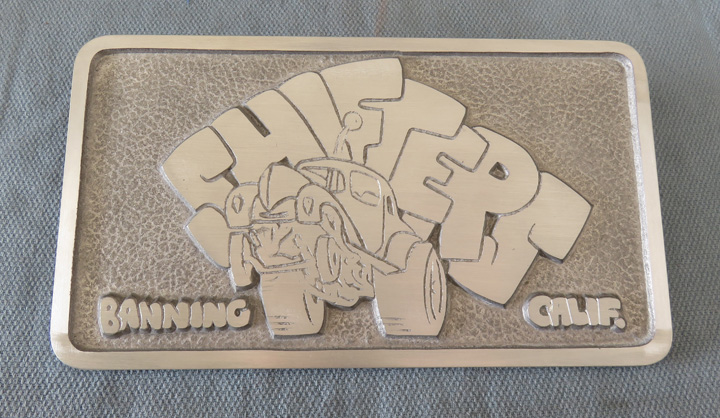
Now I wanted to display my plaque (orange one below) in my home office someplace because if I ever built another car I could use it in the new one. Besides, my plaque means the world to me because my buddies Gary, and Larry gave it to me at my very first car show that I attended. But the big question for me was....where in my office should it go and how am I going to display it?

I first thought about resting it up against my desk next to a few pictures, which would look okay. But that notion quickly faded because this plaque needed a better place than that. Much better in fact!! Some place special. Some place special and memorable. "Some place special, memorable and gratifying".

Yeah that's it...all of the above!

Now the big question, what exactly am I going to do? Some of my first thoughts were: use a block of aluminum, cut a groove in it so the plaque would rest in it, maybe at an angle. That might look nice on my desk. Or maybe have it rest on some wooden pieces and display it at the top, like a trophy. That might look nice too.

Still in question, I eventually went out to the garage for some inspiration. I gathered a few items together, placing this piece next to that piece, trying to get an idea for something cool, something different....anything!! Well after an hour of playing around I went back in the house and called it a day because nothing was saying, "yeah, that's it".

A few days later I was at my home office desk and started up my computer. While I was waiting for it to boot-up, I sat down and was just looking at some of the items on my desk, mainly near the top where I have lots of pictures along with a few other things. Well one of those other things happened to be the handout they give you when you attend a funeral, with this one being of my best friend Gary. Now I've had this on my desk ever since he passed away in September of 2006. And It's placed right in the middle, has a picture of him on it along with the racecar that he built.

Then it hit me, how about if I honor both Gary and the Shifter's Car Club? "Yeah that's it"!!

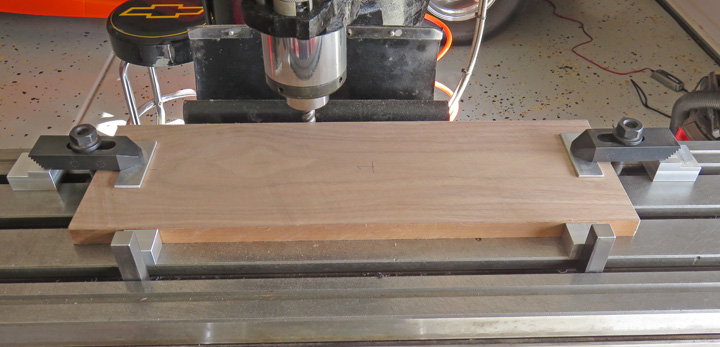
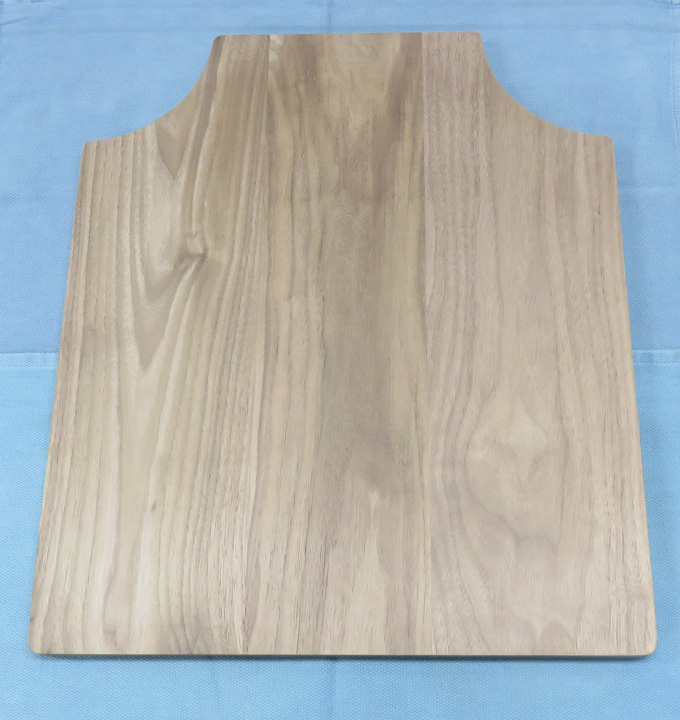
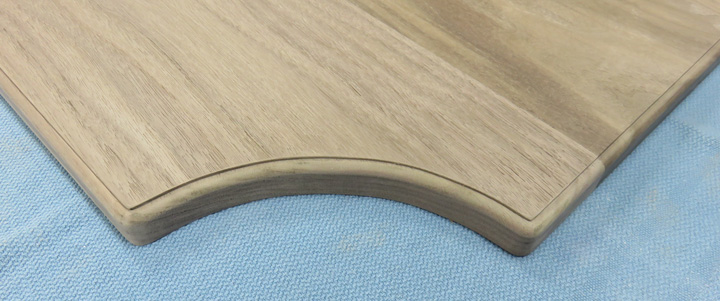
What I decided to do was make a wooden plaque to display Gary's picture on it along with my Shifter's plaque. No wait a minute...I'll do more than 
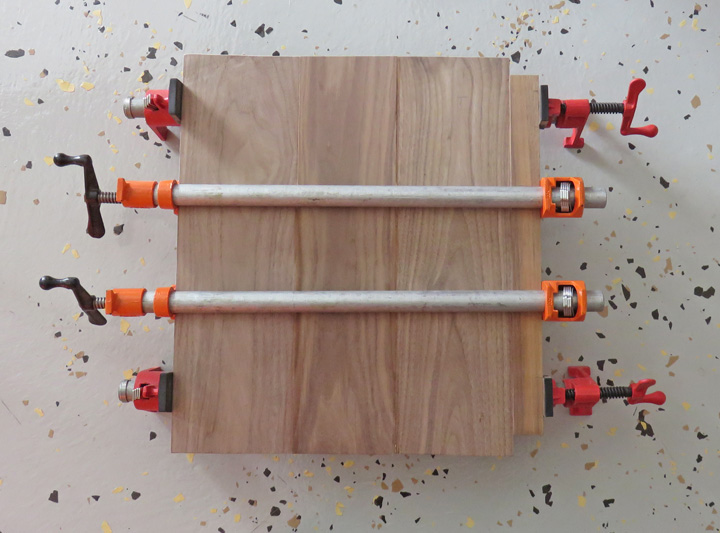
that... I'll put a few pictures on this new plaque, make it out of black walnut and really make it nice.

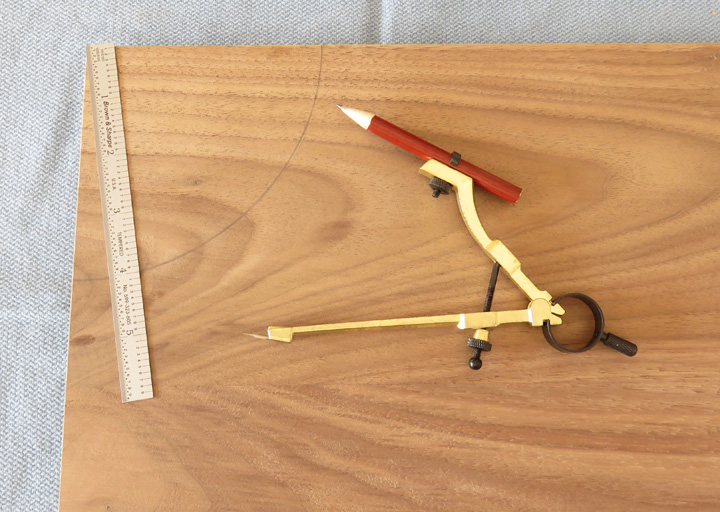
A few minutes later I started thinking about how I wanted to make this new project and which pictures to add to it. Again I looked up at Gary's picture and thought, that one would look great. I could scan Gary's handout and use it at the top. Now behind his picture I have several others, with one of them taken by me back in 2006 of Larry's, Gary's and my car while we were all attending the Cherry Fest Car Show. Perfect! Another picture for the wooden plaque. But after looking at this picture it hit me, my buddy Larry's birthday is in January so how about I make him something too? Something for both of us that would be Special, Memorable and Gratifying.

Well there you have it, the story behind the project/birthday gift that I'll be making here.


I took a road trip over to Reel Lumber in Riverside, California to buy some black walnut which I think will look nice for this project. Come to think about it, most black walnut looks pretty good, at least it does to me. What I'll be doing is using three pieces that will be glued together to make one plaque. The longer boards are for me which will be 17" X 25" when finished and Larry's birthday present will be 17" X 20" when finished.

Side note: While I was at Reel Lumber I looked at some very nice boards of black walnut that were 11" or 12" wide by 7 feet tall. My first thought was; if I only had to glue two boards together to make my project, that would be easier than using three. So after I found my perfect piece of wood, I asked how much it was and to my surprise it was over 80 dollars! Damn, I knew black walnut was more money but....

I walked back over to the 'not so good' rack of wood and found three pieces of black walnut that were five feet long by five and six inches wide. This would mean I would have three boards per plaque but at over half the cost I went with the cheaper stuff.


I'll be working on Larry's project first because his birthday is just around the corner. The next thing that needs to be done is machining the saw cut edges that will be glued together. I'm using a 3/4" end mill to clean up the sides here.


After the sides were machined, I glued and clamped them together and let them sit overnight.


The following day I machined the top and bottom surfaces so they were parallel. This process takes me awhile because I need to move clamps along the way.


Once the front and back were finished, I squared the outer surfaces. The final size is 17" X 20".


This plaque is going to be large so I laid out for a 4" radius at the top two corners.


My jigsaw made short work of these two rough cuts.


I used a 1" sanding drum in my milling machine, ran it at 1800 rpm and worked to the line. This didn't take long and it worked great.


Here is the basic shape which I think should look nice when finished. And I used my belt sander to radius all the corners.


I used my router table with a 3/16" round-over bit and set the bit higher by about .050" to give the perimeter a nicer look.


This Shifter's Car Club plaque came from Larry's house, but he doesn't know I have it. I talked with Larry's son and he was able to find an extra one laying around so I could use it. I would love to use Larry's original plaque but that one's in his Camaro so this was the next best thing. Now I need to clean this one up and paint it so it looks nice.


This plaque is made out of cast aluminum and was pretty rough to say the least. I started sanding on it first and quickly found out this was going to take awhile. I decided to machine it in my milling machine and that made quick work out of it.

Notice the word "Calif" in the bottom right corner. Once I was finished machining everything, those letters had been cut so deep that I had to use a small file to put a groove between all the letters to define them again. No big deal but I felt like I was working on 'printing plates' for making money while doing this. Yeah I know...I'm trip'n.


I cut the back as well because I needed both sides parallel while machining it. The small area near the bottom that looks different is due to me taking only a minimum clean up. In other words, I wanted the plaque to be as thick as possible because I'm going to be putting threads in it to hold it in place so the area that you see is the raw casting and not cleaned up. No big deal because that area will not be seen once it's finished.

I'll come back to this part of the project later because it will need some threads to mount it along with it being painted.


1  2