|
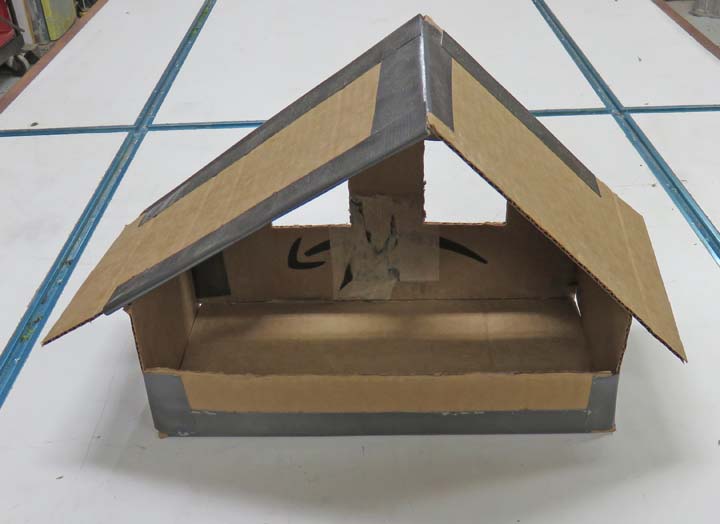
What you see below is a cardboard mockup that my
daughter, Tracey made. What is it for you ask? Well i'ts not a birdhouse,
even though it looks like one. This will be a 'keepsake' box shaped like
a house or cabin. Let me explain: Tracey and her sister Angela recently
went to a 'Taylor Swift' concert and they both had a great time. One of
the things that her fans do is trade bracelets that a lot of people make.
Now these bracelets are one of a kind, hand made pieces that get traded
between other people that made bracelets of their own.
Now I didn't know this was even a 'thing', trading
bracelets, but apparently it is.
Taylor Swift was performing in front of a prop that
looked very much like this cardboard house, and with some pictures that
my daughter took, she had a plan to make one, with my help, so she could
store her many, one of a kind, hand made bracelets inside of. And one of
Tracey's requests was to use some thin pieces of wood to make it with.
In fact, she picked out most of the pieces that I had laying around
which made it even easier.
Anyways, this will be a father-daughter project and it
should be a really fun time working together.
|
|
 |
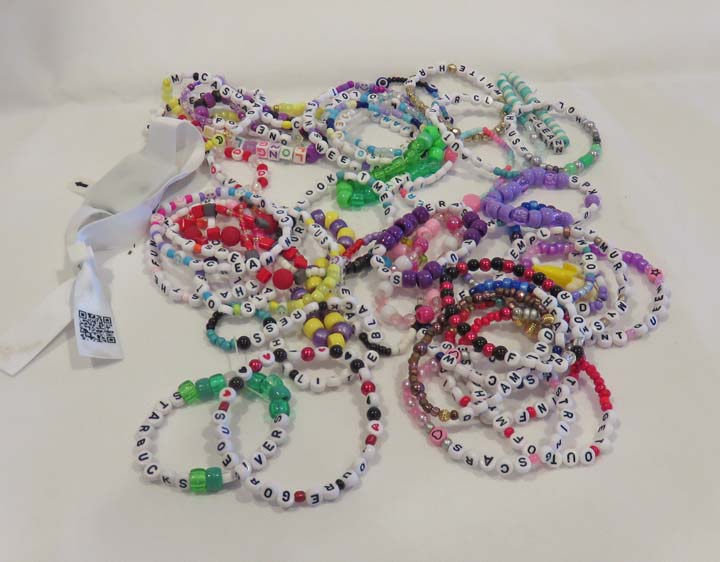
Here are the bracelets that Tracey traded
for that night. And she made 100 of her own to swap with other people while she was
there.
|
|
|
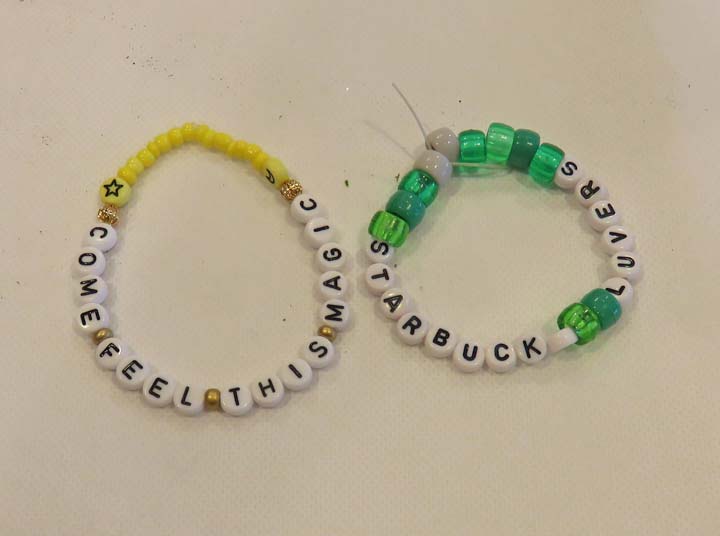
Here's two of the many bracelets that my daughter received that
evening. Oh, one more thing that Taylor Swift fans do, they lay one of
their bracelets on top of Taylor's CD's in the store so one of her fans
can own one. I didn't know this was a thing either until Tracey told me
about it. Go figure!
|
|
|
Working With Wood
I'm using some 1/8" and 3/16" material for this
project but the bottom is about 3/8" thick. And the species of wood is
going to vary greatly through-out this project. The bottom is pine, the
back and left side are thin plywood, the right side and front are black
walnut. There are going to be a few more pieces with even more varieties
of wood as well, but I'll talk about that later.
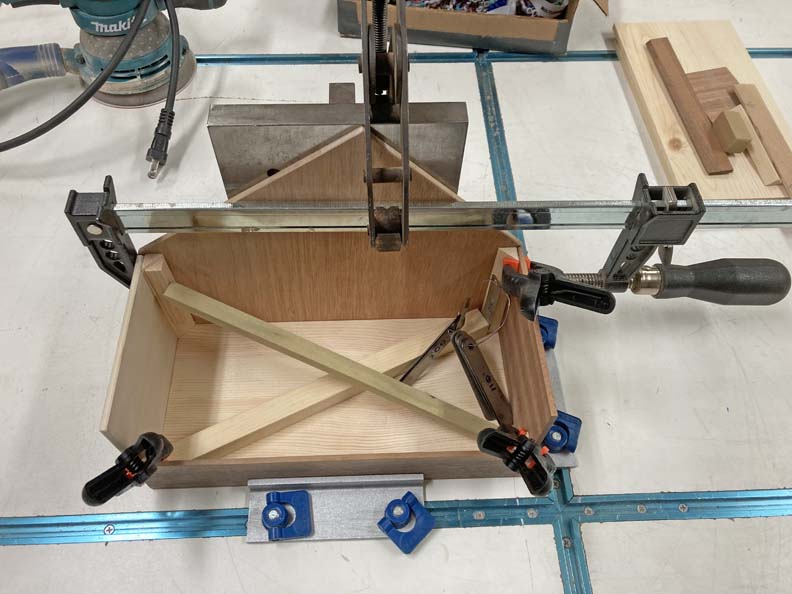
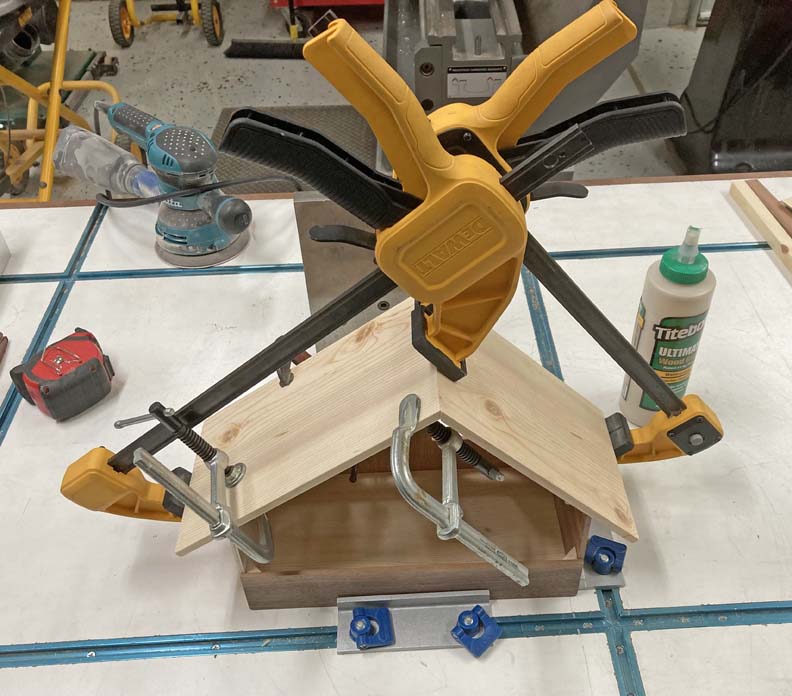
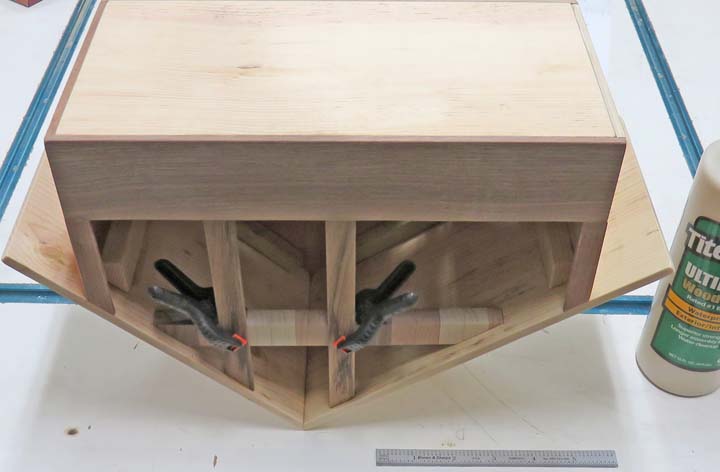
With the thinner wood pieces, screwing or nailing them
together wouldn't be easy so I glued everything. If you look close you
can see some corner pieces shaped like a triangle that gives me a larger
surface area for some glue. The two sticks that are crossed are just helping
with the glue-up.
|
|
 |
Here I'm attaching the roof which are made out of pine. I mitered the
glue joint at the top, which makes for a little more surface area.
|
|
 |
|
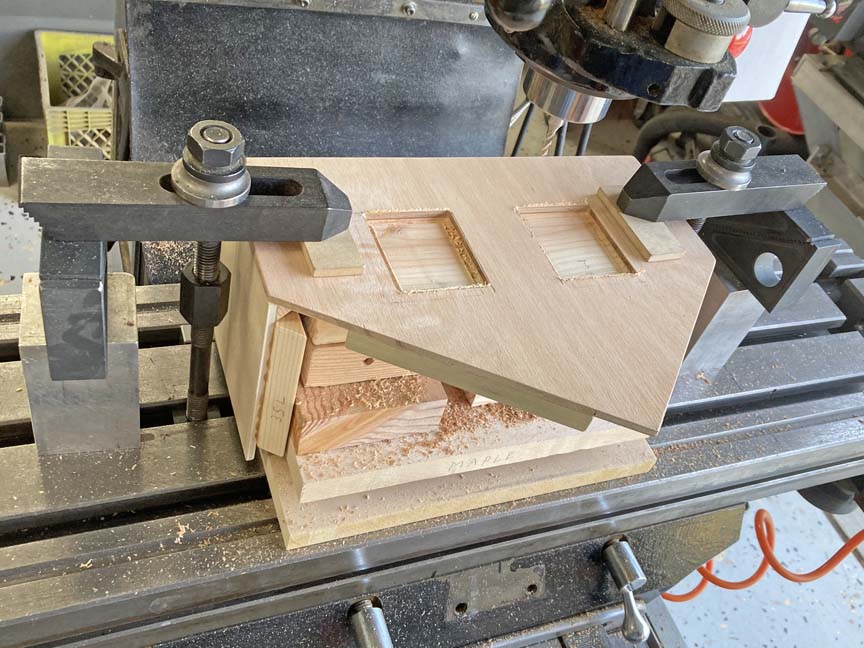
I got ahead of myself and forgot to put in the windows
before I glued on the back so I'm doing it the hard way. I had to
build-up the inside with some blocks so I could clamp on something
solid. It wasn't a big deal but I did have to cut a few pieces to make
them fit.
Now if your wondering if I could have done this
operation without the use a milling machine, the answer is yes. But
doing it this way ensures the uniform look and some nice looking
corners.
|
|
 |
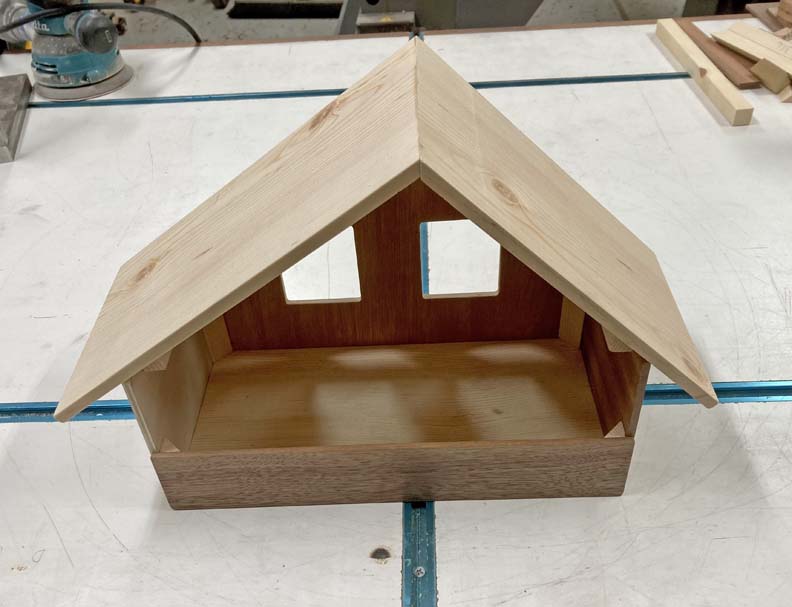
Here is what I have so far, which is looking pretty good and Tracey is
happy with it (which is the most important).
|
|
 |
|
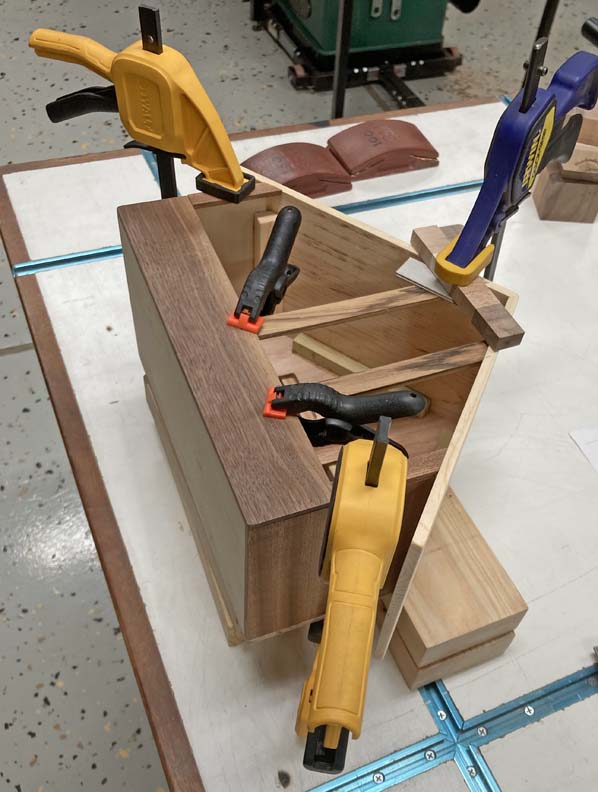
The four pieces that are being clamped are adding to the
actual look that my daughter was after. The outer pieces are black
walnut and the two in the center are zebra wood. If you're wondering why
the zebra wood looks funny it's because Tracey wanted these pieces to
look different so I cut them 1/8" thick like the others. However, the
nicer looking pattern is on the thinner 1/8" surface.
|
|
 |
|
The next piece is a cross beam that was leftover from a
pervious project. I cut
two pieces, glued those together, cut it to length, cut a 45 degree on
one end and then a 35 degree on the other end. And now I'm gluing that
piece in place below.
|
|
 |
|
1
2
3 |