|
Leather Work
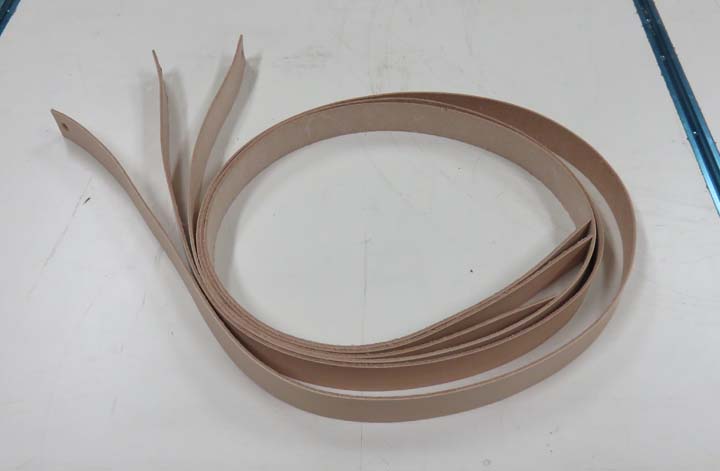
I bought six 1" wide leather straps by about 1/16" thick
to wrap the hand held areas with. Each strap is 48" long but I will only
need about 41 or 42 inches for each area. Now I had many choices of
widths and thickness' here but decided on this size.
|
|
 |
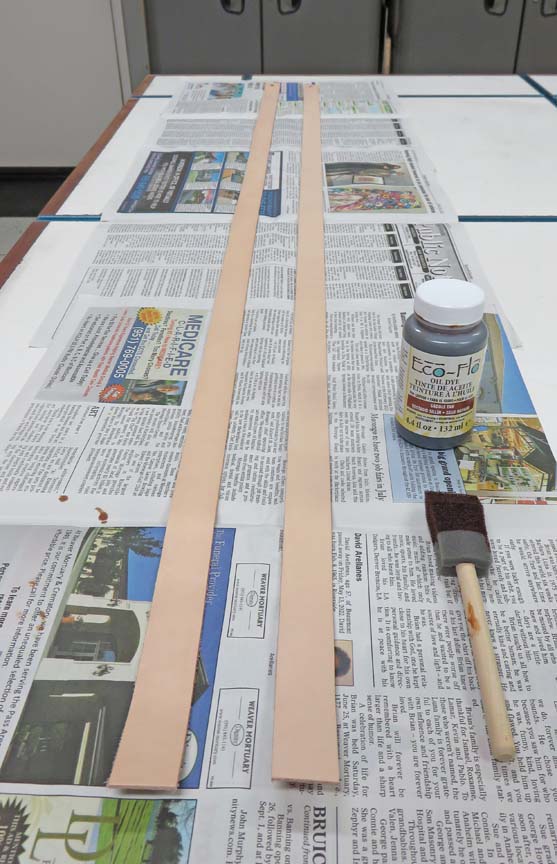
As you can tell the leather is raw but I
want to be a little darker so I bought some leather dye. I had many
different choices here as well but decided on the color 'Saddle Tan' for
this project.
|
|
 |
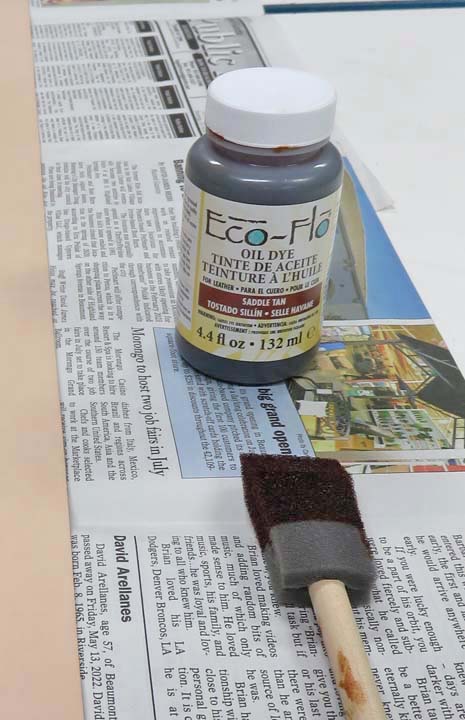
I'm not sure how other people apply this stuff but I'll be using a cheap
foam brush. I figure if this type of brush works good for staining wood
then I should work for leather too. Oh, this is an oil based stain so I
wore surgical type gloves for this.
|
|
 |
|
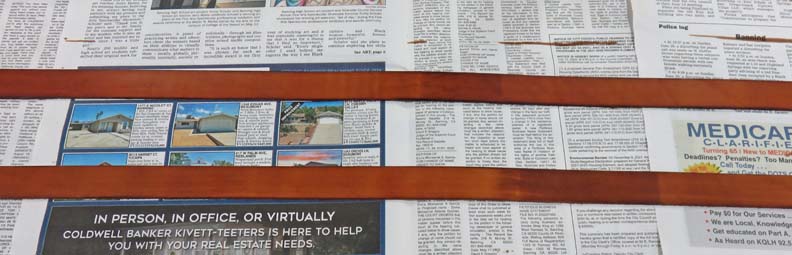
I dipped the brush and used one long brush stroke to
apply the stain which worked great. But if you look close you can see
where I stopped and started again (darker area). Turns out I needed to
move to my right a little farther than I first thought, which meant
overlapping the stain a small amount. I stained three sides but left the back
untouched.
|
|
 |
|
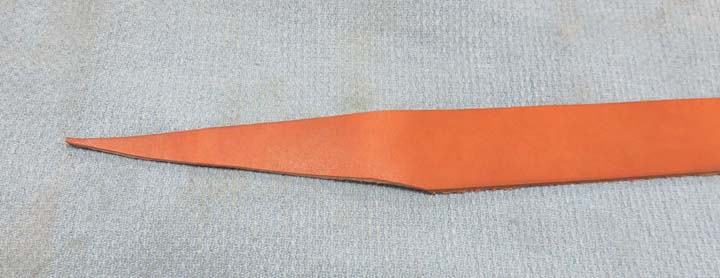
I let it dry a few hours and then started learning how
to wrap this stuff around my project so it looked right. By trimming the
starting end like you see here worked out the best. And once I knew the
length I needed, I trimmed the other end the same way.
|
|
 |
|
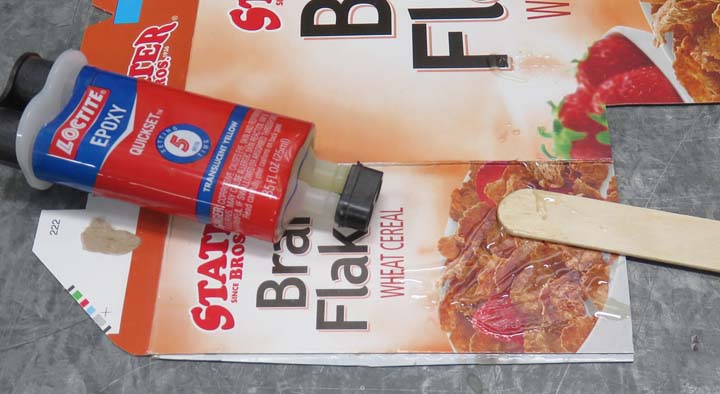
To keep the leather wrap from coming loose I'll be using
some epoxy at each end, but nowhere else.
Mixing tip: I like using cardboard to mix my epoxy with
but it needs to have something like you see below on the surface.
Otherwise the epoxy wants to seep into the fibers of the uncoated
cardboard and it doesn't work as well.
|
|
 |
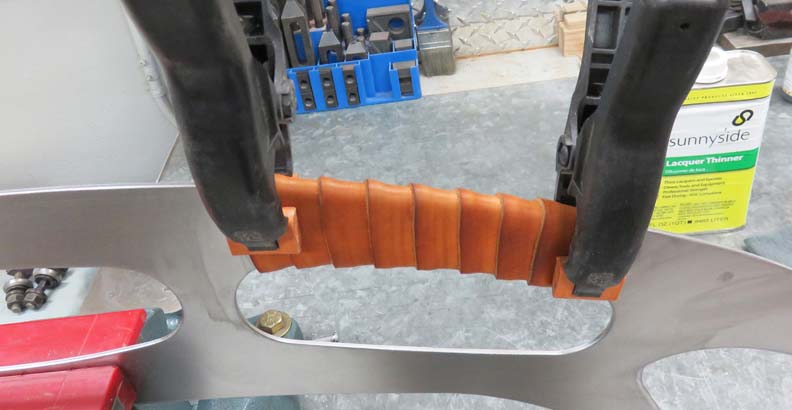
To make sure everything stayed in place while the glue dried I used some
clamps.
|
|
 |
|
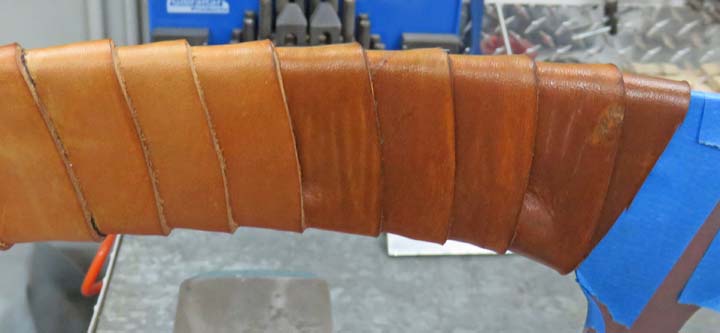
A few minutes late I applied some 'Leather Sealer' to
the stained surface. This step was to prevent the stain from
transferring to your hands but I'm not sure how necessary it really is
if it's going to be displayed on the wall and not used in battle. No big deal it
was cheap and only took a few minutes to apply.
|
|
 |
The right side is where I applied the sealer in this picture, which made it a little darker
just to show you the difference.
I guess this makes since because it has to penetrate so it can protect.
|
|
 |
|
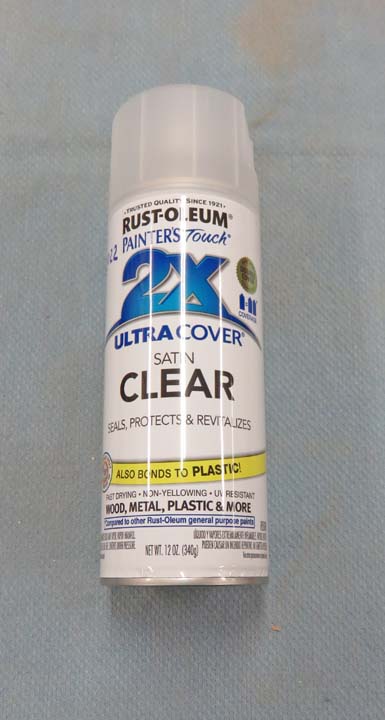
Paint Booth
I didn't want the raw steel to rust which is the main reason
I'm using clear on this project. I thought about using semi-gloss or gloss but I didn't want it
to look too shiny which is why I went with satin.
|
|
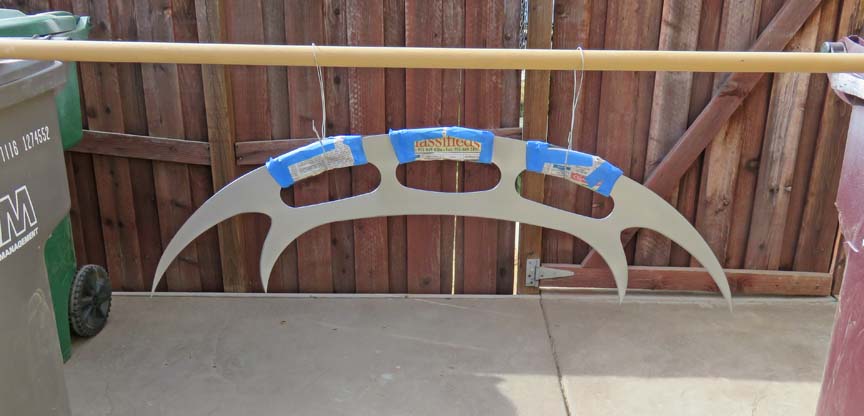
|
I masked off the leather and then gave my project two coats of satin
clear.
|
|
 |
|
1
2
3 |