|
Back to the Bandsaw Continued
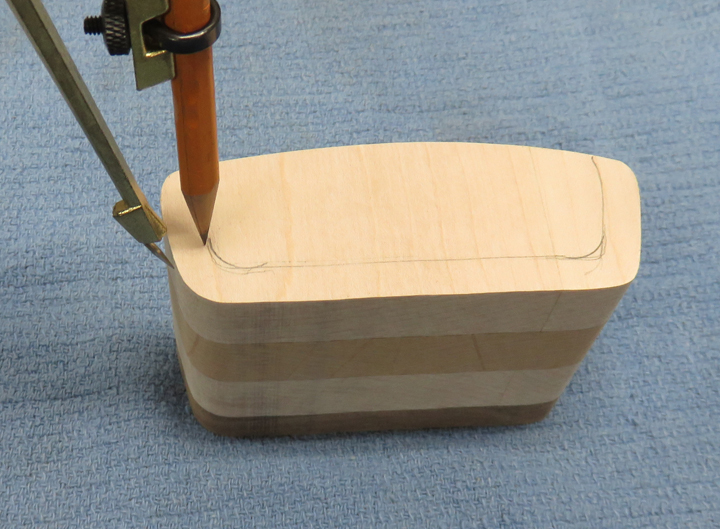
Here I'm laying out some sawcut lines on my drawers using a compass.
I placed the pencil above the pointer so I could use the pointer as a
guild while marking my lines.
|
|
 |
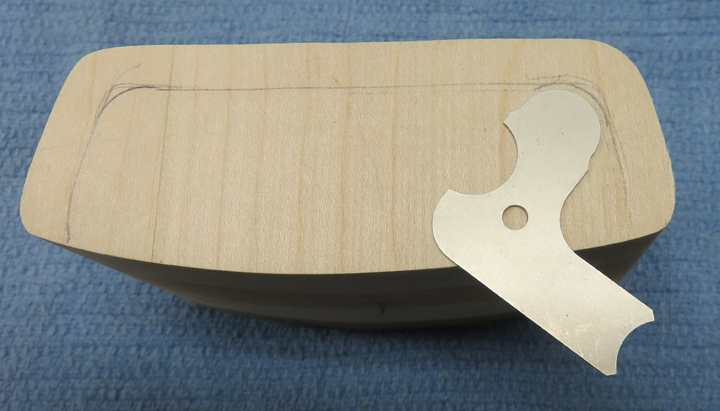
I finished laying out corners using a 1/4"
radius gauge.
|
|
 |
|
This went pretty good but I did have some problems with
cutting those corners as you can see by the burn marks. One of the
reasons I had trouble is because of the plastic table insert sits just
below the surface, causing my work piece to move when I didn't want it
to move. I have a solution for this but it will require me to make some
tooling and shouldn't happen again in the future.
|
|
 |
|
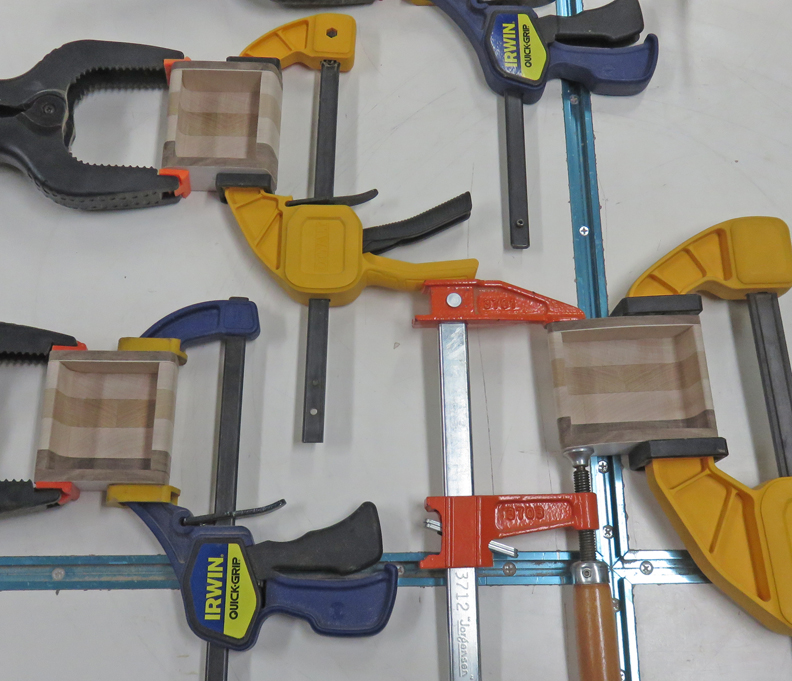
More Sanding
I sanded all the drawers and then glued on the fronts and backs.
|
|
 |
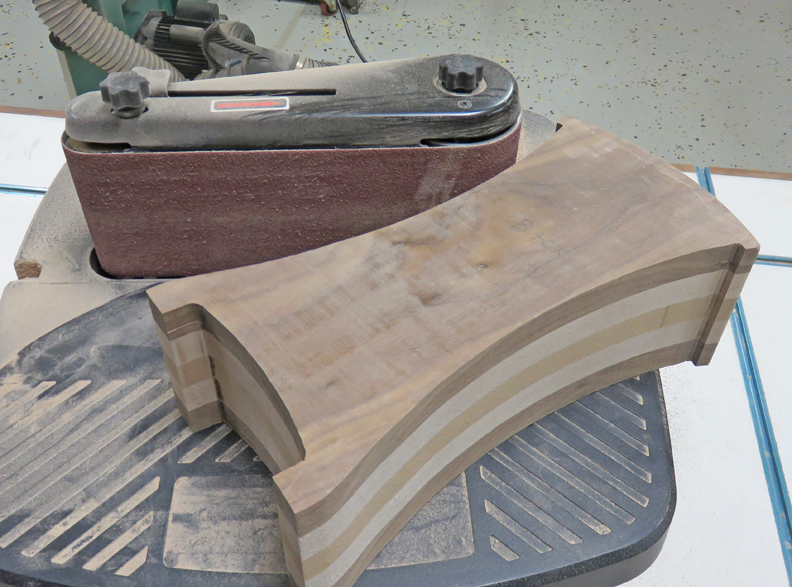
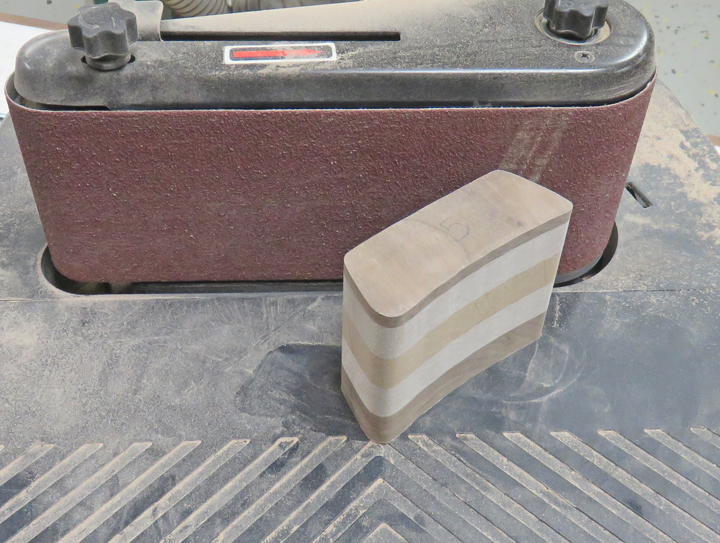
The next day I started sanding on the box. With the belt sanding
attachment having a different size radius on each end, this made it
convenient to use depending on what I was sanding.
|
|
 |
Here I'm sanding the outside of all the boxes after the fronts and backs
were glued on. Like I said, lots of sanding...
|
|
 |
|
Final Details
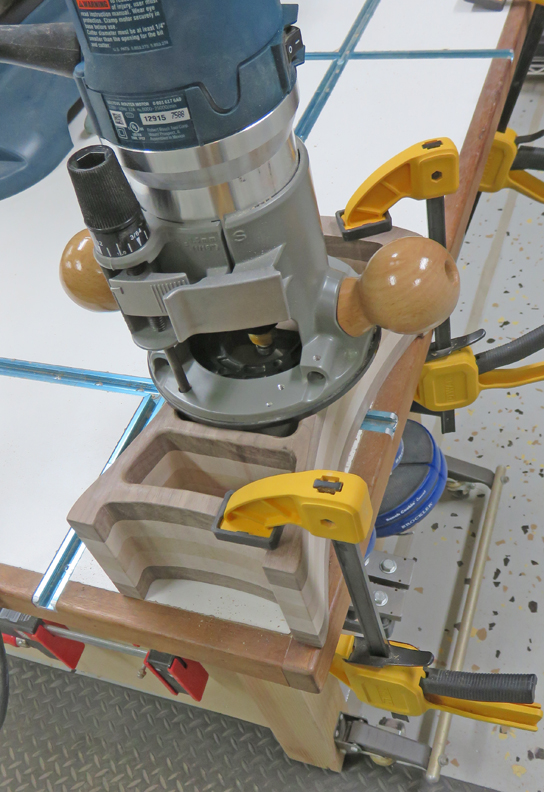
I'm using my router and a 1/8" roundover bit to break the corners of
all the drawer pockets. The reason I'm doing this is to help hide the
not-so straight saw cuts and the saw kerfs.
|
|
 |
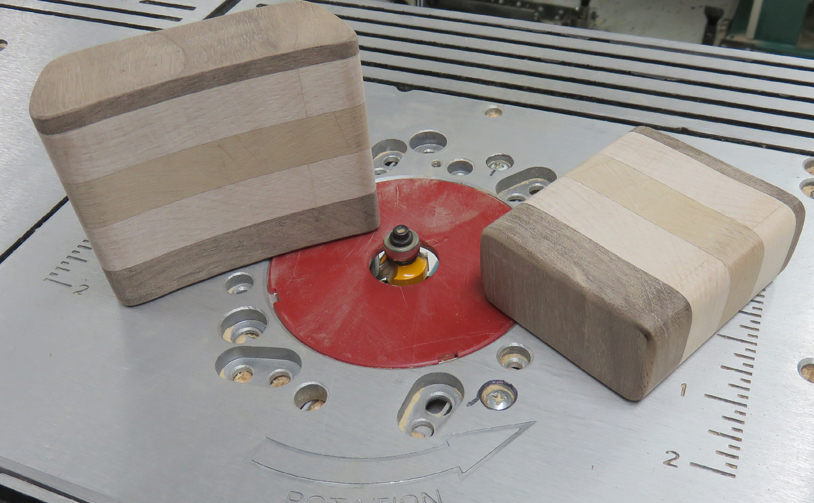
I also put the same size radius on the fronts of the drawers using my
router table.
|
|
 |
|
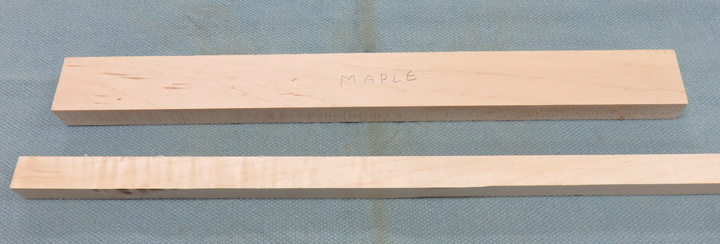
Drawer Pulls
I'm going to make some small drawer pulls out of some maple scraps
that I had laying around.
|
|
 |
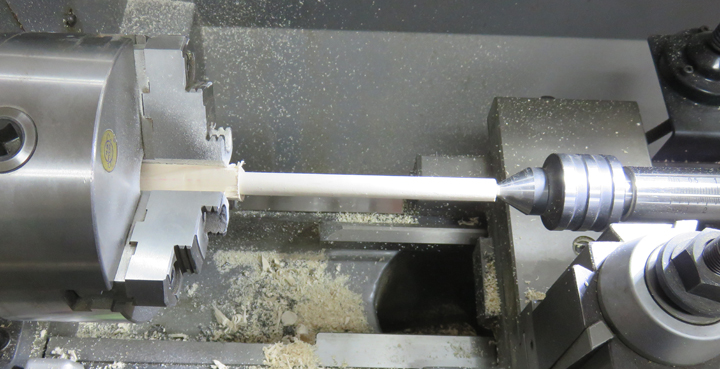
I put a piece in my lathe and tuned it to 1/2" diameter.
|
|
 |
|
1
2
3
4 |