|
Working With Wood Continued
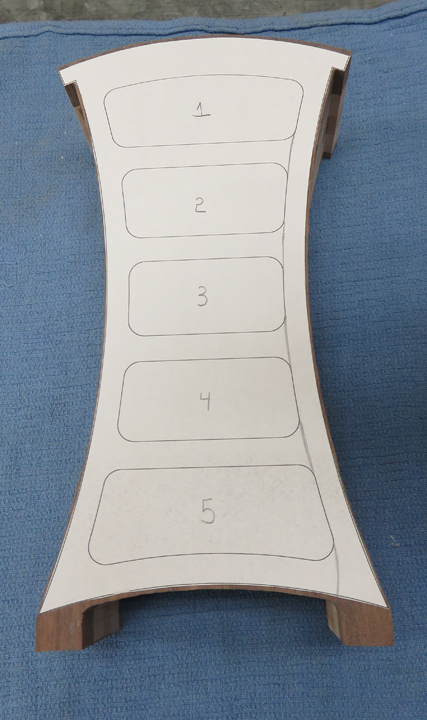
I glued the new template over the old one and added my
saw cut line in pencil. Now I should point out that your saw cut needs
or should be with the grain of the wood. That way when you glue the two
pieces back together you won't see the glue line nearly as much.
|
|
 |
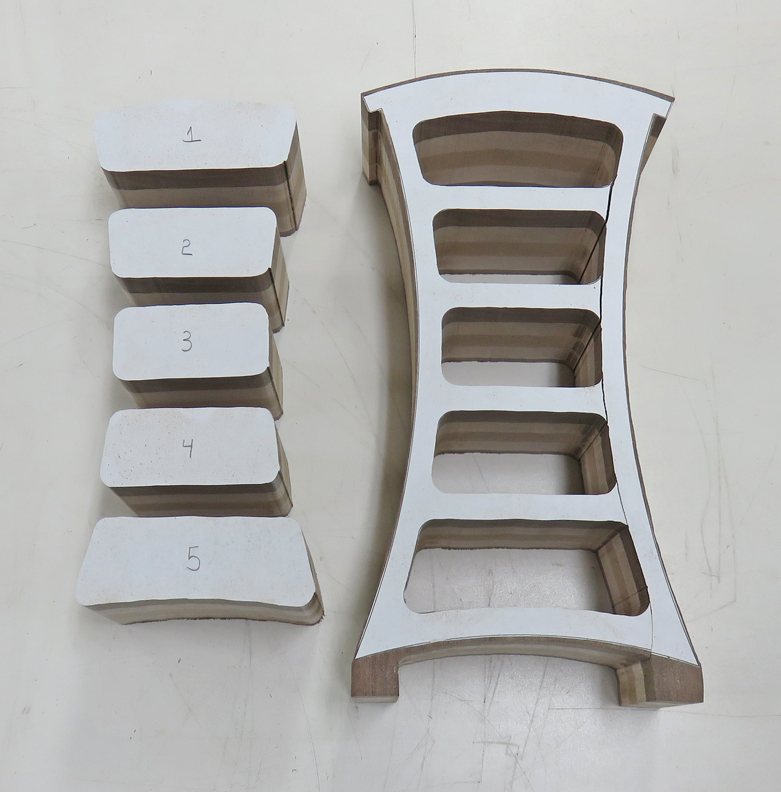
This worked out pretty good but I did run
into another problem.
|
|
 |
|
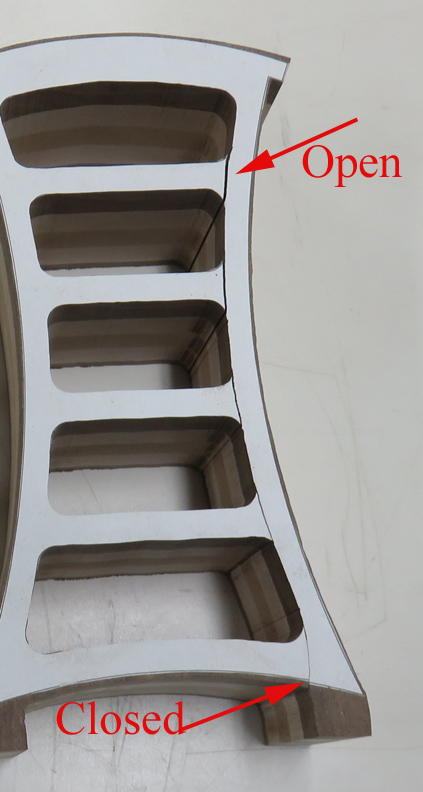
See how the saw cut is closed at the bottom, but gets
progressively larger towards the top? Well my plan is to glue
the saw cut area, or kerf, back together again which shouldn't be a
problem. But after squeezing the
sides together with my hands, I noticed the top wanted to stay open.
That means if I clamped it hard enough to mash this spot closed it could
crack or break the wood. So now what?
|
|
 |
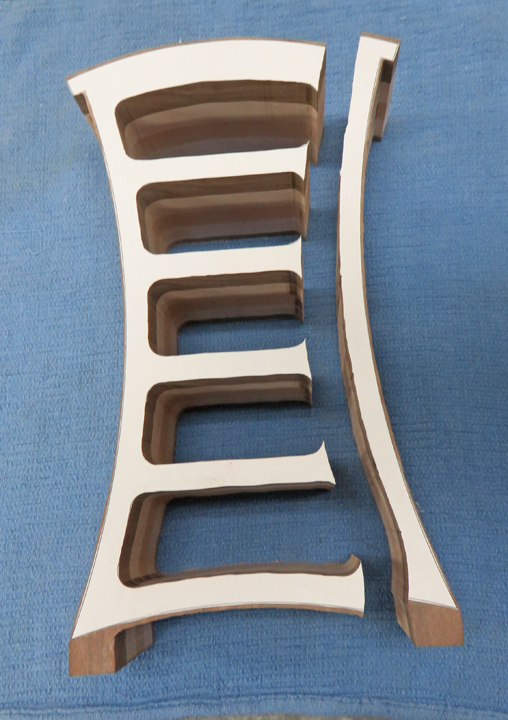
Here is my solution, just cut the entire side off. At least this way I
know the two pieces will clamp back together without cracking or
breaking.
|
|
 |
|
I coated one side with glue and then clamped the side
back on. Now I might mention that I did not sand the two surfaces that
I'm gluing. This helps align both pieces exactly by doing it this way.
|
|
 |
|
Sanding, Lots of Sanding
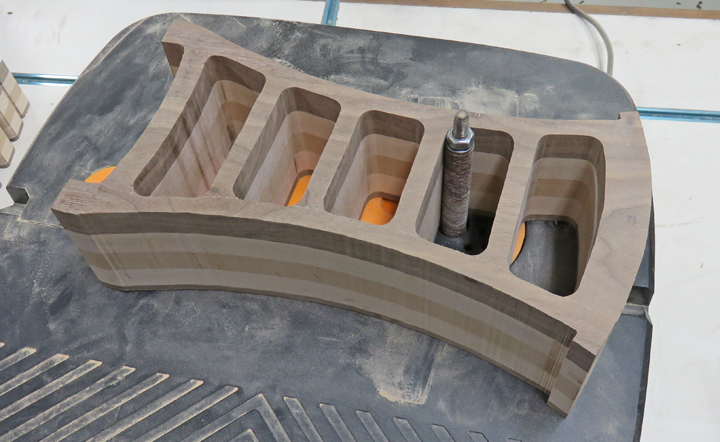
The next day I started the sanding process. I'm using my
oscillating spindle sander with a 1/2" drum for those small corners. Now
I knew before getting to this point that all the drawers had a 1/4"
radius and the smallest drum my spindle sander had was 1/2" diameter so
this was all planned. But this process takes awhile and is tedious.
|
|
 |
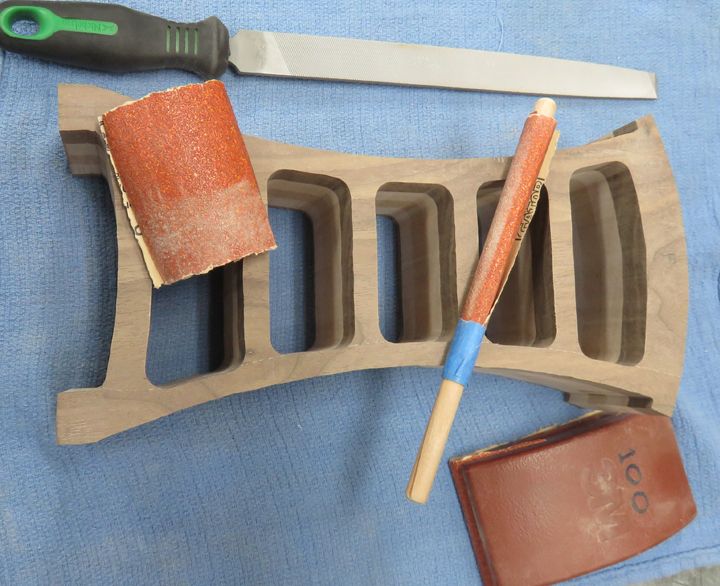
Once the drawer openings were sanded, I worked on the outside of the
box.
|
|
 |
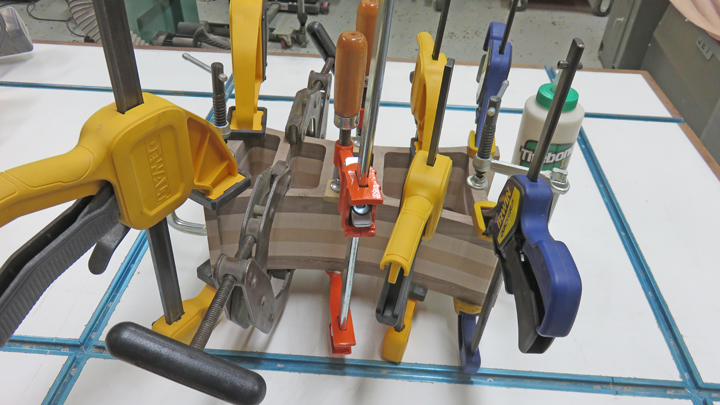
Here I'm gluing the back on again.
|
|
 |
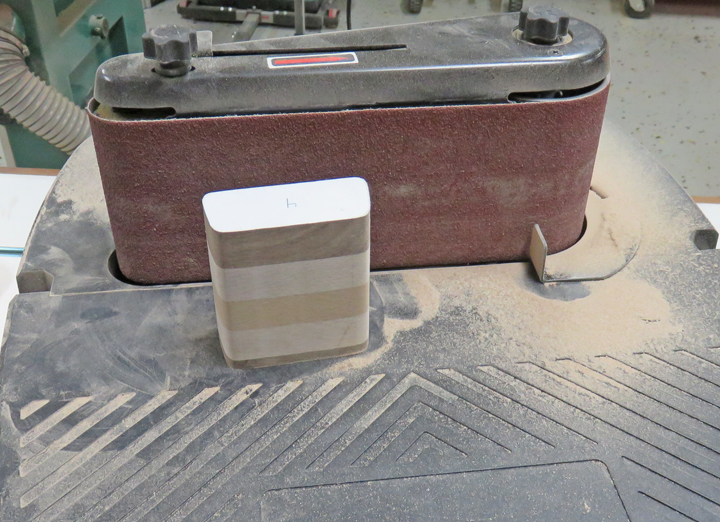
While the box was drying, I stated sanding on all the drawers using my
spindle sander. This spindle sander has a belt sanding attachment which
works great.
|
|
 |
|
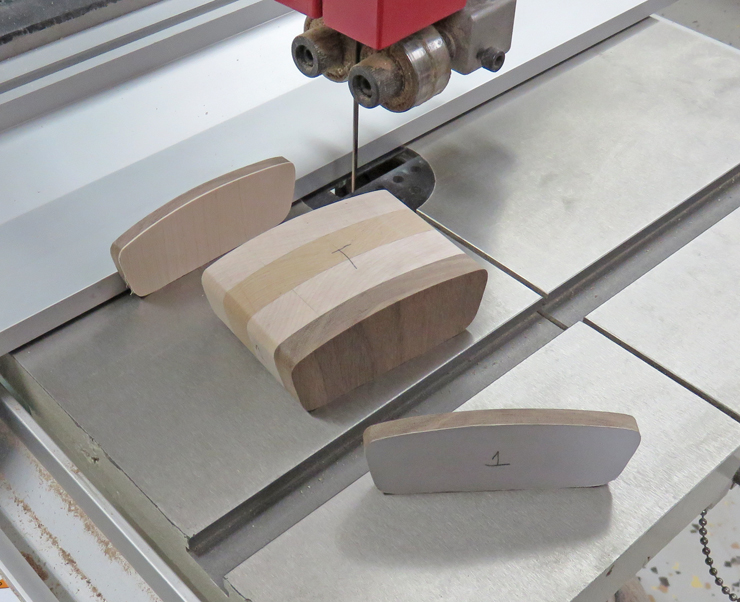
Back to the Bandsaw
Once all the drawers were sanded, I cut off the front
and backs. Again, there is no set size for this part but I set my saw to
cut at 1/4".
NOTE: I kept the parts to each drawer in separate boxes
so nothing would get mixed. I also labeled each drawer part because this
was my first time doing this. Just being careful here.
|
|
 |
|
1
2
3
4 |