Memory Lane 2
5/08/06
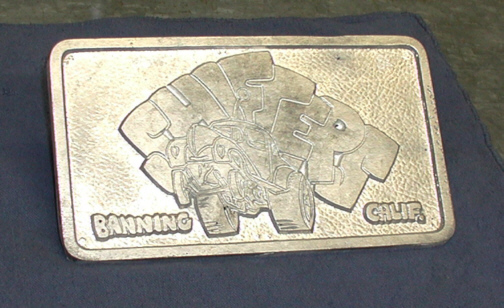
| The plaques are made by a process
called "casting" which means pouring molten aluminum into a
mold that has a reverse pattern of what you want in it. Once the
aluminum cools, you open the two halves of the mold to reveal the
finished piece. I'm going to be painting my plaque the same color as the
car but there needs to be a little prep before I have Bart, my paint
guy, spray anything.
The cast surface is a little rough right now so
the first thing that needs to be done is some sanding. I'm going to sand
the whole thing except the recessed area that looks like it has a bumpy
surface on it. That bumpy surface is going to be painted along with the
sides and back. The front is going to be sanded again after paint to
reveal a nice brushed aluminum finish which will contrast well with the paint.
I used 120 grit paper on my sanding block to get
the top surface nice and flat. Once this surface is flat, it will be
easy to come back after paint and re-sand it along with the border. I
also sanded the sides and back nice and flat because once it's mounted
in the car, I want it to look nice.
|
|
|
| To mount the plaque inside the car,
most people have a package tray to use but a 33 Ford doesn't have one.
That meant I had to come up with another method of installing it.
The rear window is only a few inches away from the roll cage which
gave me an idea. What I
came up with was to use a leftover roll bar clamp and hang it from my
cage. This clamp (purple piece) was originally used in my trunk to hold
my gas springs to the roll cage, one on each side, but that didn't work
out. I ended up using one of the two clamps to hold a prop-rod in place
of the gas springs and the other one went into the a parts box.
Remembering this clamp wasn't being used anymore, I thought I could
bring it back out of early retirement and put it to use.
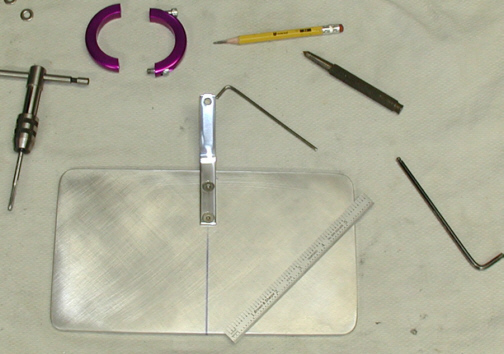
What I had in mind was to use the
clamp along with a bracket to hold the plaque in place. The piece of
aluminum that you see below is going to be my bracket. It measures
1/2" X 4" X 1/8" and will have a hole on one end that
will be attached to the roll bar clamp and the other end will have two
holes that will go to the plaque. I brought out a piece of roll bar
tubing to fit the clamp because it's much easier on the bench than in
the car.
|
|

|
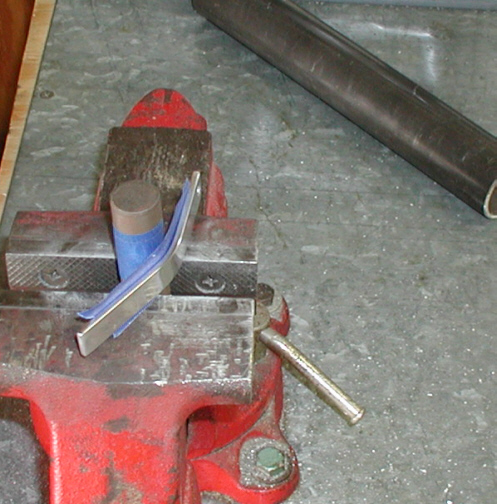
The first thing I did was drill a clearance hole for
the clamp screw and then polished the piece of aluminum. I made sure that
the bracket fit right up against the roll bar tubing so it wouldn't move
side-to-side because this end only has one mounting screw. Once that was
done, I put a small bend in the bracket so it would sit at the right
angle. To prevent the surface from receiving to many scratches, I put a piece
of tape on it first and then bent it. To bend the bracket, I just used my
hands till the angle was where it fit right.
|
|
|
To hold the bracket in place, I drilled and tapped the plaque
with 8-32 screws and then made transferred two clearance holes too my bracket. The
screws are stainless flat head cap screws that are countersunk flush. This
should be a nice contrast when the plaque is painted.
|
|
|
|
1
2
3 |
|