|
I've been a machinist for a long time now and one of the things
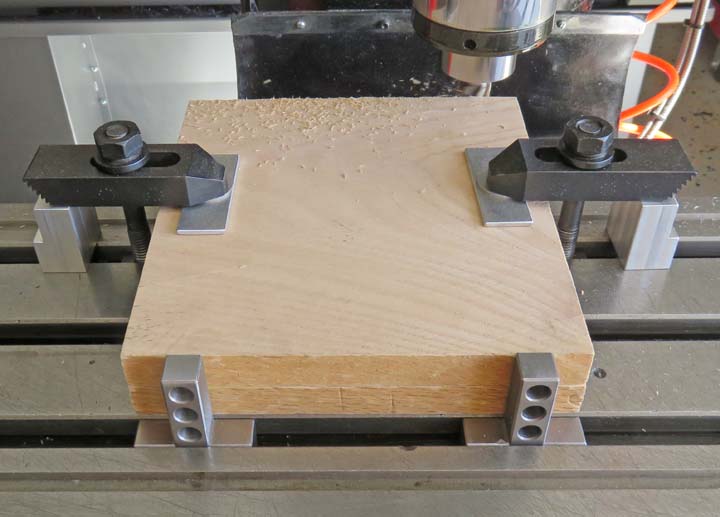
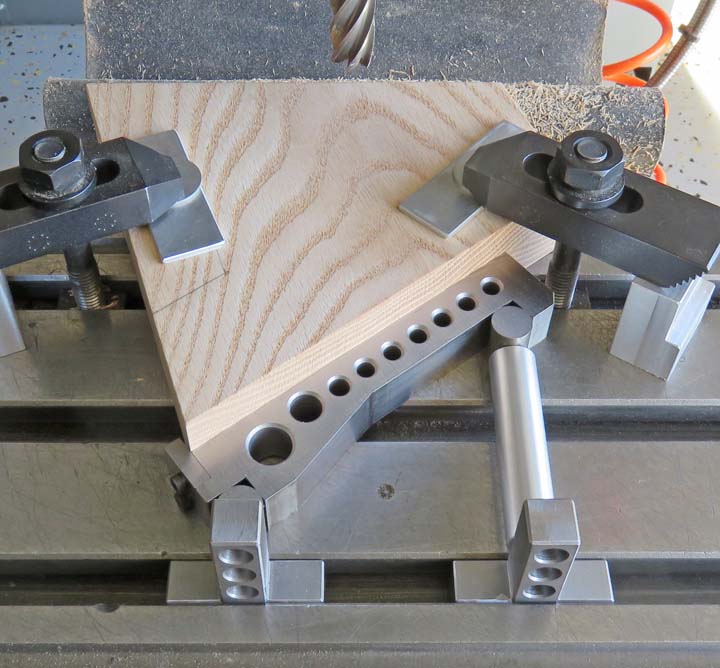
that comes in handy on a milling machine is a work stop. Now work stops
come in all shapes and sizes and are used for a lot of setups that you
encounter on most metal working machines. These devices make life easier
but most of the time they're a necessity. What exactly are works stops? They
are used to 'place' or 'bank' your work against while machining so the
operation that you're doing repeats accurately.
Example: say I have some work pieces that are 15" long by 4" wide by 1" thick. And I
want to machine the 4" width of the work pieces down a small amount. To do
this I'd place the two work stops about 12" or 13" apart, bank my work
piece against them, and then clamp them down. Now I'm ready to machine
these pieces to a certain dimension and they would all come out the same
size
(theoretically or course).
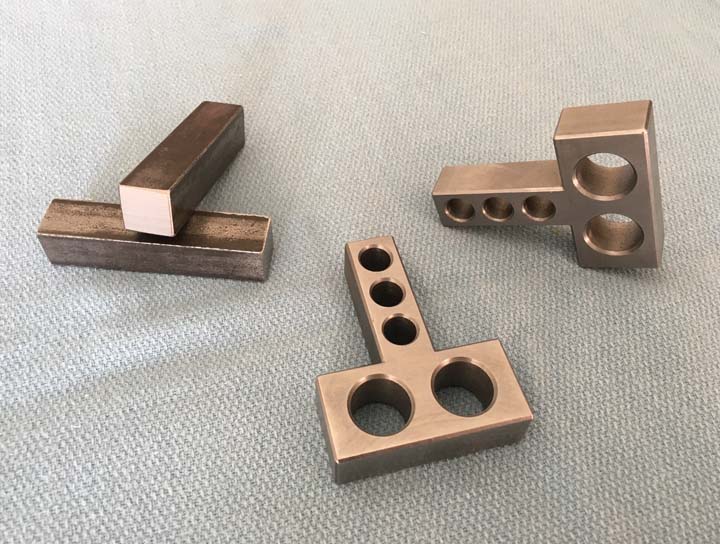
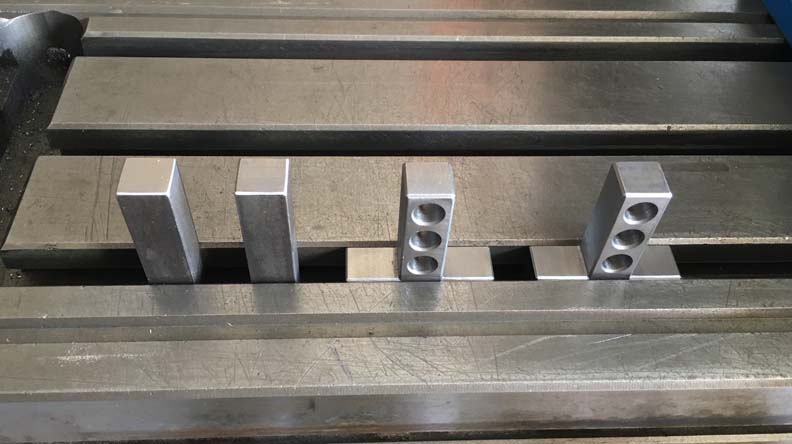
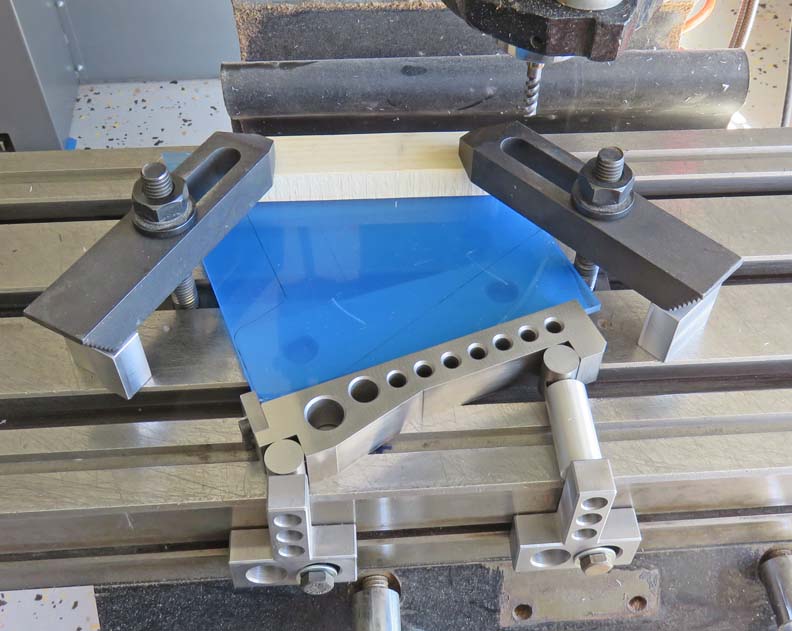
What you see below are two different kinds of work stops. The one on
the left is something I made when I first got in the trade back in the
mid 70's and they have worked pretty good all these years. However, like
anything else, there's room for improvement. These older ones have a
tendency to fall over when they are bumped or while your machining
making it frustrating to say the least. Once they've fallen over, you
need to dig them out of the slots of the mill table because they are
below the surface.
While I was machining a project awhile back, I started thinking about
what improvements I could make. One thing lead to another and what you
see to the right are what I came up with.
|