|
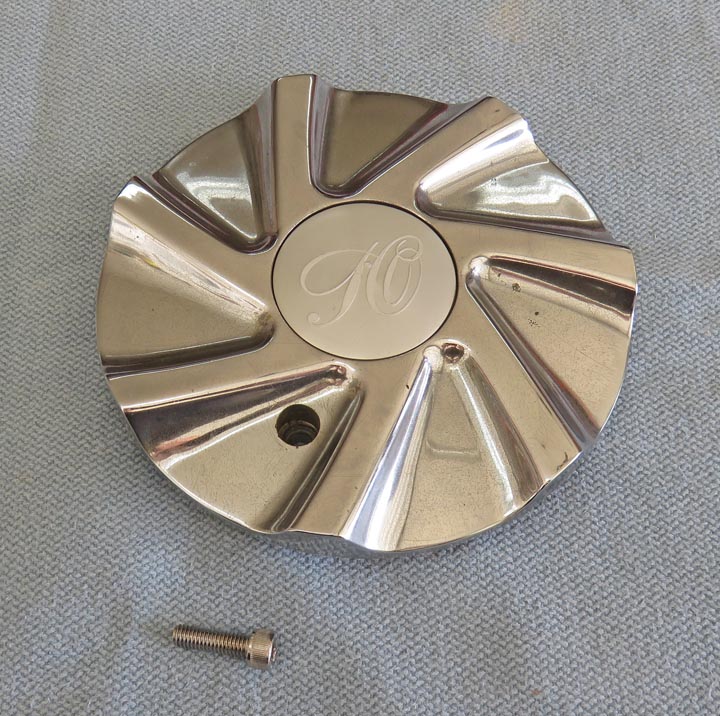
A friend of mine at Church asked me if I work with metal
because he needed at least two center caps that cover the lug nuts on his 2001 Kia. I told him I wouldn't be able to make them (what you see below) and
he said they could flat instead of the contoured ones. I told him yes I
could make the flat ones so he gave me one to get dimensions from and
asked me to make four in place of two. This way they would all match.
|
|
 |
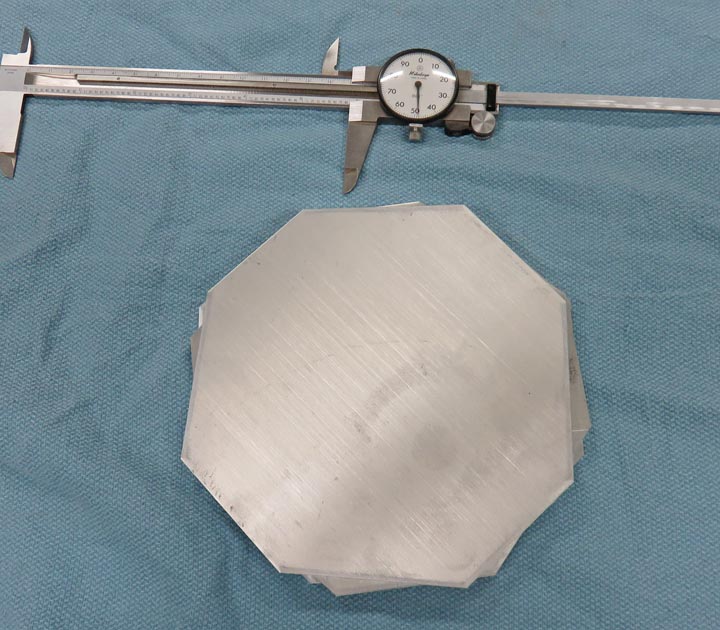
After talking with him, we decided on
making them out of 3/16" thick aluminum. What you see below is the four
pieces that I sheered the corners off of to get them closer to being
round.
|
|
 |
|
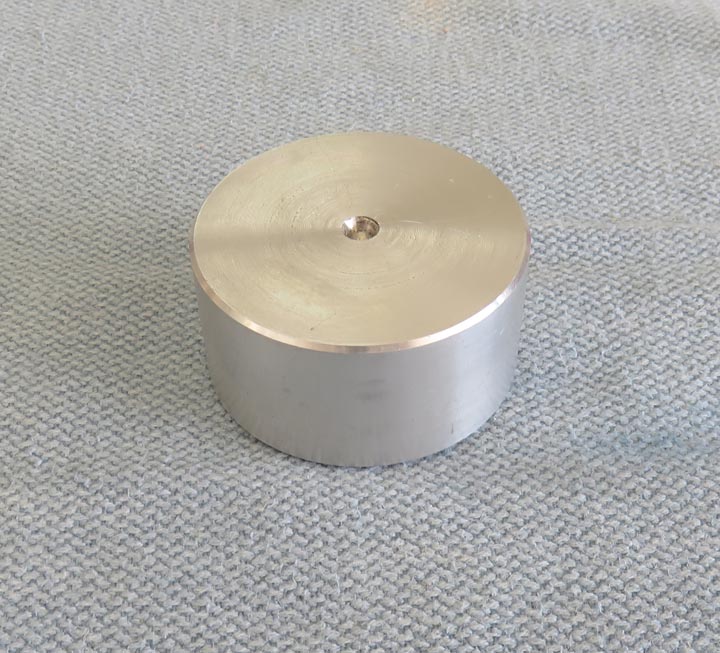
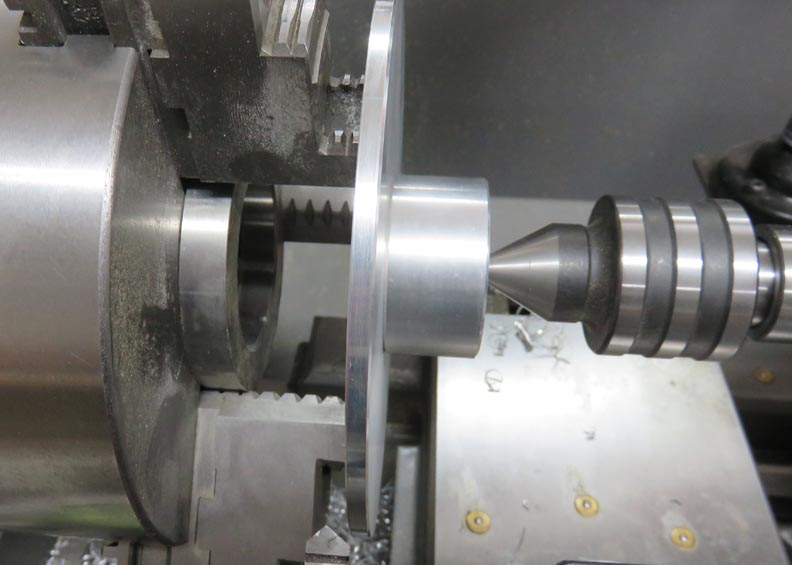
I'll be machining these wheel covers in my lathe but I
won't be able to clamp them in my chuck like I would normally do. However,
the piece of tooling that you see below is about 2 1/2" diameter and as
you can see one side is center drilled. This center drilled area is key
here because I'll use this piece along with my live-center to clamp my
work piece to the face of the lathe chuck.
|
|
 |
|
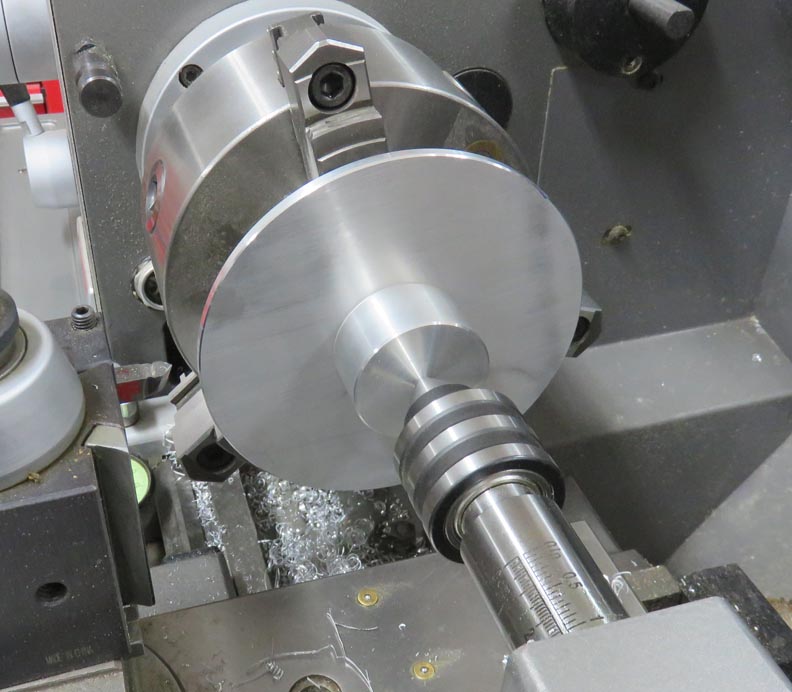
With pressure being applied by my tail stock up against
the tooling, this clamps my work piece to the face of the chuck.
This is known as 'butt chucking' and it works really well for something
like this.
|
|
 |
|
My chuck is clamped on a small round piece so the
jaws don't move. Then I use my aluminum tooling and tail stock to keep my work
piece from moving. This is all well and good...as long as everything
stays clamped because the piece I'm machining is floating otherwise. The final diameter is 5.850" and
as you can see, I've also put small
chamfers on both sides.
|
|
 |
|
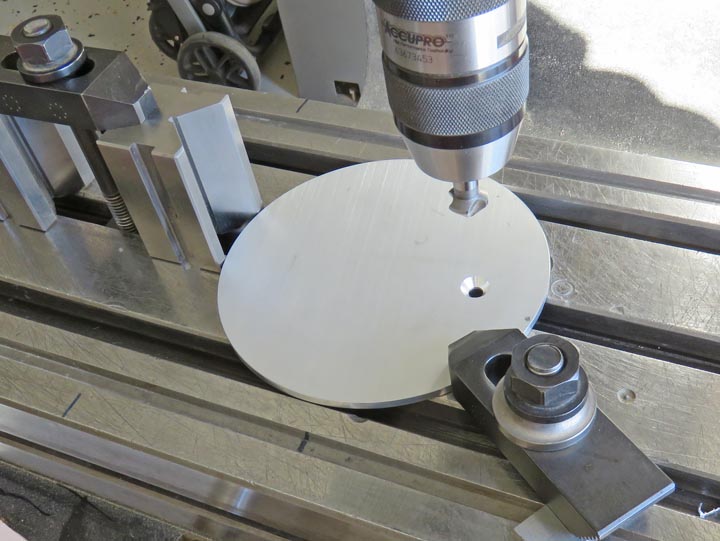
Once I had all the pieces round, I was ready to put a
single countersunk hole in each one. The original pieces used a sock
head cap screw but I'll be using a flat head cap screw. Now these screws
are metric and will be stainless steel so they will take the elements
better.
|
|
 |
|
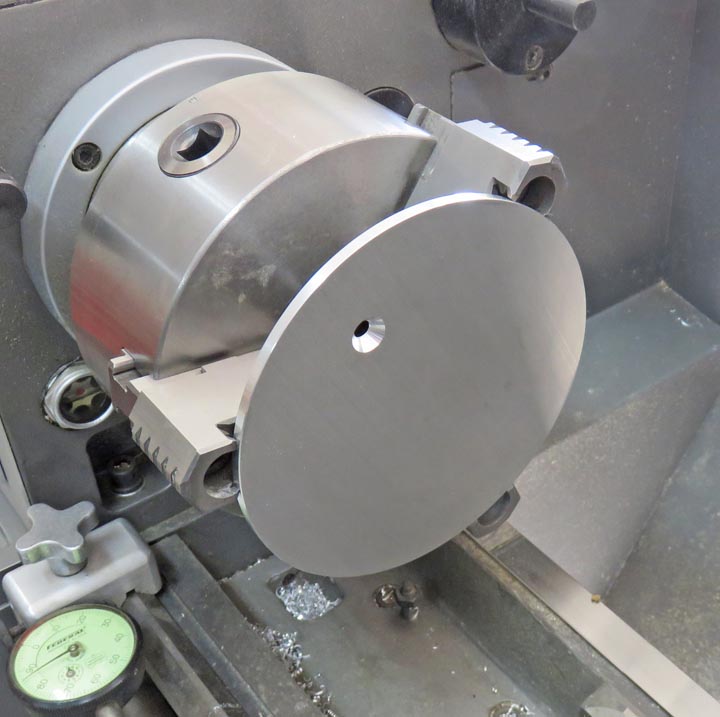
Now it's time to polish each one and to help me with
that I'll use my lathe again. I turned the jaws around so I could hold
the outside diameter (O.D.) and notice the face of the part is sticking
out from the end of the chuck jaws here. I placed some shims behind my work
piece, tightened the chuck and then removed the shims. Now I can use
sandpaper and not worry about my fingers hitting the jaws. I started
with 150 grit, then to 220, 320, 400 and finished with 600 paper along
with using WD-40 as a lubricant. This worked good but it's very messy.
|
|
 |
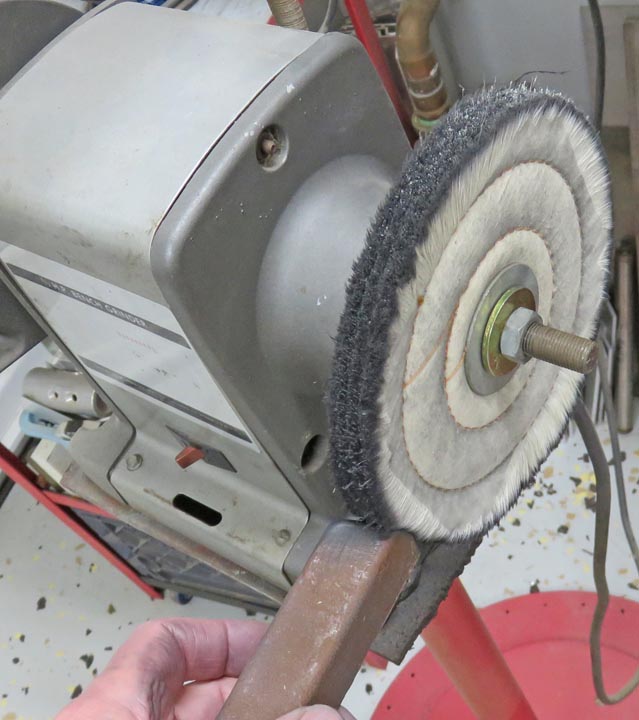
Next up was using my buffing wheel to give each one a nice shine. Here
I'm getting ready to apply some polishing compound to my buffing wheel.
This operation doesn't take long but the parts get pretty warm.
|
|
 |
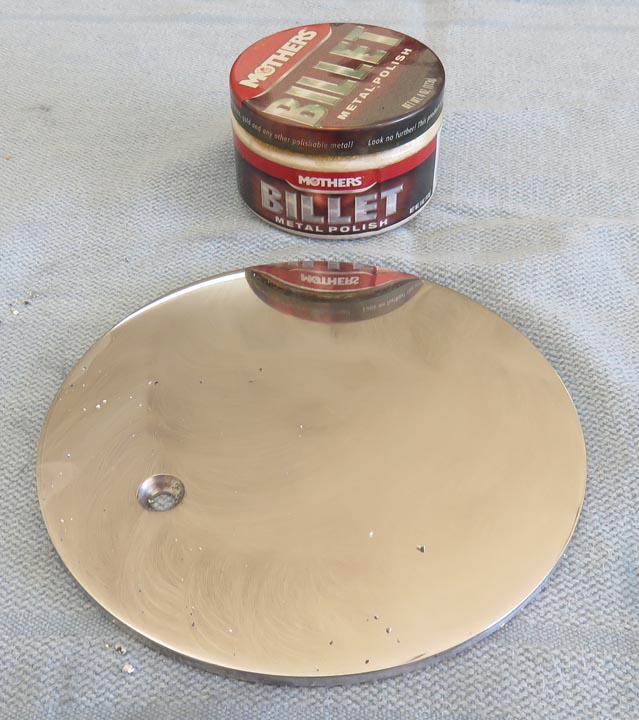
To remove all the buffing marks I used some Mothers Billet metal polish.
I've used this stuff for many years on all kinds of polished aluminum
and it works great.
|
|
 |
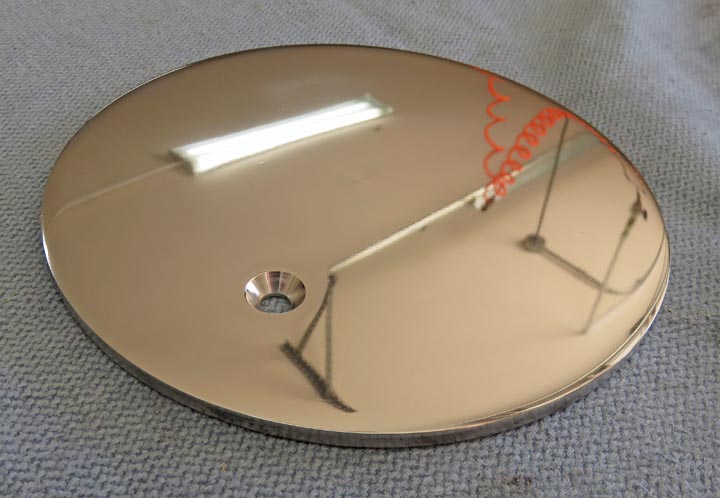
And there we go...it's finished. The reflection you see is from the
ceiling in the garage.
|
|
 |
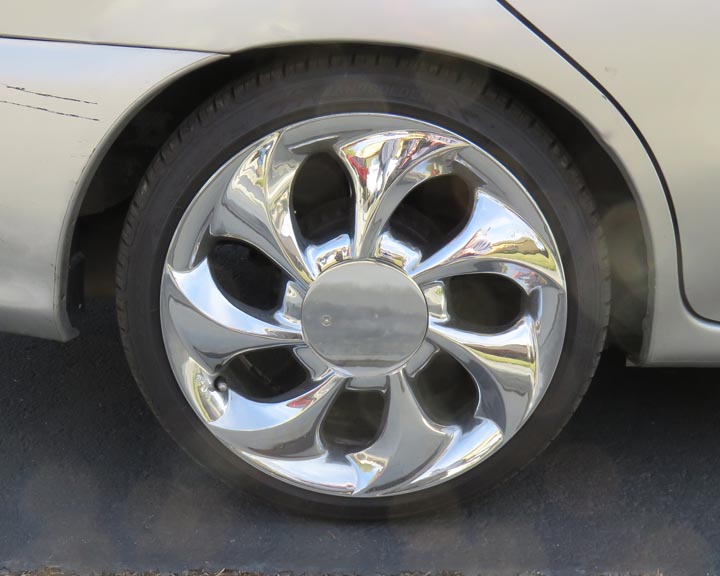
Here is what it looks like fastened to the wheel. The reflection is the
sidewalk so you can blame the camera man for that one.
|
|
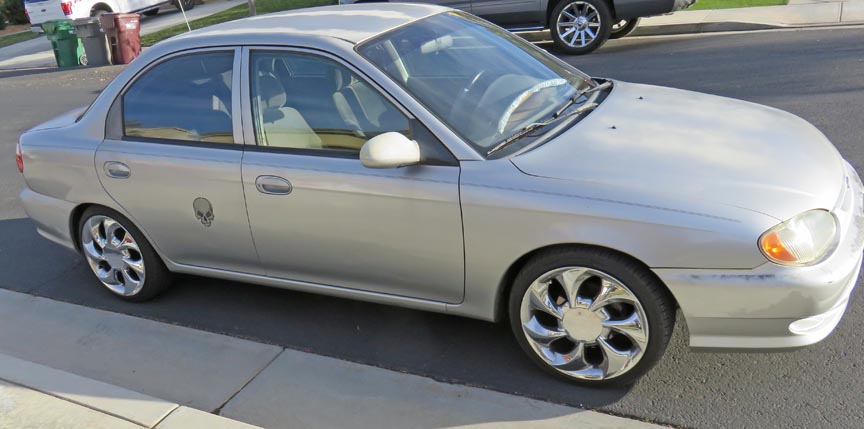
My buddy was happy with them and says he's not embarrassed to drive it
around any longer. I'm glad he likes them!!
|
 |
|
|