|
Assembly
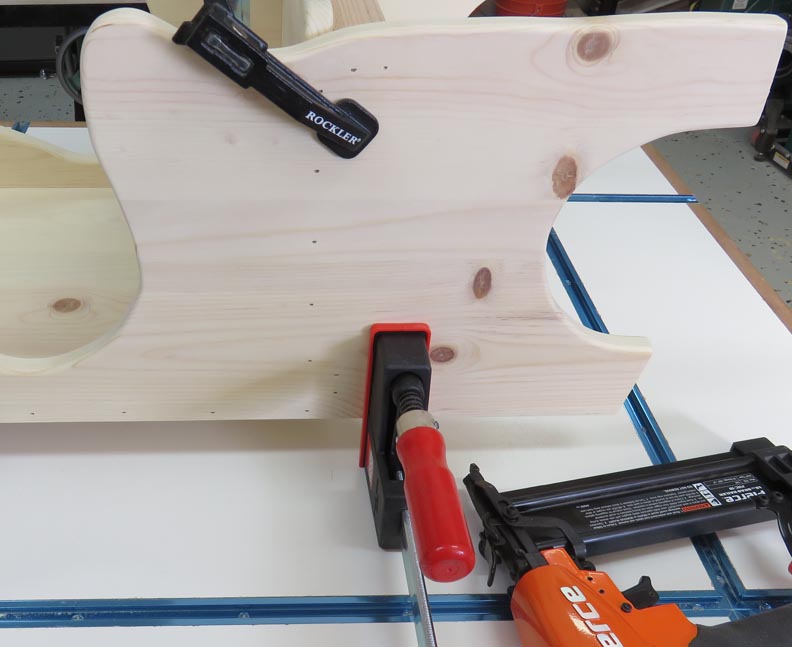
I'm using some #18 nails to hold the chair together. My pneumatic nailer
sure works good for something like this.
|
|
 |
|
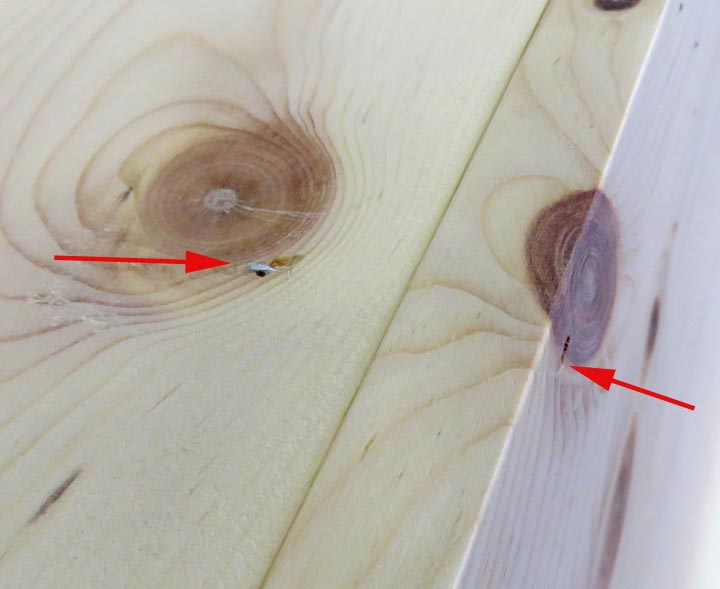
OOPS!! I had a feeling this knot would give me problems
and sure enough it did. The nail followed the grain and came out the
back. I was able to remove it and then moved over a small amount and
shot another in it. I then filled the hole with some wood putty.
|
|
 |
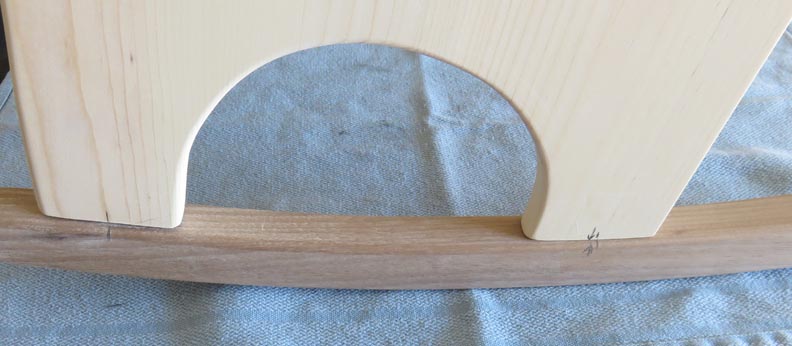
Here I'm marking where each rocker will be located. I'll be hand
drilling each hole so I'm making sure I have each side marked
accordingly.
|
|
 |
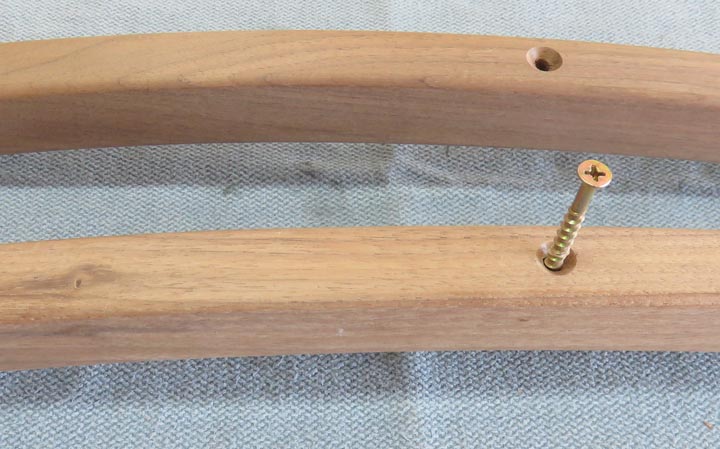
I'm using 2 1/2"long #8 drywall screws to hold the rockers on and they
are countersunk below the surface.
|
|
 |
|
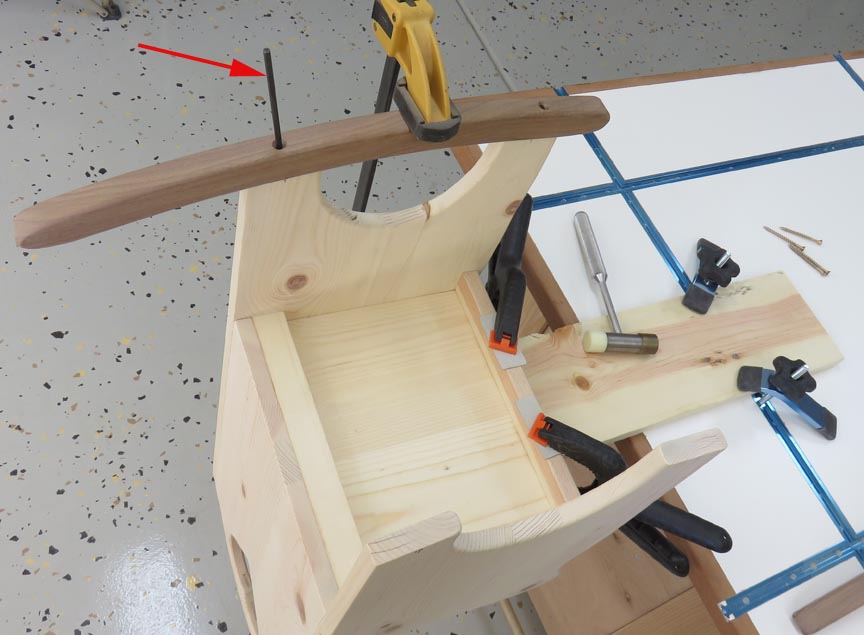
I've got the rockers clamped in position and I'm getting
ready to transfer the holes. That arrow is pointing to a transfer punch
which is specifically designed for this type of application. In case you
don't know, transfer punches come in different sizes and have a point on
one end. This allows you to hit the opposite end creating a 'reference
point' to work with.
|
|
 |
|
Once I had my reference point, I used a small drill
first and then followed that with a 1/8" drill. Note: the blue tape is
to help me while drilling because this is the angle the transfer punch
was at. If I were to drill at some random angle the rockers wouldn't fit
correctly.
|
|
 |
|
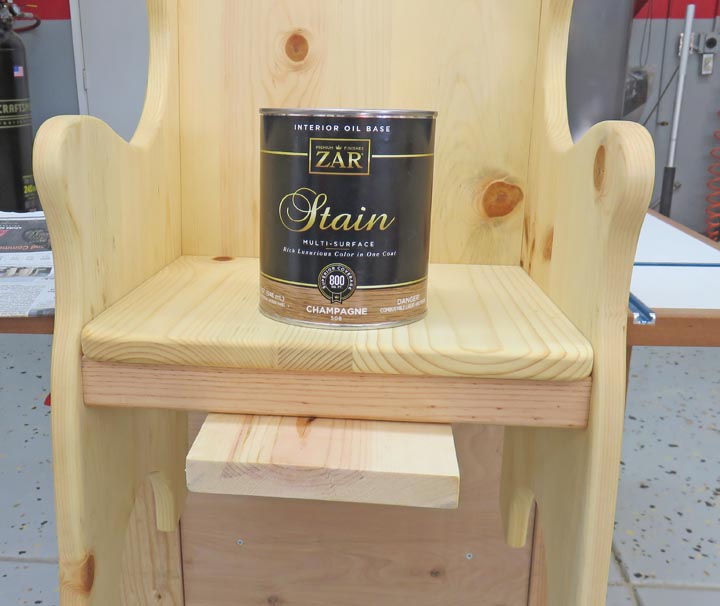
Finishing
I used a stain for this project but as you can see, it's
very light. The color is called Champagne, and you can see the
difference between my chair and the piece it's sitting on, which is not
that much. On side note: be gratefull you can't smell the stain, because
it stinks!!
|
|
 |
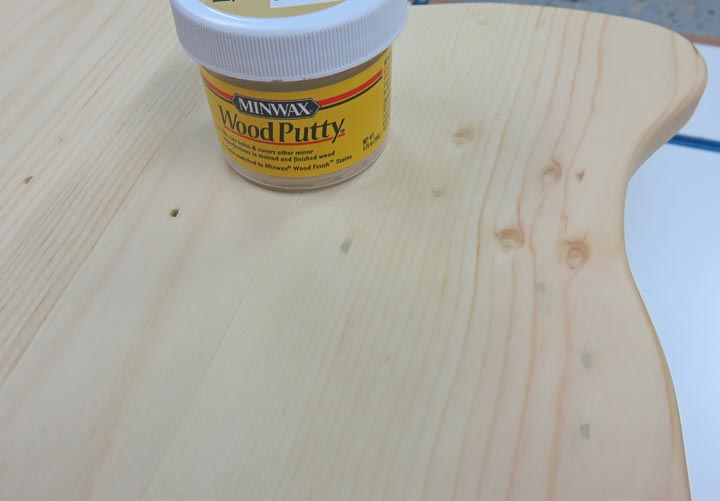
The next day I filled the nail holes with some wood putty. Now you can
buy all different colors of wood putty and this one is called 'pine'.
Seems fitting with the wood I'm using but you can still see it.
|
|
|
|
1
2
3
4 |