|
Working With Metal Continued
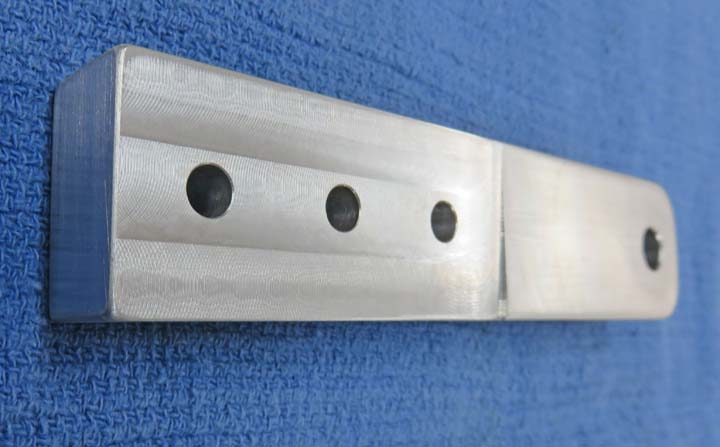
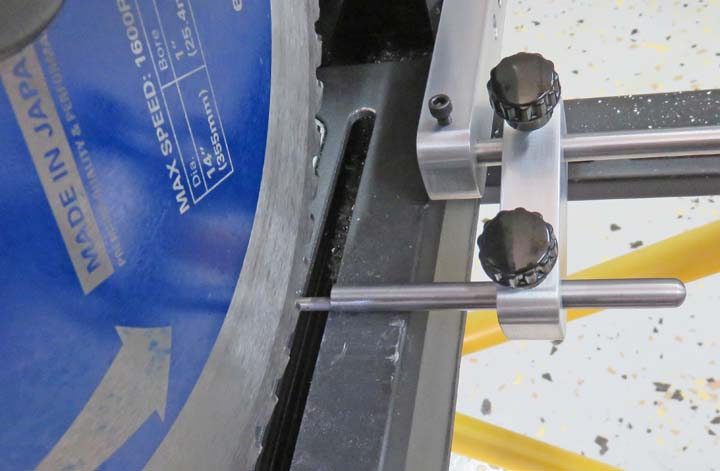
This isn't the best picture because it's a little blurry but the
area that's out of focus has the two degree angle.
|
|
 |
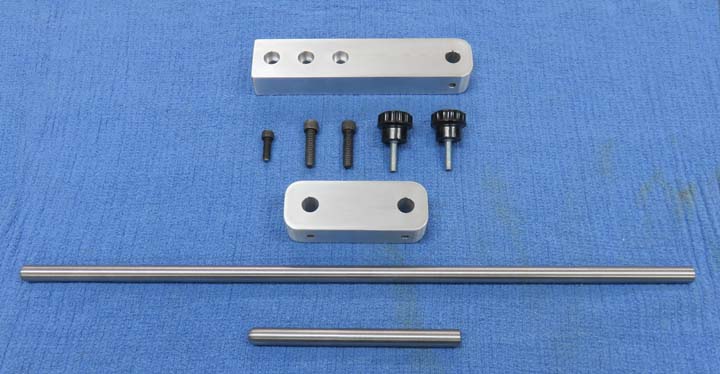
Here are all the components of the saw
stop. I'm going to use thumb-screws to make my adjustments quick and
easy.
|
|
 |
|
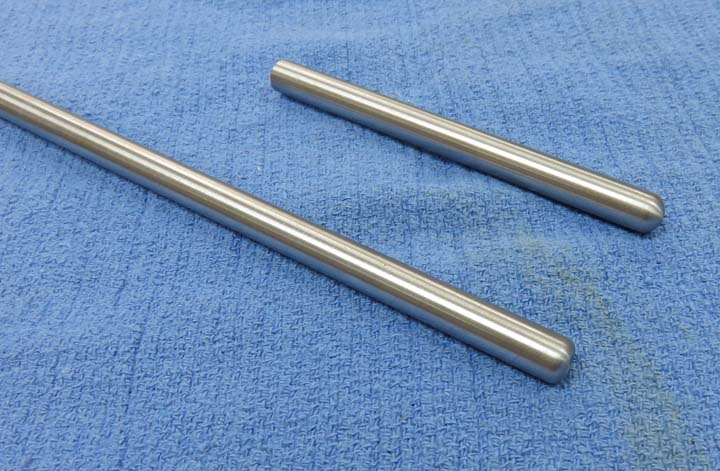
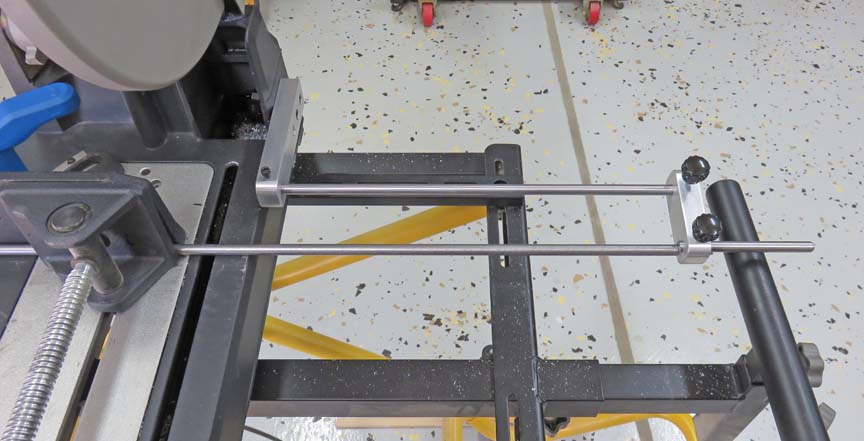
I put a full radius on one end of the short piece but I
left the opposite end mostly flat. Having a radius helps if there are
metal chips on the end because the probability of them getting between
your work piece and work stop is greatly reduced. The longer rod will go
into the base that's attached to the saw.
|
|
 |
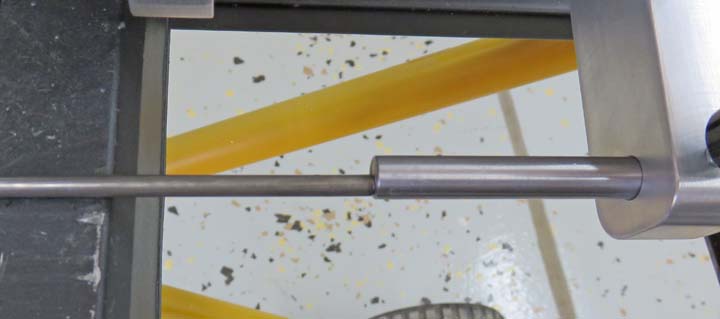
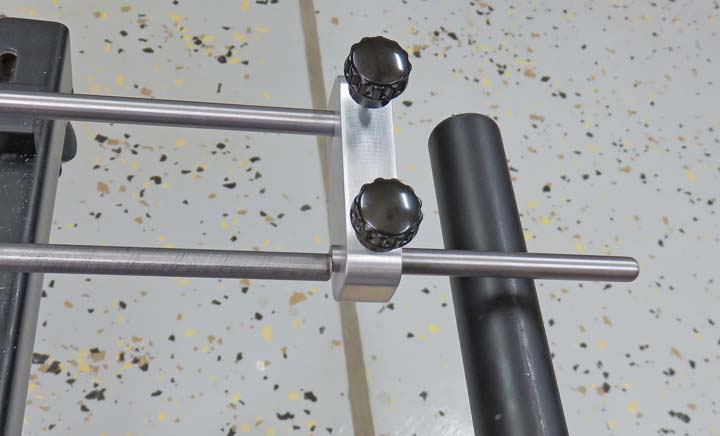
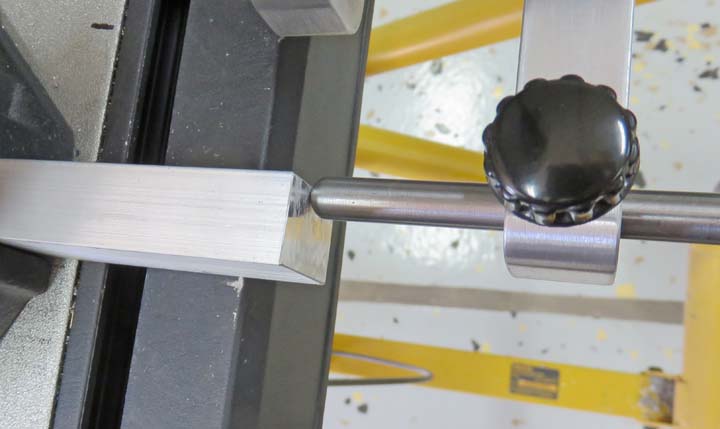
Here you can see how it works. Loosen the thumb-screw, slide your work
stop into place, and then tighten it again. That's it!
|
|
 |
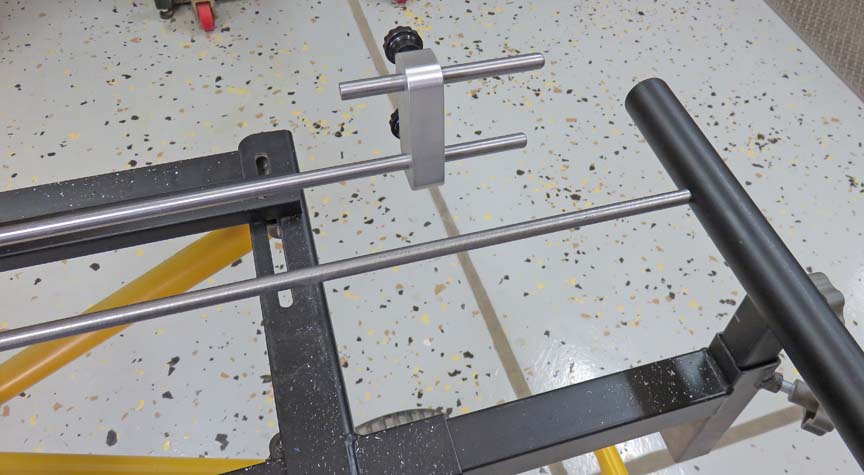
This smaller material is 3/16" diameter round bar. And if you're
wondering why the work stop and work piece are not centered, this was by
design.
|
|
 |
This will make life soooooo much easier now.
|
|
 |
|
The work stop is maxed out in the picture below.
However, when longer pieces need to be cut to the same length, I can use the
saw stand support because it moves up and down and extends out to about
three feet from the blade.
|
|
 |
Here is a close-up of what it looks like maxed out.
|
|
 |
To use the saw stand support I just swing the new work stop out of the
way and I'm good to go.
|
|
 |
A look at the full radius end resting against a piece of aluminum to
give you an idea of how it works. This work stop was easy and fun to
make. And now my saw will work that much better.
|
|
 |
|
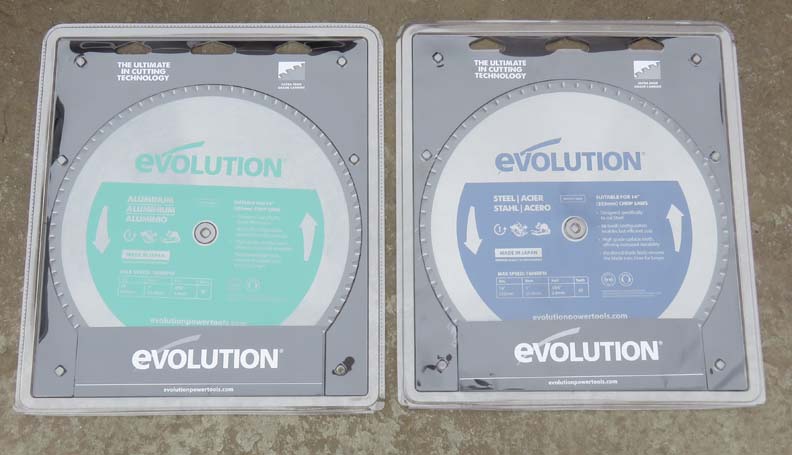
To round out the saw upgrade, I bought two new saw
blades. The blue one is a direct replacement of what was on the saw
originally and the green one is for cutting aluminum.
I haven't used the aluminum blade yet but I have
installed the other one because after two years of use, it was
ruined. After looking at the old one, it had missing teeth along with the rest being dull.
And it was a night and day difference just how well the new blade works,
which I should've replaced long ago. Anyways, this was fun to make and
now I'm looking forward to my next metal working project.
|
 |
|
1
2 |