Woodworking Continued
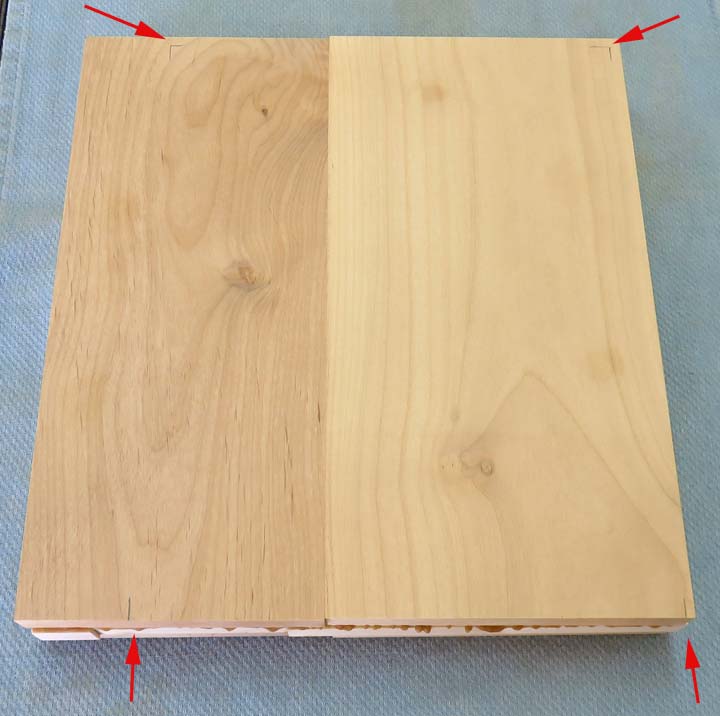
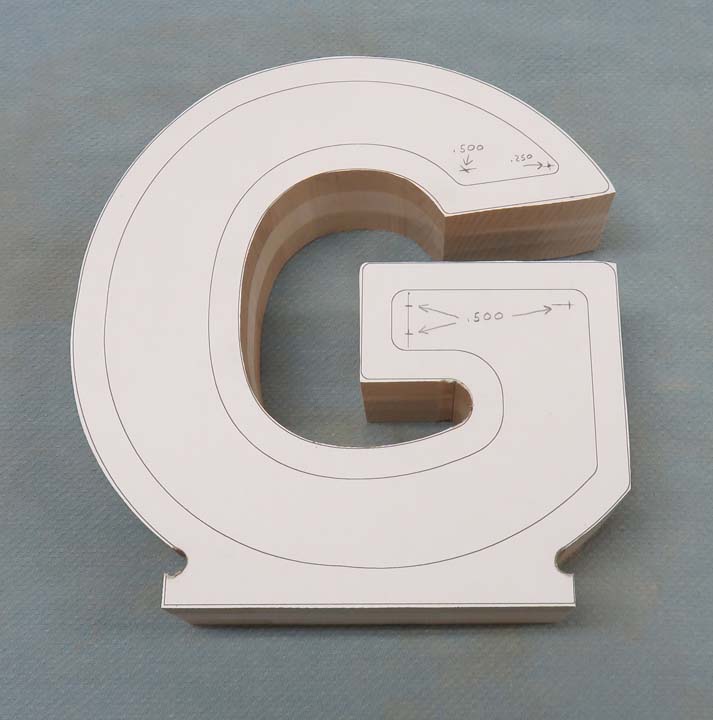
Before gluing my three pieces together, I made sure
to pick the clearest piece for the front. This was necessary because I
didn't want a knot or blemish to interfere with a thin area once I had
everything cut out. If you look close you can see the pencil lines next
to the arrows which is where I'll be placing my paper template. These
lines are for reference to make sure I place my template in the right
place once the glue is applied.
|
|
 |
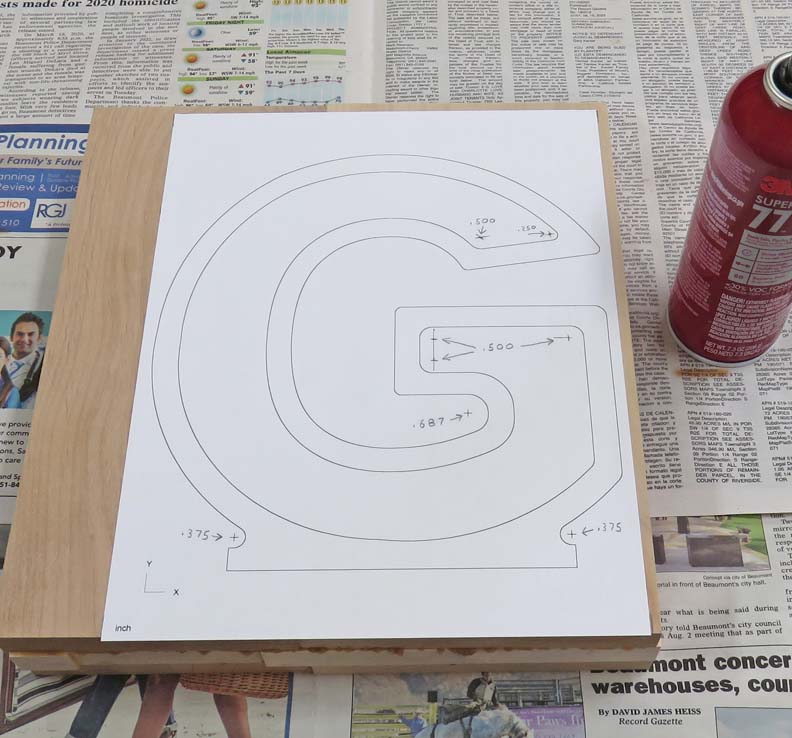
This glue dries pretty fast making it easy
to work with. Now it's time to drill some holes.
|
|
 |
|
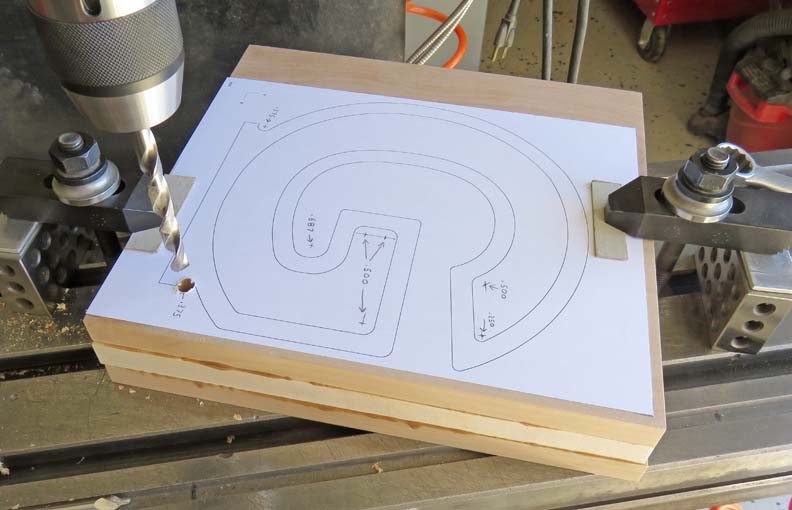
I'm used a center drill first and then went to the final
size that I needed. If you're wondering why I have my work piece clamped
down it's because it's very easy to have the drill walk off location
when switching drills. Yes this operation takes a little longer doing it
this way but it insures your hole will be in the right place.
|
|
 |
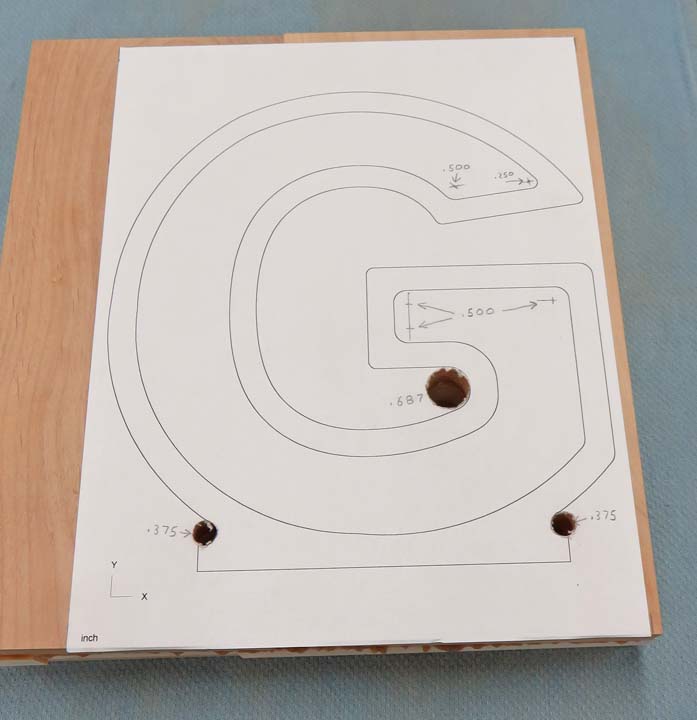
The larger hole is 11/16" and required two drills. If I didn't have it
clamped down the moment you try to start the second drill it will bounce
and chatter potentially ruining your hole and possibly your project.
|
|
 |
|
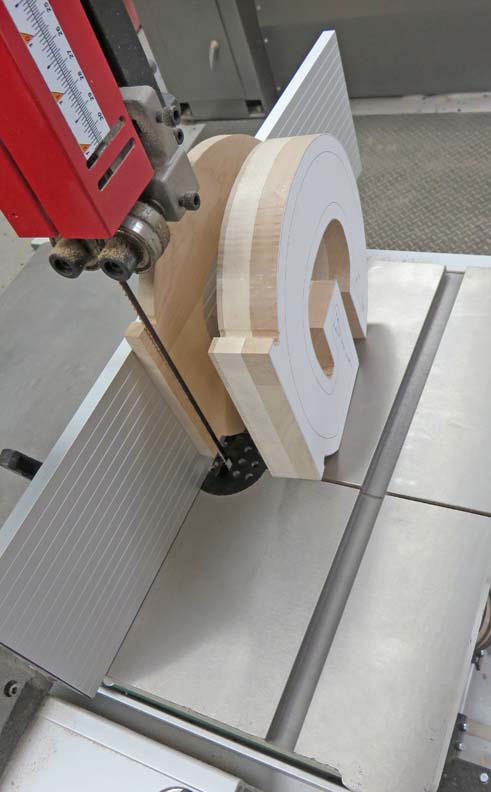
I got into high gear and forgot to take a picture of me
actually using my bandsaw but I'm sure you get the idea. I made sure to
stay just outside the line so I could sand the extra material later. Now
it's time to cut the project in half.
|
|
 |
I set my bandsaw fence to 1/2" and then cut off the back using the 1/4"
wide blade. Normally you would use a wider blade for something like this
but it worked great. Now it's time to drill more holes.
|
|
 |
Back over at the milling machine, I doing the same thing as before,
drilling more holes and clamping my project while drilling. This doesn't
take long and it's easy.
|
|
 |
|
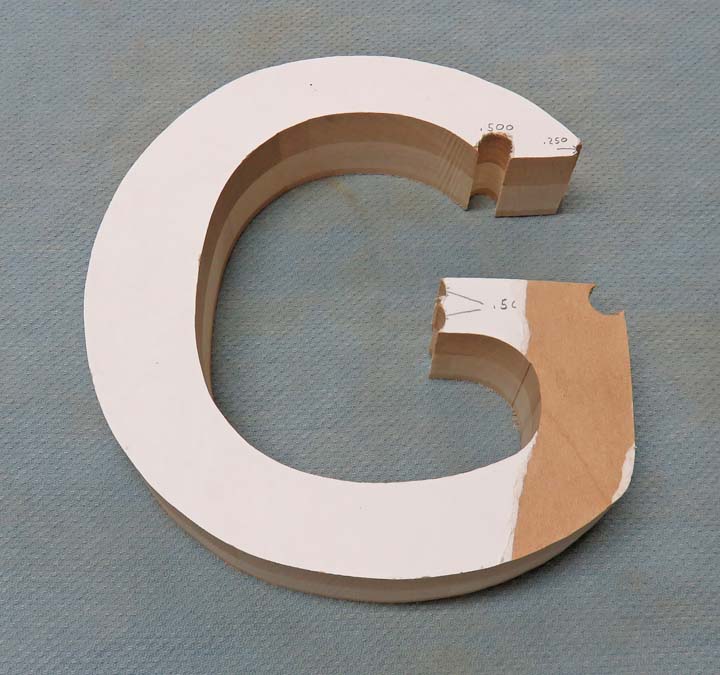
Next it's time to cut the inner portion out on my
bandsaw. To do this I'll be sawing from the outside into the hole that I
drilled above. I'll follow my pencil mark with the arrow at both ends.
Note: This cut will be with the grain of the wood. This
is important because I'll be gluing this back together later. By doing
it this way I'll use the grain of the wood to my advantage in place of
using end grain that doesn't glue as well.
|
|
 |
Don't worry, this is the piece I cut out of the center which is scrap.
|
|
 |
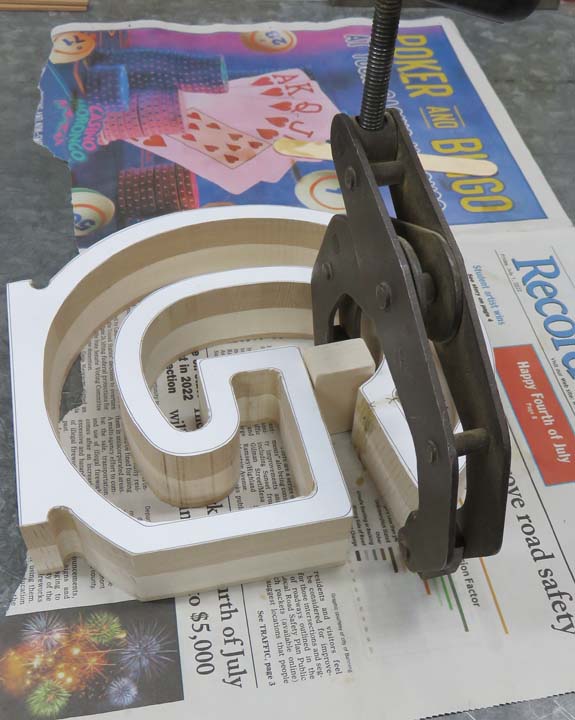
Here I'm gluing my sawcut back together.
|
|
|
|
1
2
3
4
5 |