|
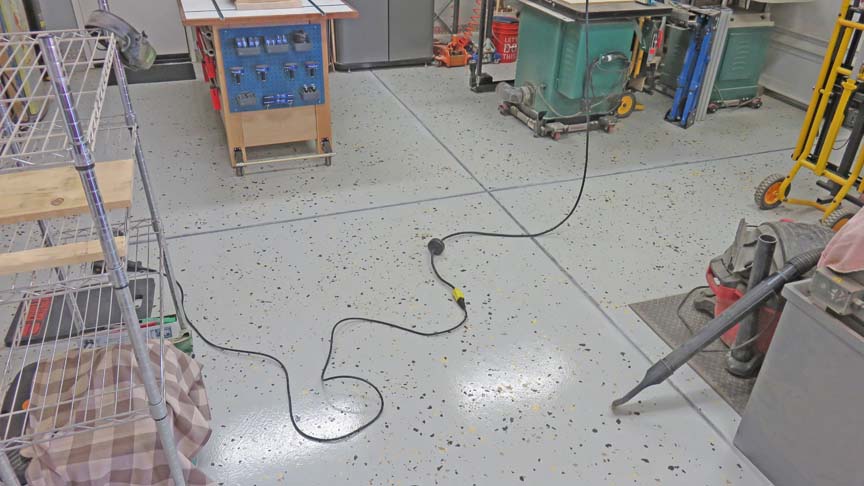
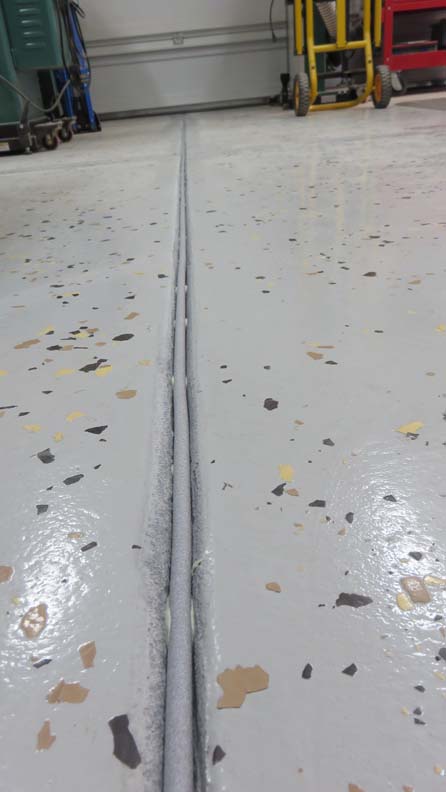
I have a few pieces of woodworking equipment along with my mobile
workbench that all have casters on them and when I roll them into
position to work with, I end up crossing these expansion joints on
the floor. These slots in the concrete play havoc with those wheels and
after about three years I've had enough.
What I plan on doing is filling in these joints so the
transition over them will be seamless because right now it's really hard
to move things around. Now I've been wanting to do this for a long time
so this project is overdue.
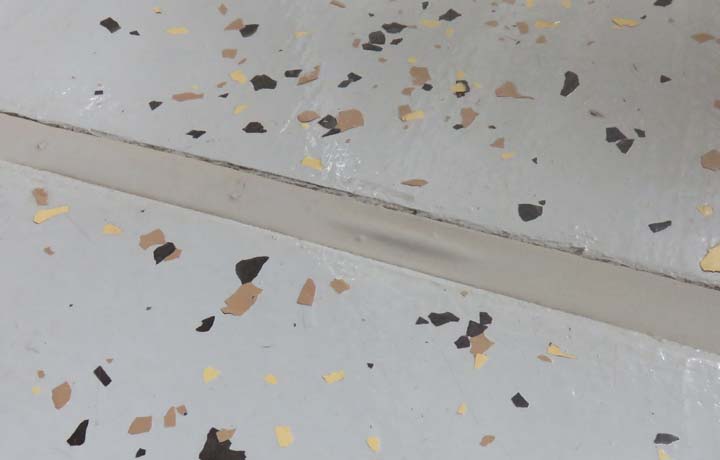
The first thing I'll be doing is prepping the floor by
removing the paint inside those joints so I've moved anything and
everything to expose them all.
|
|
 |
|
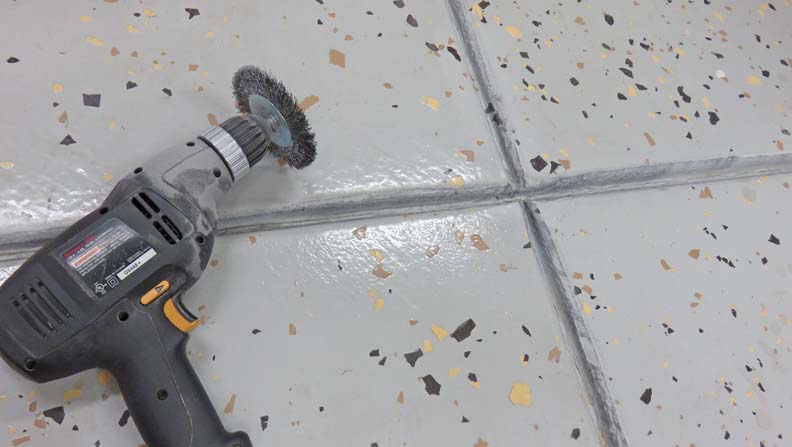
I tried using my grinder with a flap-wheel but that was
more trouble than it was worth because that heated the paint and it
stunk up the garage something awful. So I tried my a wire wheel and that
worked great without any stink at all. That rubber knee pad works great
for a job like this.
|
|
 |
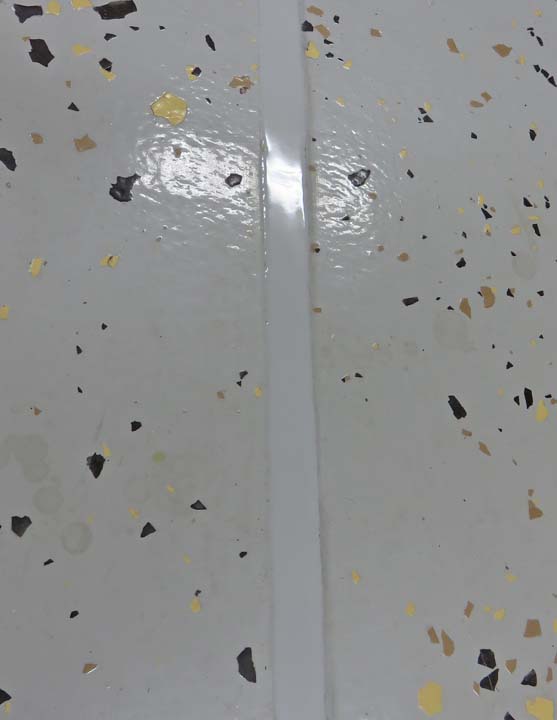
Here you can see the paint has been removed and is now ready to be
filled in. However, I cleaned all the expansion joints with lacquer
thinner before I applied any adhesive or caulking.
|
|
 |
|
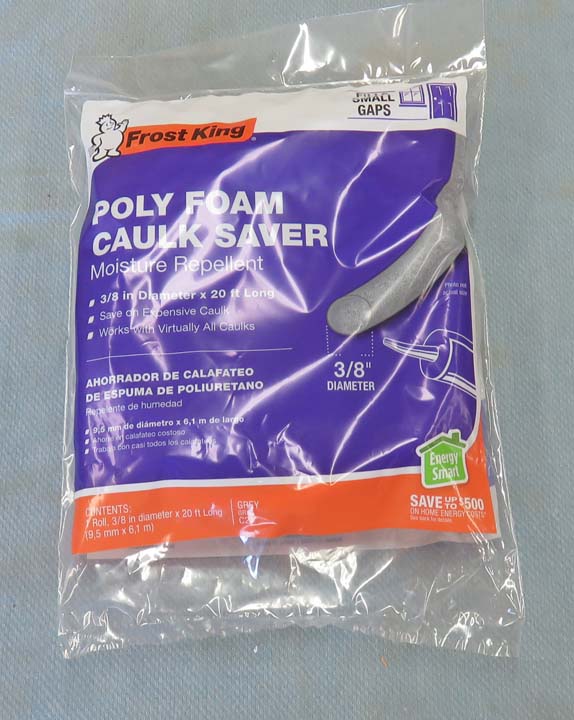
I'll be using this Poly Foam Caulk Saver (or Backer Rod)
so I don't use as much caulking material. This Poly Foam is really cheap
and comes in many different sizes, with mine being 3/8" diameter. It
also
comes in 1/2", 3/4", 1", etc. depending on what your need is. This stuff
is soft, is easy to cut with scissors, very cheap and bends easily too (think pool noodle here and
you'll get the idea).
|
|
 |
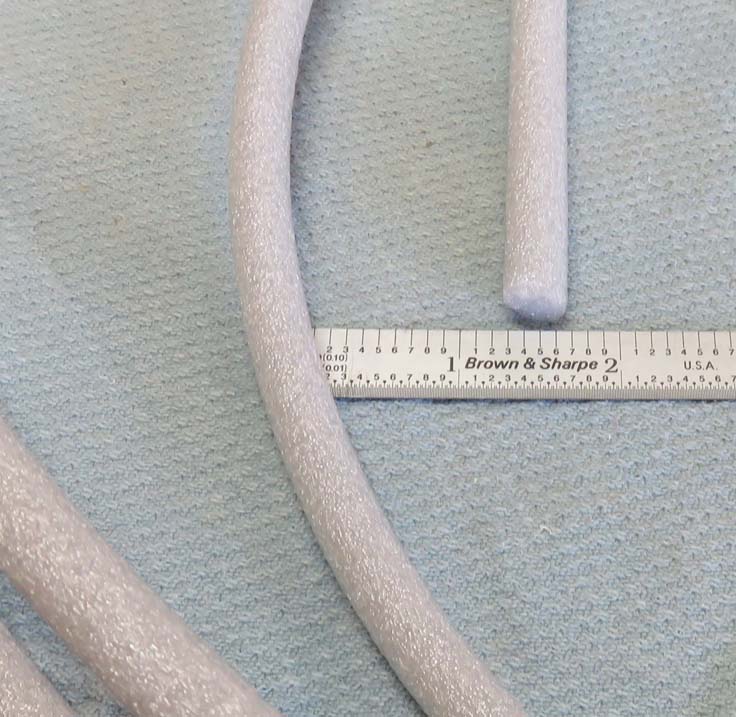
Here is a close-up of the 3/8" backer rod.
|
|
 |
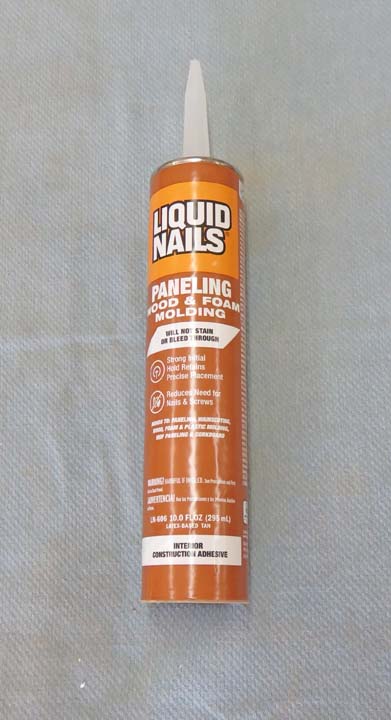
I'm going to use Liquid Nails to hold it down with so it doesn't move.
You might ask, "why would you do that"? Keep reading and I'll show you
why.
|
|
 |
|
I'm putting a dab of Liquid Nails every few inches. |
|
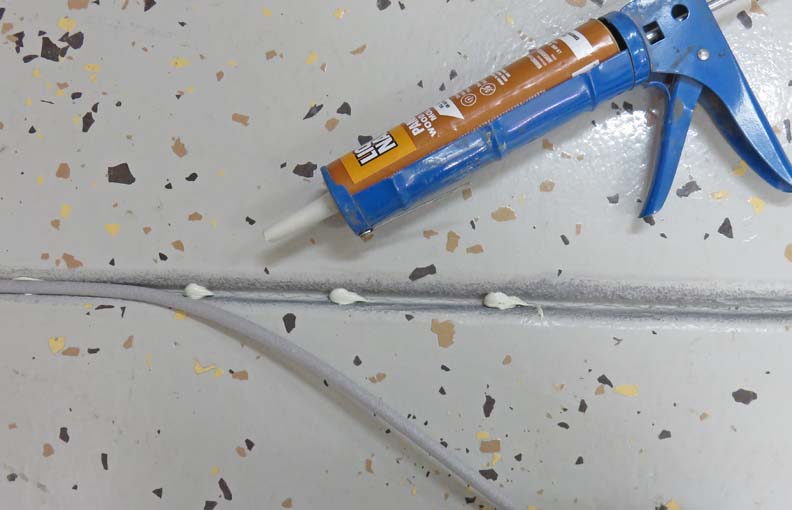 |
Then once I had about 12" or 18" of adhesive in the joint, I
laid down the Poly Foam and then repeated the process. This went pretty
fast.
|
|
 |
|
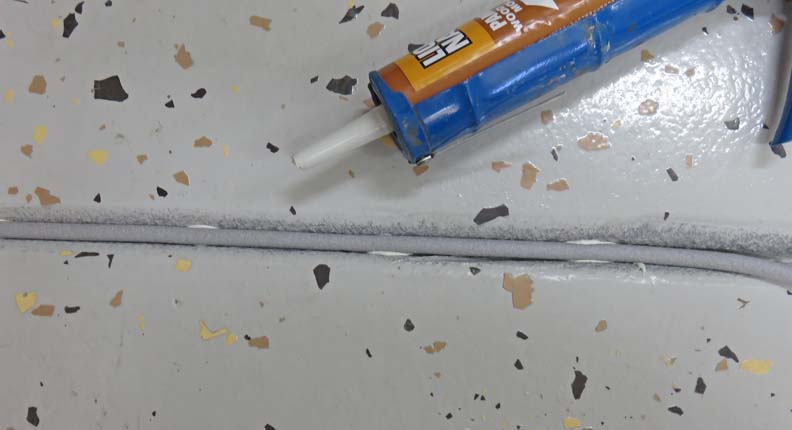
What you see here is a test area that I did right behind
my milling machine the day before and as you can see things didn't go well. See that
spot that looks like the Loch Ness monster's back sticking up? The
backer rod was nice and flat before I applied any caulking but after a
few minutes, this happened. I tried to push it back down but it would pop
up in a different spot a minute later.
|
|
 |
|
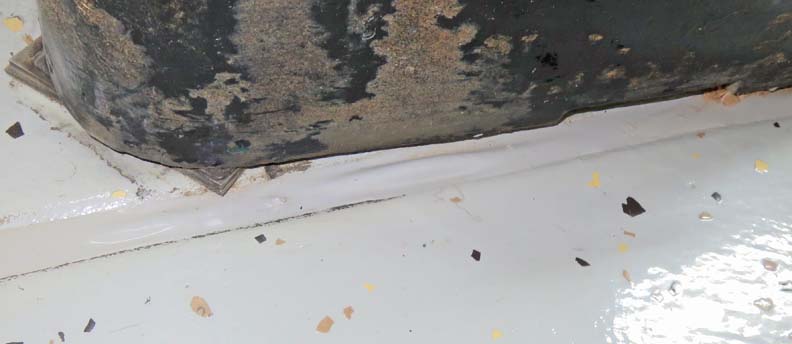
This is another test spot about one or two feet away from the one above.
This is why I'm using adhesive to keep the backer rod in place. It's a
good thing I did this test first because I really don't care how this
area looks behind my milling machine.
|
|
 |
I let the Liquid Nails set overnight to make sure it was dry. Now I'm
ready to fill in those joints.
|
|
|
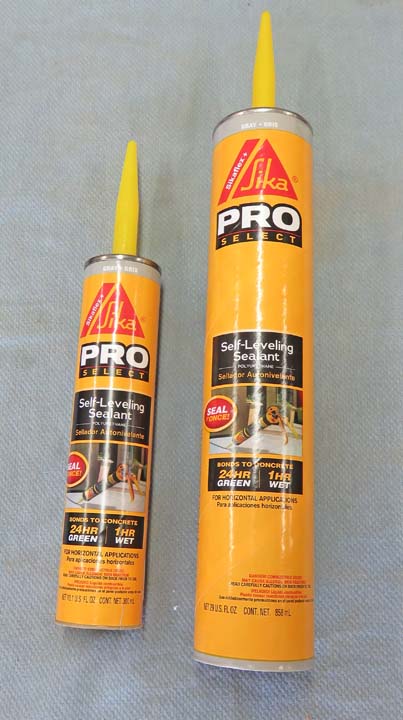
I'll be using this product made by Sika called Pro Select.
This stuff stays pliable and is self leveling. This product comes in
gray (which is what I'll be using) and sand (tan). The instructions say
let it dry for three to five days, depending on the weather. I let it
dry for four days before walking on it or rolling anything over it.
|
|
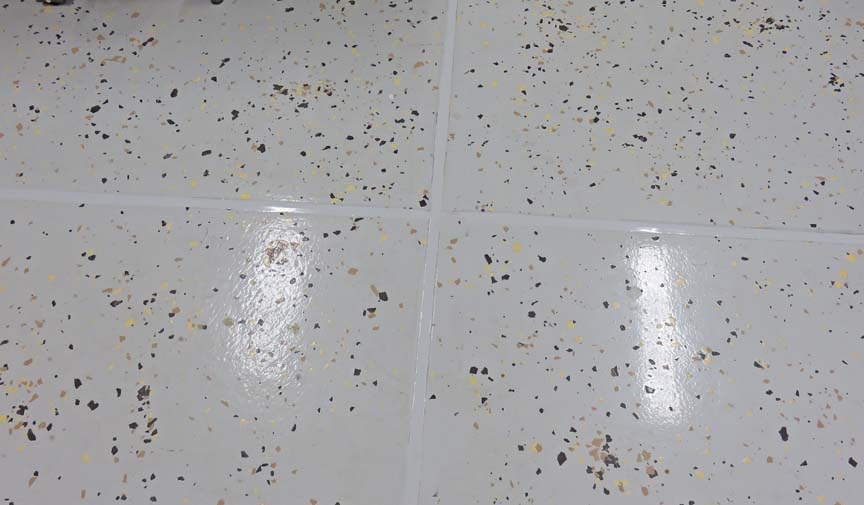
This caulking was very easy to apply, lays down fast and looks great as
well. And now everything rolls across it without any trouble at all.
|
|
|
Another plus for doing this is that no sawdust or dirt
of any kind gets into these areas any longer. That means no more
vacuuming when I'm finished with a project. I highly recommend this
method of fixing your garage floor if you're dealing with the same
problem as I was because it was really easy to do and cost less than a
hundred bucks.
|
 |
|
|