|
Working With Steel Continued
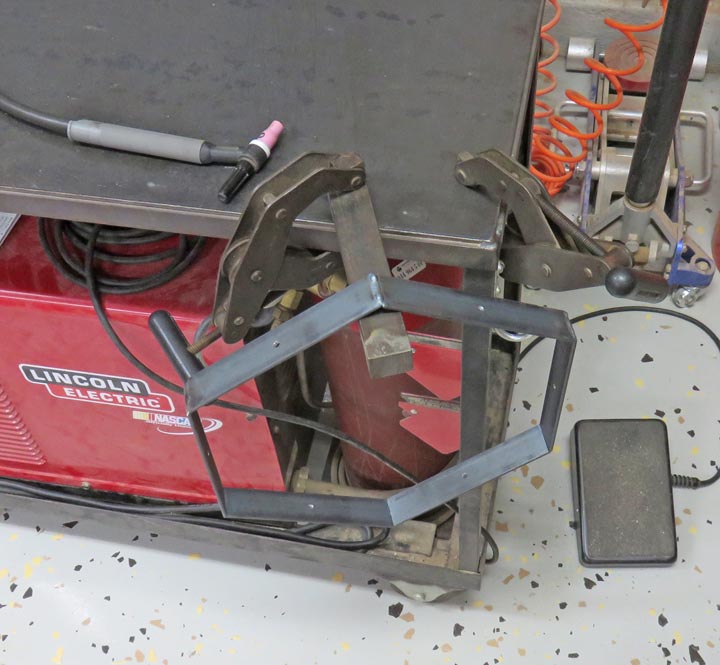
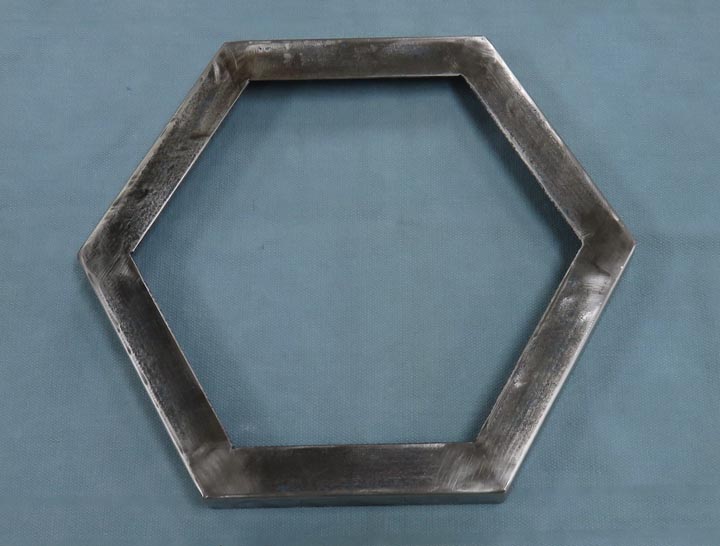
I used the same method to weld each ring like I did the top piece.
|
|
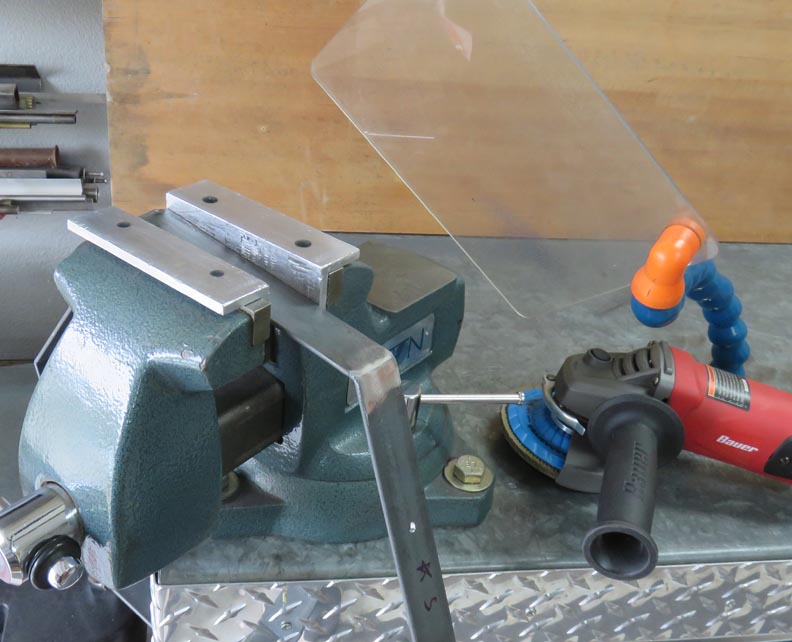
Next I used my grinder to remove the
unwanted weld. The clear plastic piece (which has a movable arm and
magnetic base) is to contain the grit coming off the grinding wheel.
|
|
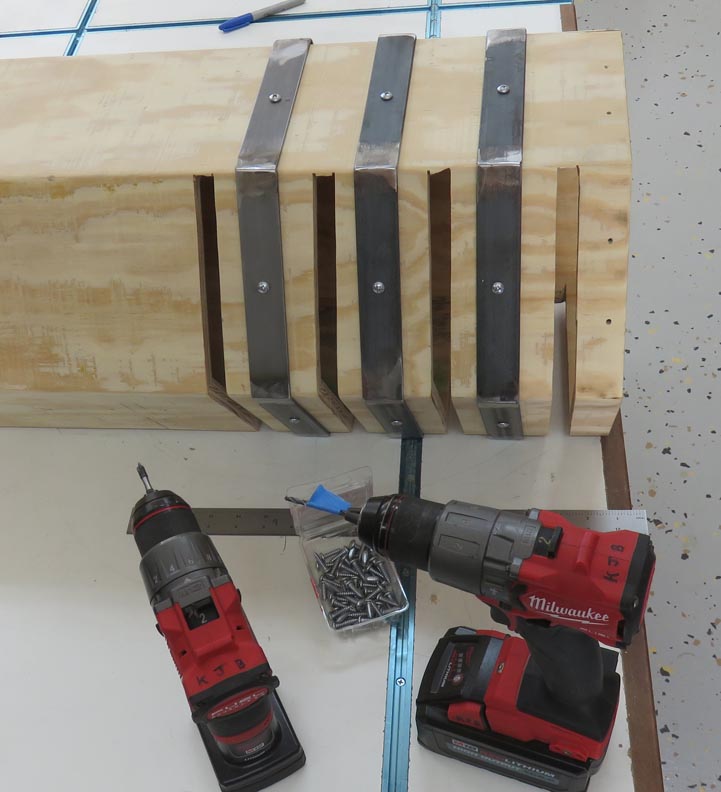
Here I'm installing the hex rings into their final positions. Notice the
tape on the drill bit. I didn't want to drill through the wood because
people will see the inside. This way the people playing the game won't
see any the pilot holes.
|
|
|
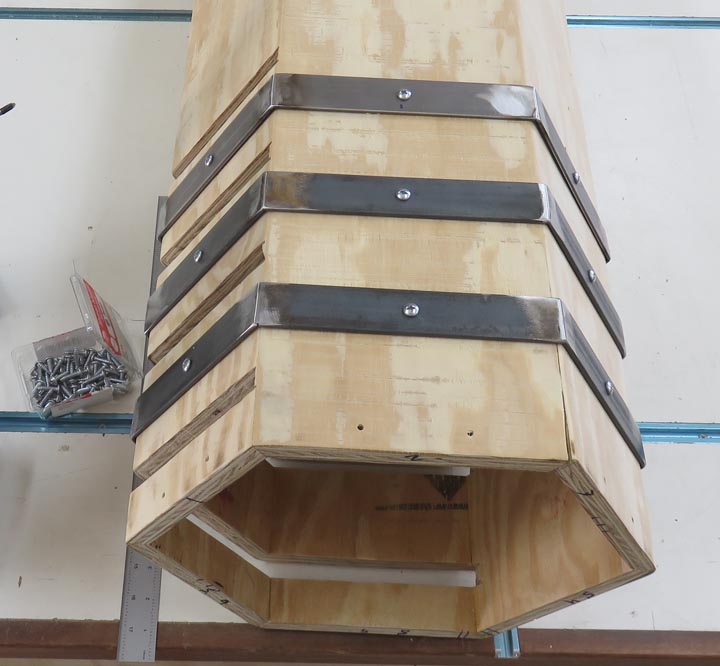
I asked Matt how many screws he wanted on the hex rings
and he said only one. Also, the paper that I used under each piece
worked out because it gave me just enough clearance to slide the rings
on.
|
|
|
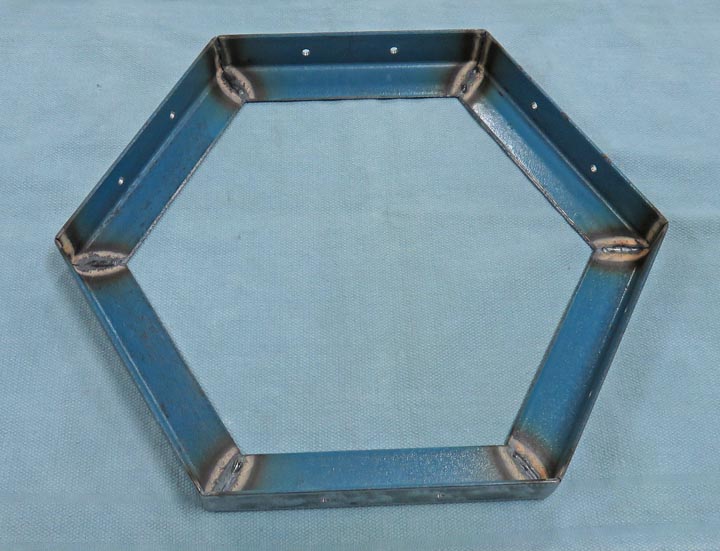
Getting Ready For Paint
I don't know what I was thinking earlier when I only
ground the welds because this piece will be getting paint. So I used my
grinder one more time and removed all the blue paint. This way it will
look much nicer.
|
|
However I didn't do anything to the underside because it won't show.
|
|
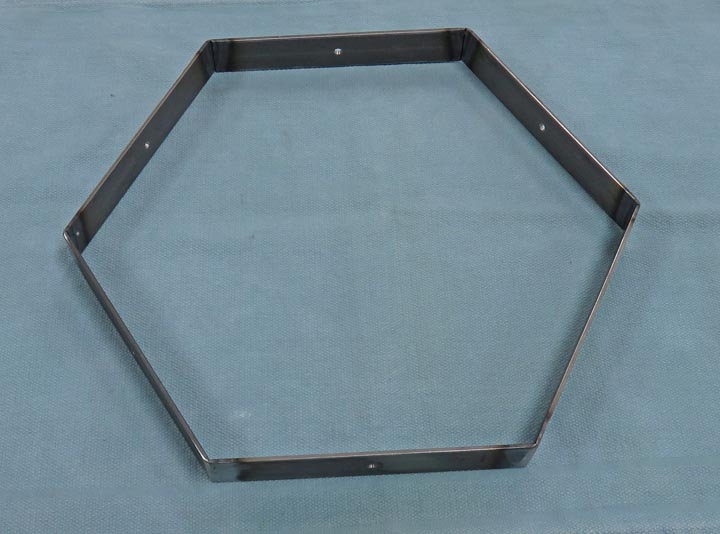
I gave each hex ring a final once-over before I painted them,
making sure all the sharp edges were gone.
|
|
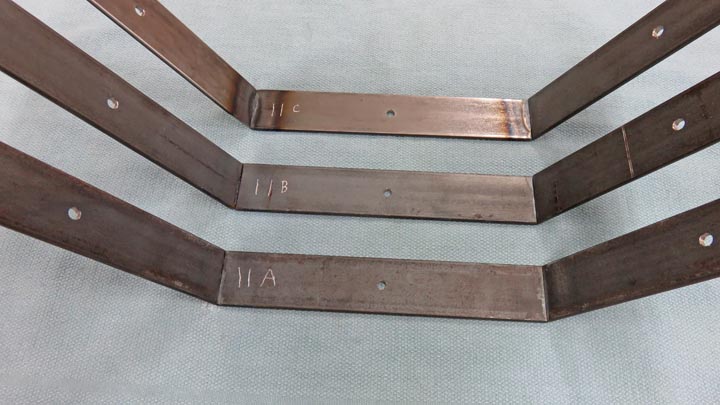
I used my Dremel to mark each piece so they would go onto the hex tower
without any trouble.
|
|
|
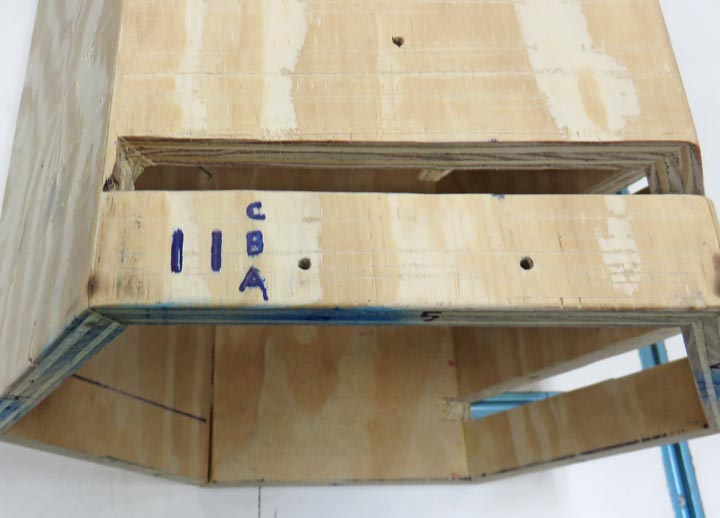
I also marked the area near the top with my Dremel and
then used a Sharpie so you can see things better. In case you were
wondering, the two vertical lines will match-up with the same lines
inside the hex rings. This means there is only one way the rings can go
one. And the order of each ring goes like this: A at the top, B in the
middle then C goes at the bottom.
|
|
|
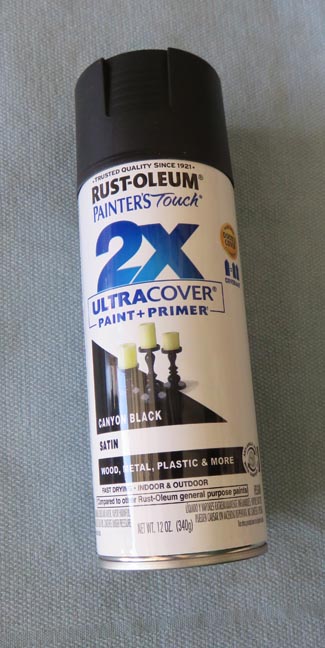
Painting
Now it's time to paint all the pieces so I cleaned each piece with
lacquer thinner before spraying some satin black on them.
|
 |
|
1
2
3
4 |