|
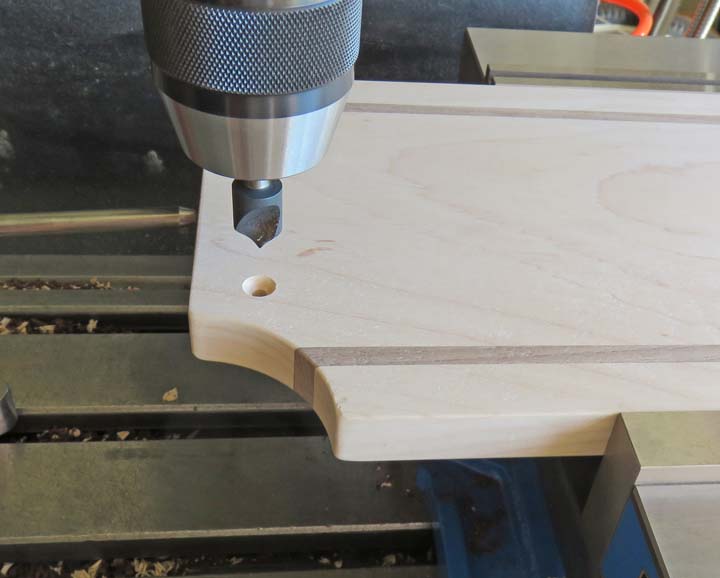
The screws that came with the handles were a
button head style and I needed flatheads. Here I'm chamfering the bottom
for the flathead screws with an 82 degree countersink.
|
|
 |
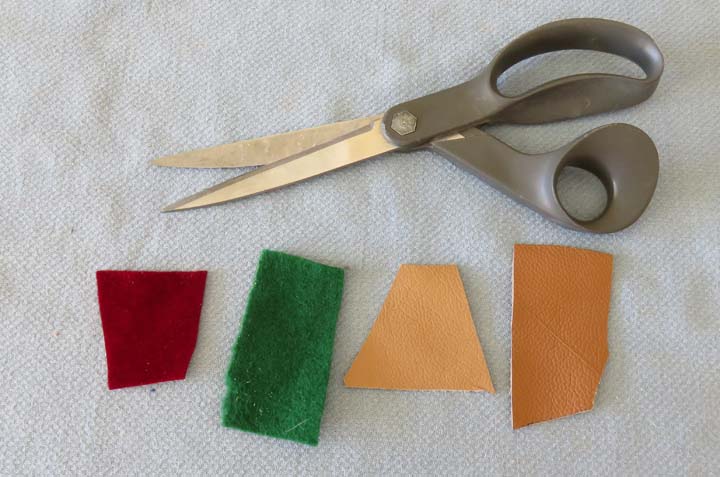
I wanted to line the bottom of the pockets with some kind
of material so I'm getting a few ideas here. From left to right are: red
velvet, green felt and the last two pieces are leftover leather from my
33 Ford Coupe upholstery. After cutting out a few pieces from each one
and placing them in the pockets, it was a hard choice because they all
looked nice.
|
|
 |
|
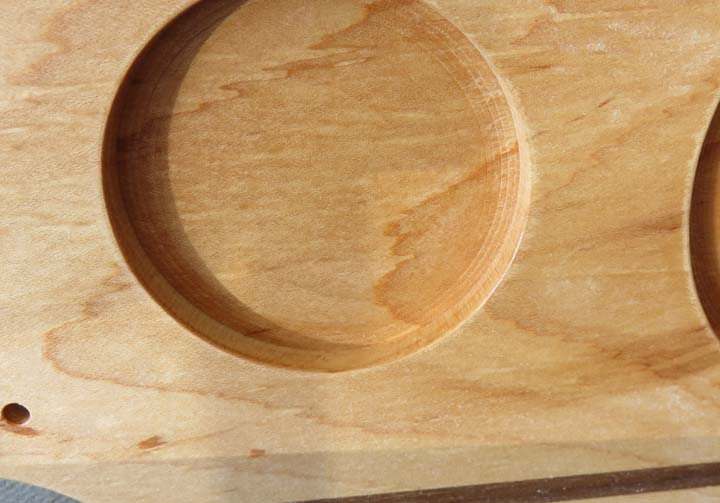
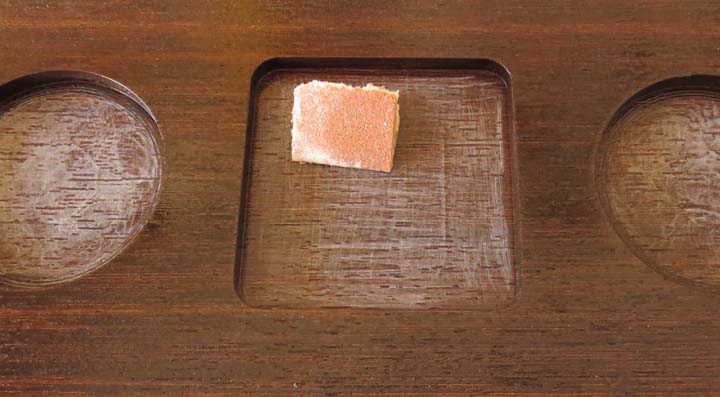
One thing lead to another and I decided the maple looked pretty nice
without any material at all... so now what? Well that could be looked at
as 'good news bad news'. Why? If you look at the bottom of the
pocket you can see tool marks that were left over from the boring
operation. I didn't think anything of at first because my original plan
was to cover this area with material. But after looking at how nice the
grain flows through the pockets now, I'm not so sure anymore.
I started sanding this one pocket with some 180 grit paper and right
away I realized it was going to take longer than I wanted so I needed
another plan if I was going with the natural wood look.
|
|
 |
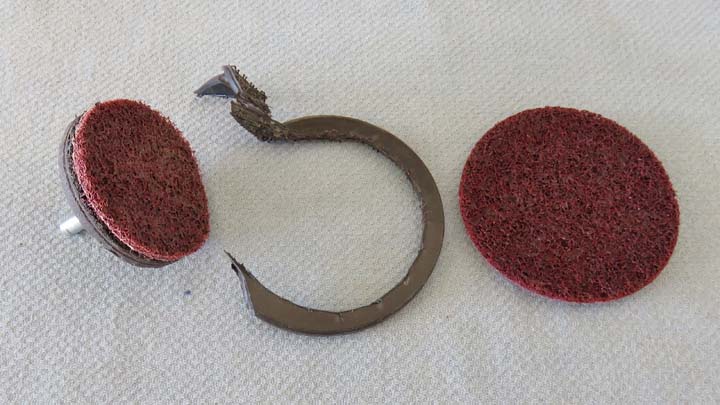
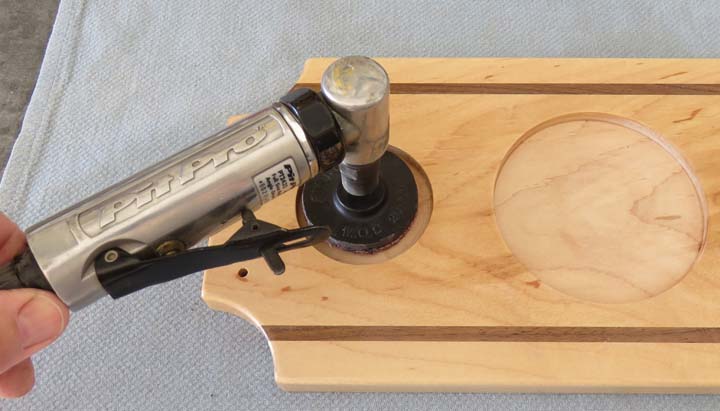
I started looking through my stuff to see what I could use to make this
job easier. What you see below is hook-and-loop type disc that is used
in an air tool. The disc on the right was to large to fit in the smaller
pocket so I decided to improvise. I used some sheet metal snips to cut
the hook-and-loop rubber mounting disc and then did the same to the
sanding disc too. I figured that I could always buy a new rubber
mounting disc so it's all good.
|
|
 |
|
This right-angle air tool made short work of each
pocket so this worked out pretty good. I had to be careful near the walls
of the pockets because it would be easy to dig into it them while sanding.
I just took my time and it all worked out. Whatever it takes...right?
|
|
 |
|
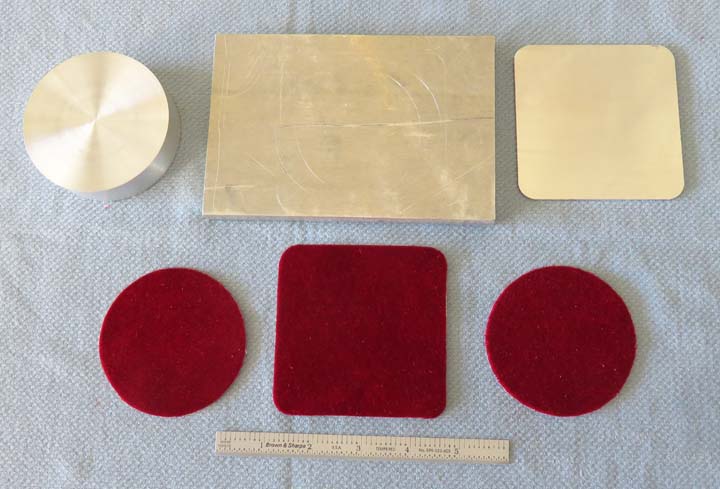
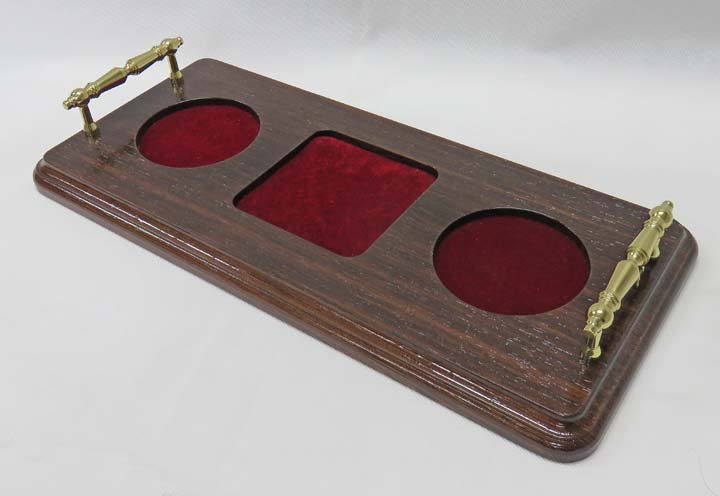
For Tony's I'm going to use some red velvet which should contrast nicely
with the dark wood. I wanted each piece of material to fit better than
if I cut them out with scissors, so to make that happen I made some
aluminum templates. The round and square pieces on the ends are the
templates and were used to
place over the material.
The piece in the center is also made out of aluminum which was used
as my working surface. I placed the template over the velvet material and hugged
the tooling with a razorblade to cut each piece out. If you look close you can see the outline
of each one on the working surface.
|
|
 |
I used clear gloss urethane for each tray and let them both dry for
three weeks. Yes you read that right, three weeks because the urethane
was an oil base so it stays stinky for a long time. After they were both
dry, I ruffed up the bottom of the pockets with 180 grit paper because I
planned on using epoxy glue for the velvet. This way the material should
stick much better and last longer.
|
|
 |
|
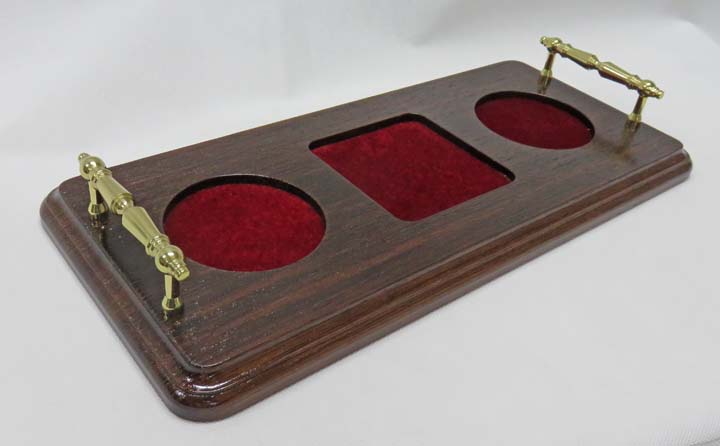
Here is the wood tray all finished and I'm pretty
happy with it.
|
|
 |
|
The red velvet fits and looks good.
|
|
 |
|
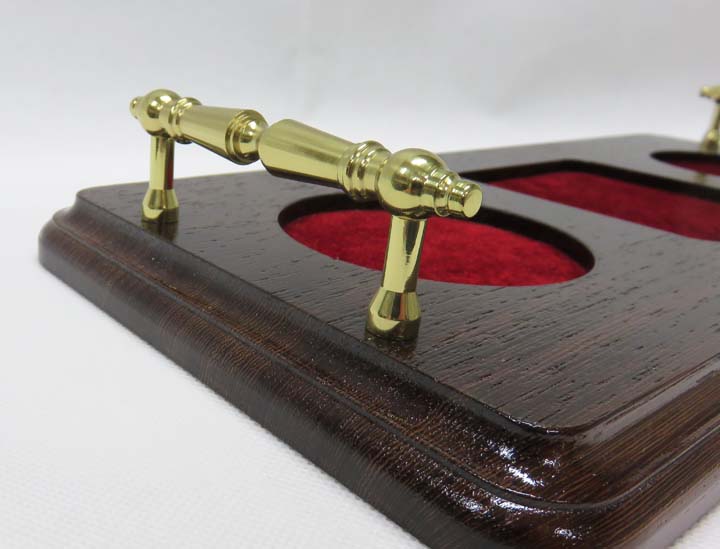
A close-up of the handle and clear finish on the wood.
|
|
 |
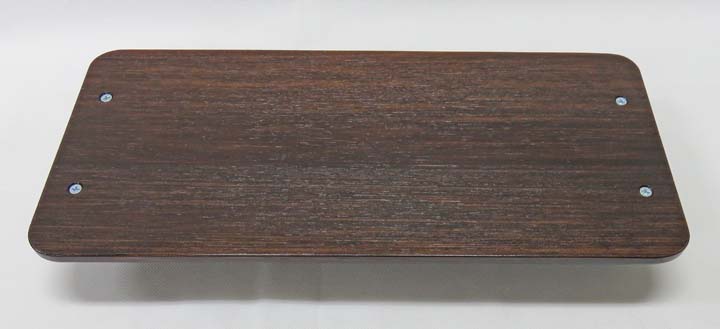
The screws are below the surface and the wood has been coated with
urethane as well.
|
 |
|
1
2
3
4 |