|
My daughter Stephanie just bought a house and the
kitchen happens to be small so to gain a small amount of counter space,
she requested a cutting board that would cover her sink. Now the sink is
nice and big so what I'll be making for her is a cutting board/chopping
block/added counter space piece.
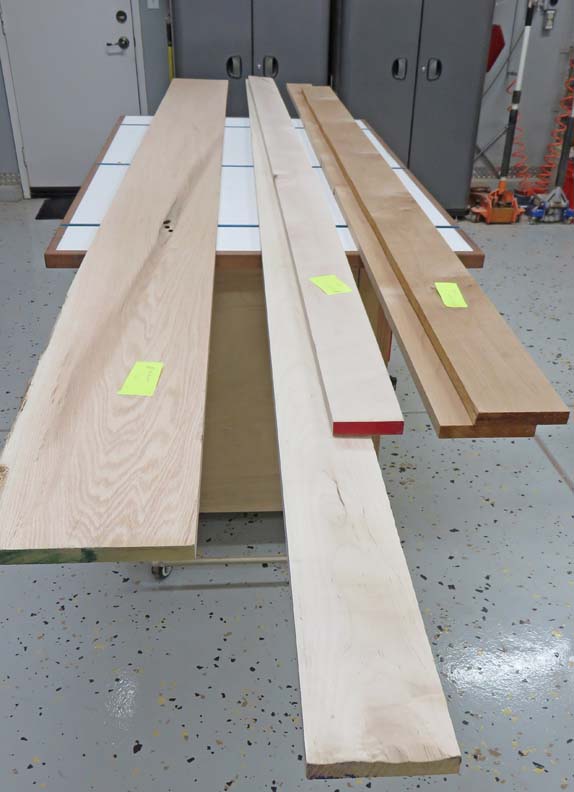
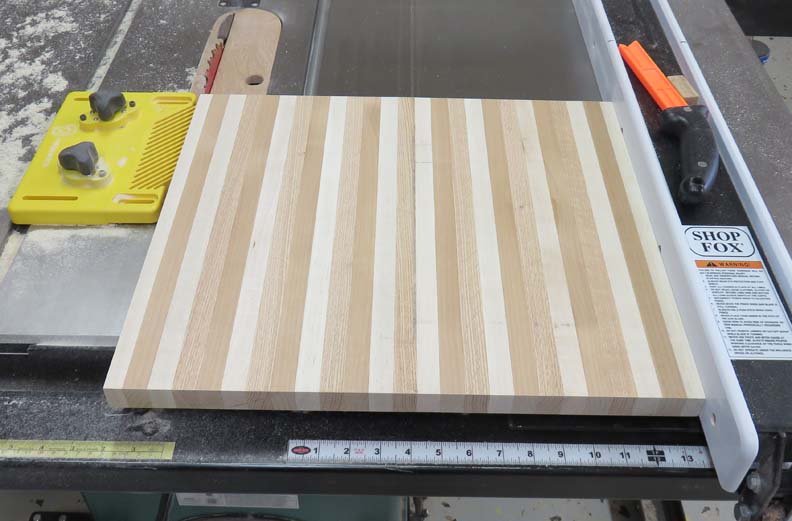
The wood that you see below are maple, alder and oak.
These are the species that I'll be using because Stephanie told me that
she didn't want any darker wood used. No problem, so let's get started
building a 33" X 17" X 1" cutting board.
Woodworking
|
|
 |
Here I'm using my miter saw to cut all my
pieces oversize by about one inch and I'll trim it to length later.
|
|
 |
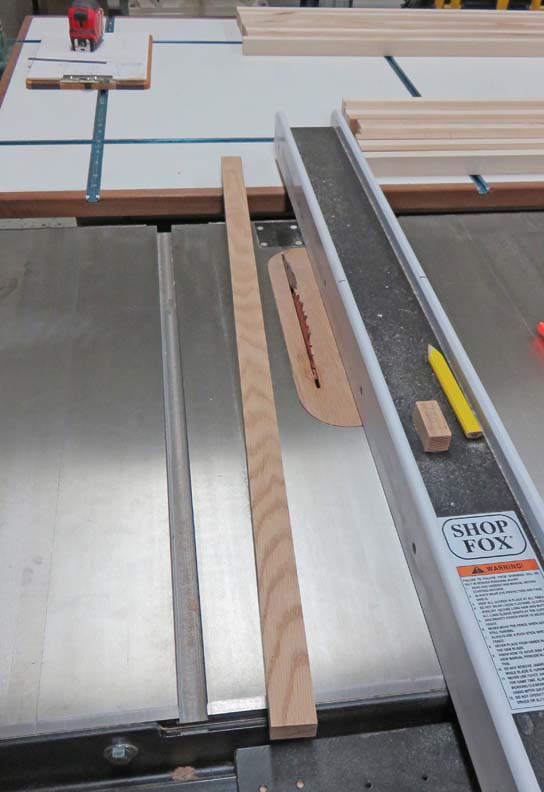
The next step is to use my table saw and cut each piece oversize again
to 1 1/4" and then I'll use my planer to bring in the one inch
dimension.
|
|
 |
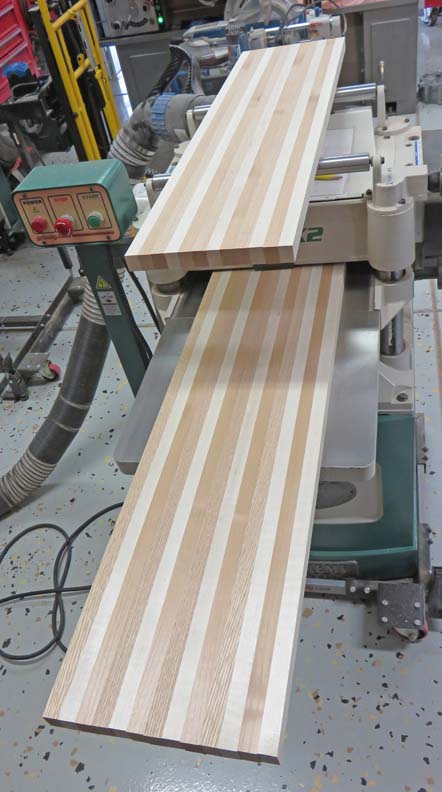
Speaking of my planer, with this cutting board measuring in at 17" will be too wide to run
through it so I'll be making it in two pieces.
|
|
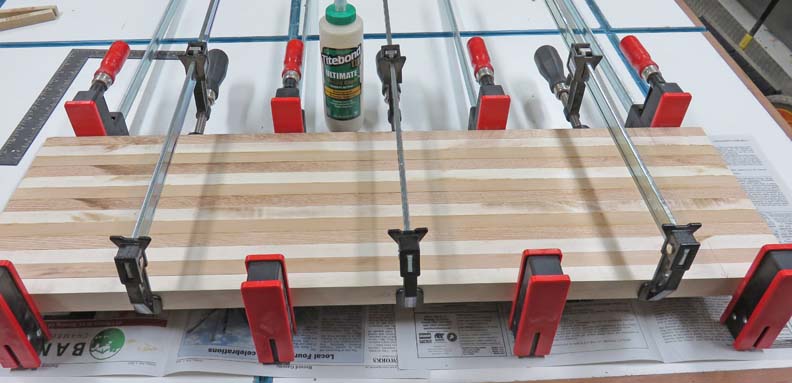 |
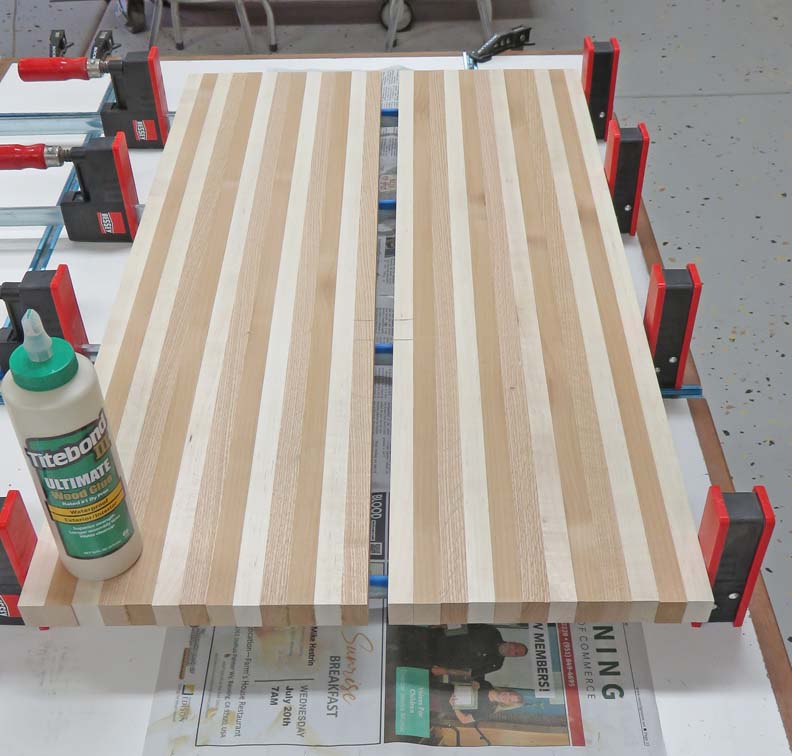
After two days of gluing each piece together, it's time to bring in the
one inch dimension.
|
|
 |
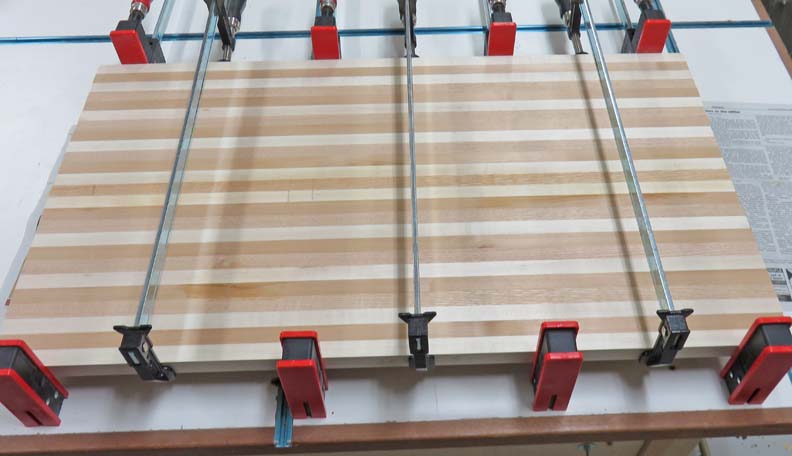
Then I glued the two large pieces together making sure the top surfaces
were nice and even.
|
|
 |
I let this assembly set over night to make sure the glue was cured.
|
|
 |
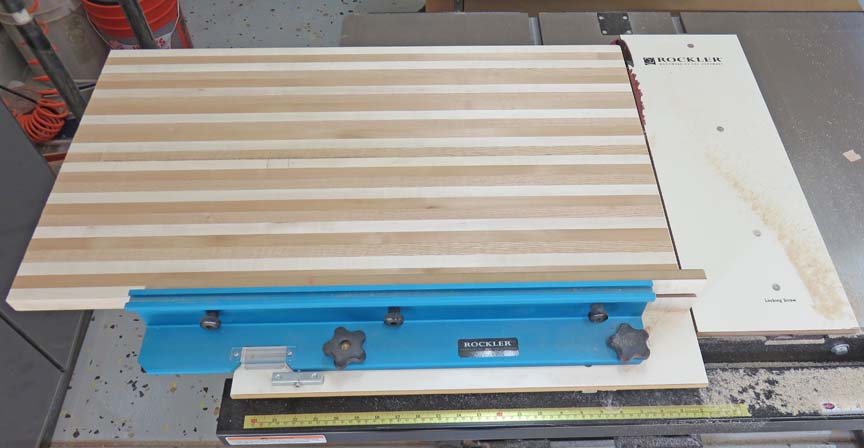
The next day I used my table saw and sled to square both ends.
|
|
 |
|
Then I cut it down the middle. Say what?
This was planned because of how big it is and it will make storing it
that much easier.
|
|
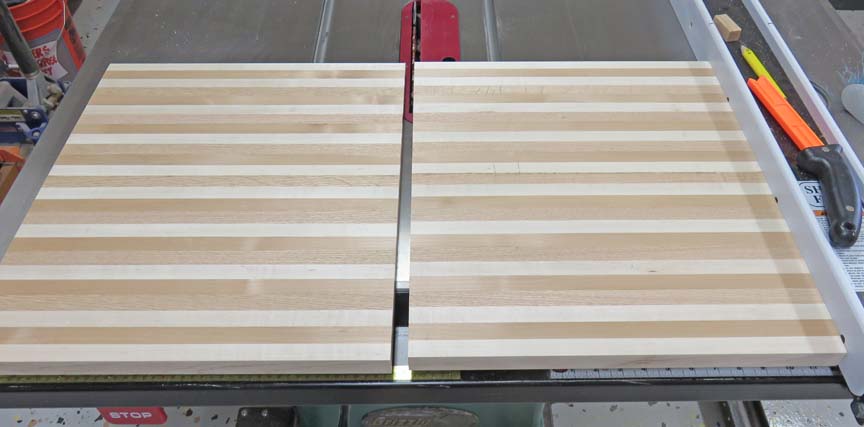 |
I had a specific length to hit so I'm cutting both pieces to the size I
need here.
|
|
 |
|
1
2
3 |