|
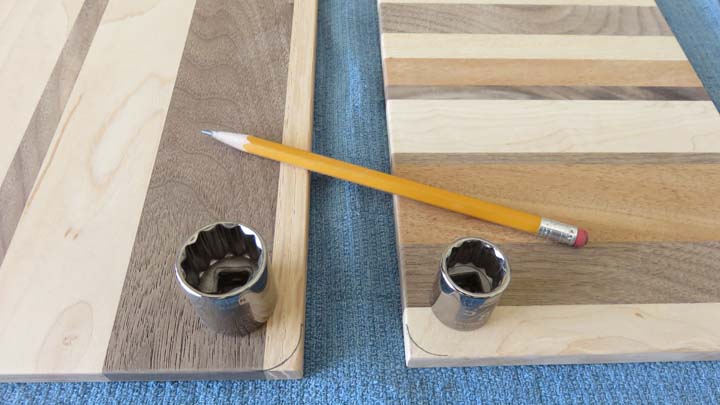
I'm wanting some kind of radius on all the corners so
I decided on these two sizes. I've used sockets for this kind of thing
many times before and they work great.
|
|
 |
|
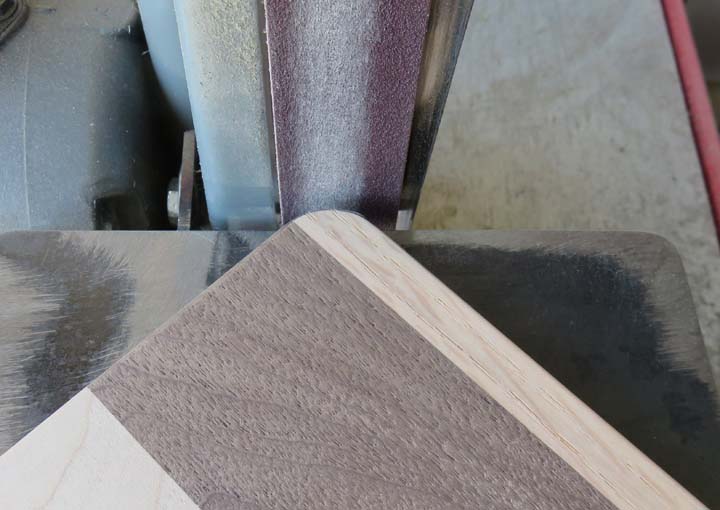
Using my belt sander I just sand to the line which
goes very fast and then finish sand by hand afterwards.
|
|
 |
|
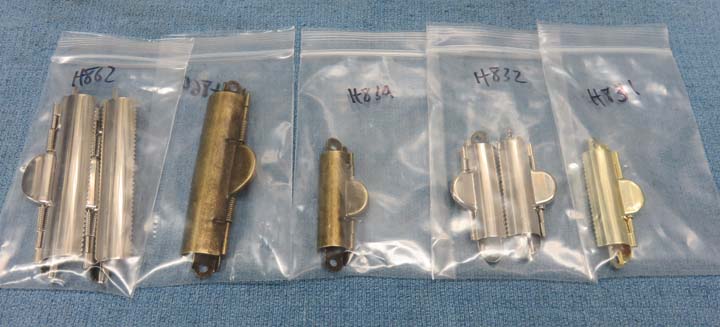
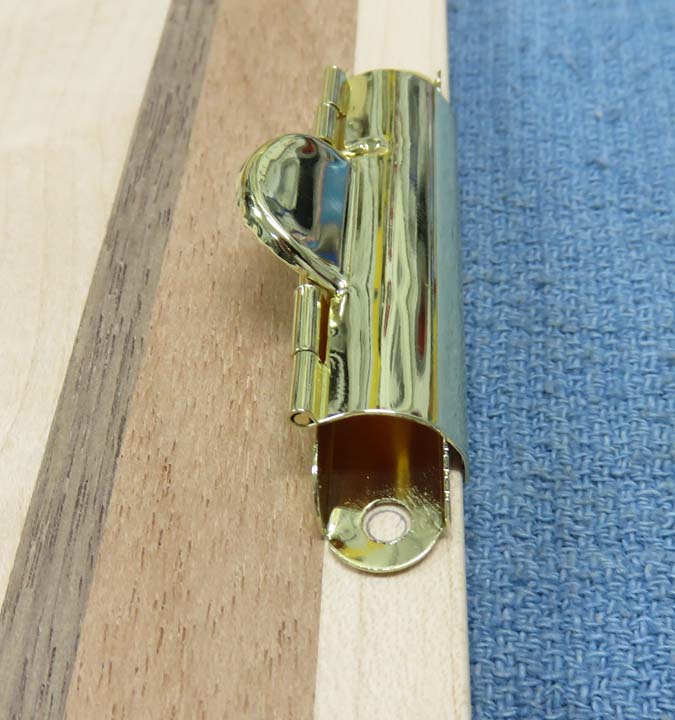
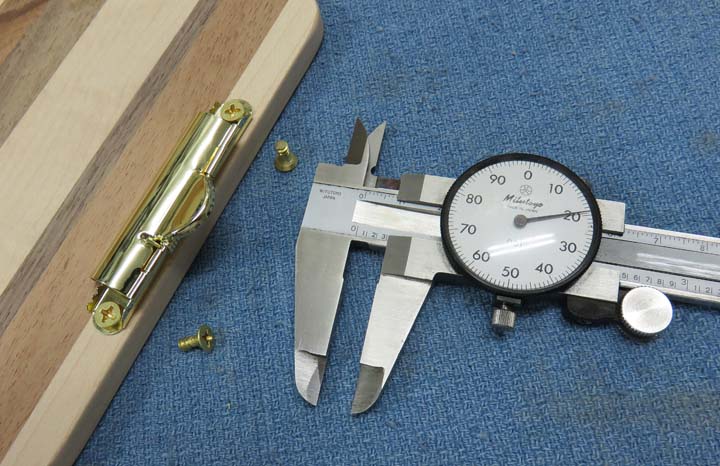
I did a search for "clip board clips" and bought three
different kinds: nickel, brass and antique brass plated. They have holes
on each end for fasteners.
|
|
 |
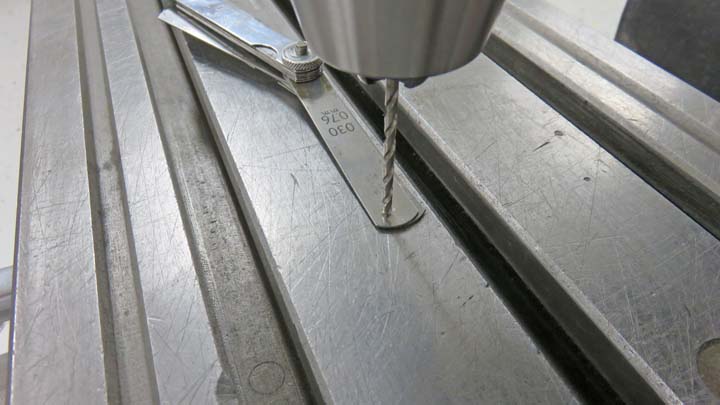
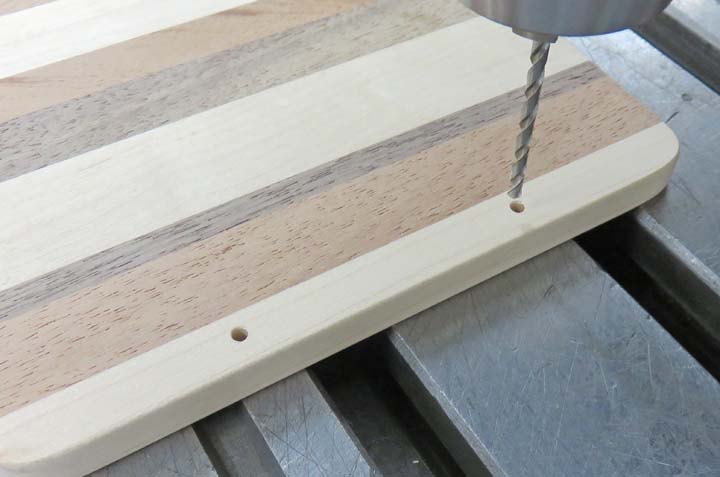
I'm getting ready to drill holes for the screws and I didn't want to go
all the way through so I'm staying away by about .050" (just shy of 1/16"). By
setting my drill against some feeler gages, this is an easy way of
getting the depth I need.
|
|
 |
|
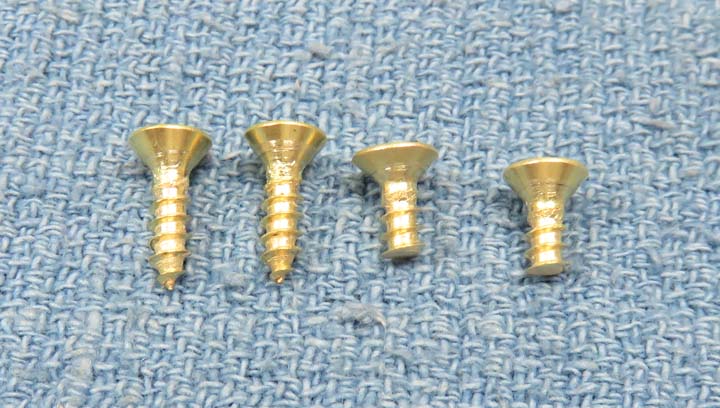
The brass screws I had were 1/2" long but I need them
to be a little shorter so I used my belt sander to shorten them.
|
|
 |
|
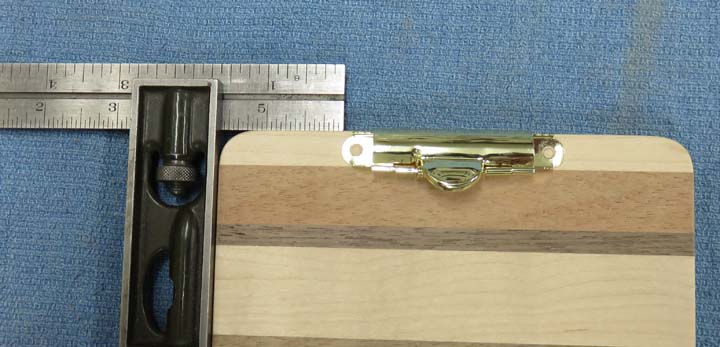
I'm laying out the holes here and by turning the clip around I'm able to
achieve the exact distance from the edge that I need.
|
|
 |
|
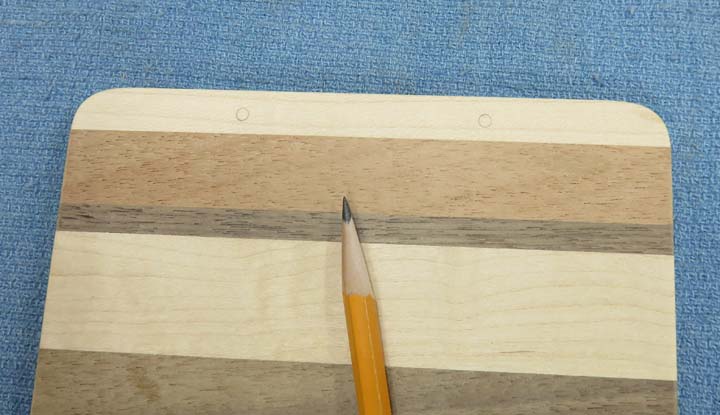
I used my combination square to find the center. Then
I used a pencil to layout the holes by drawing a circle where the screws
go.
|
|
 |
|
Here you can see the screw locations.
|
|
 |
|
I centered the drill over the hole and drilled them
all. Very simple, quick and worked great.
|
|
 |
|
I sanded the screws to .320" long which was just shy
of the hole depth. This left me some room so I didn't bottom out the
screws.
|
|
 |
|
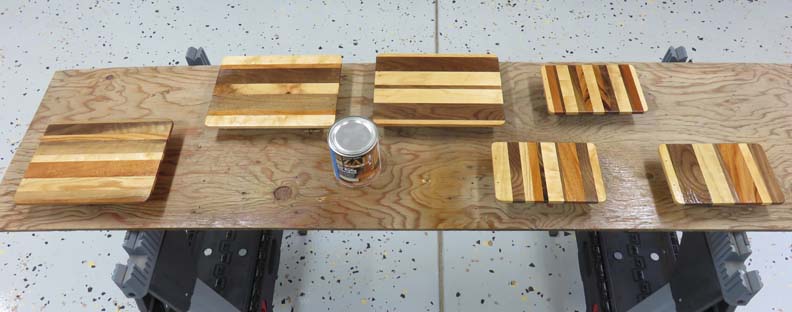
The next day I took all the clips off and applied a
semi-gloss finish to all the surfaces. In this picture things look good
but I had some trouble. I started with the bottom surface and applied
two coats a clear. Once that was finished I wondered if I would have
enough for the other side. And I'd been dealing with little chunks of
stuff that had settled at the bottom of the can all along. Sure I sanded
between coats but this was another level of ugly.
I ended up with enough
material for the other side but the surface looked like I used an air hose to clean the
floor while I was brushing it on. Not my best work that's for sure. I
again used some 400 grit paper between coats and again the following day, which removed most of the bad spots but you could also
see scratches from the sandpaper. A few days later I applied some
mineral oil to both sides and that helped. After wiping off the excess
oil I could only shake my head from side to side because I wasn't happy
with them.
I could have ordered more Zarr semi-gloss but I didn't
have another project that would warrant buying it so I'm going to leave
them as is.
|
 |
|
1
2
3 |