Brownie Knife  4                                                7-2023


Working with Rivets Continued


After applying the epoxy, I squeezed the rivets flush with the handle using my milling machine vise. I also used some scrap aluminum so if I had any squeeze-out, it wouldn't get on my vice jaws.


When I counterbored for the rivet heads, I went a few thousandths deeper so to make sure the heads would end up below the wooden surface. But to make sure they were seated all the way down, I came up with this. The pin that you see sticking out of the bench-block is smaller than the head of the rivet. The cardboard is to make sure the wooden handles didn't get any dings while I used my hammer and brass punch to seat the rivets with.


Almost Finished


If you look close you can see the rivet heads are just below the surface. This way I can sand the handle material first and then the rivets.


Here is what it looks like once I've done some sanding. Everything is nice and smooth.


I used this polyurethane on some other projects which worked good so I decided to use it here.


I used my bench vise to hold the knife while I applied the clear, which worked out pretty well.


It's Finished


Here it is all finished.


This wood was easy to work with and it doesn't look too bad either.


When I was cutting this piece in half using my bandsaw, I purposely chose this area to cut through thinking it might look nice.


Here is one of the reasons I added a handle to this butter knife. I wanted a nicely rounded handle so it's easier to use, which you'll see why soon.


Nothing fancy about the handle, except it fits my hand pretty good.


And here is the real reason for this project, so I can cut brownies easier. You see, when I make brownies I let them cool on the counter and then put them in the refrigerator. Now most people like their brownies warm, but I like them cold. However, brownies are not easy to cut when they're cold, so when I use a butter knife to cut them, it hurts the palm of my hand by the time I'm done.

Now you can see why I made this handle, which, by the way, works really well. You may ask, "why don't you cut them when they're warm? Because they are still slightly gooey and the brownies stick to the knife. And it gets worse with every cut that you make. I've been wanting to do this for a long time now, and I used a piece of my fruit tree to make it happen, which makes this project even sweeter!


I used to buy brownie mix from Sam's Club, which were made by Betty Crocker called, "Ultimate chocolate brownie mix". They came in a four pack and they were the best. However, for some reason Sam's Club stopped selling it many years ago. This meant I was forced to try other brands, but they all tasted second or third rate compared to Betty Crocker. Then I tried the 
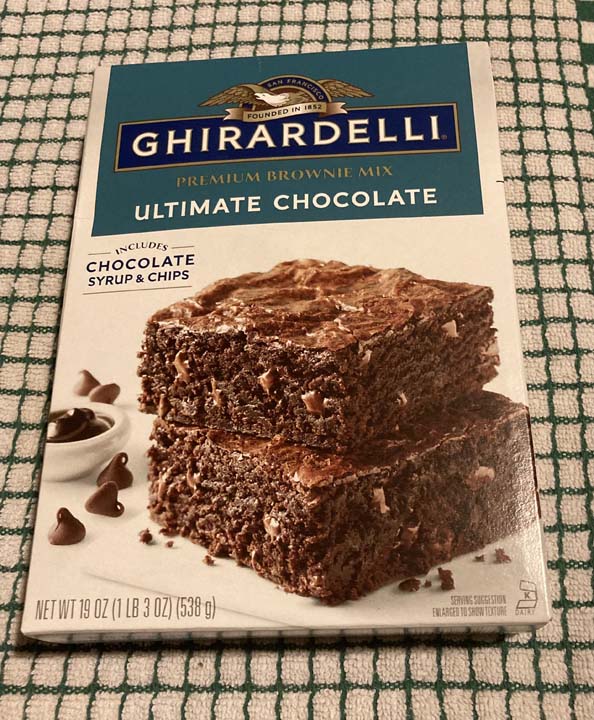
Ghirardelli brand a couple of years ago which was then called 'Triple Chocolate' and the box looked just like the one you see below.

But for some reason Ghirardelli changed the name to 'Ultimate Chocolate' somewhere around January 2023 with the exact same color scheme as the Triple Chocolate box. In fact I didn't notice this name change for a couple of months. Anyways, ever since I started buying the Ghirardelli brand it lacked something, so I started experimenting with the recipe until I was happy with it. So what did I add exactly to make it to my liking? Well, if you follow my recipe then you can thank me later.

Now the box calls for a 1/4 cup of oil, a 1/4 of water, 1 egg that all get mixed together with the powder and packet from the box. However, I don't follow these instructions to the letter anymore. In fact I add two more ingredients to this mix so it tastes better, at least it does to me. What are the two ingredients? Vanilla and chocolate chips!

In a mixing bowl, add 1/4 cup of oil, 1/4 cup of water, 1 egg and 1/2 tsp of 'pure vanilla' then mix well. Now add the powder and packet and mix well. Last add 1/3 cup of 'Nestle semi sweet mini 
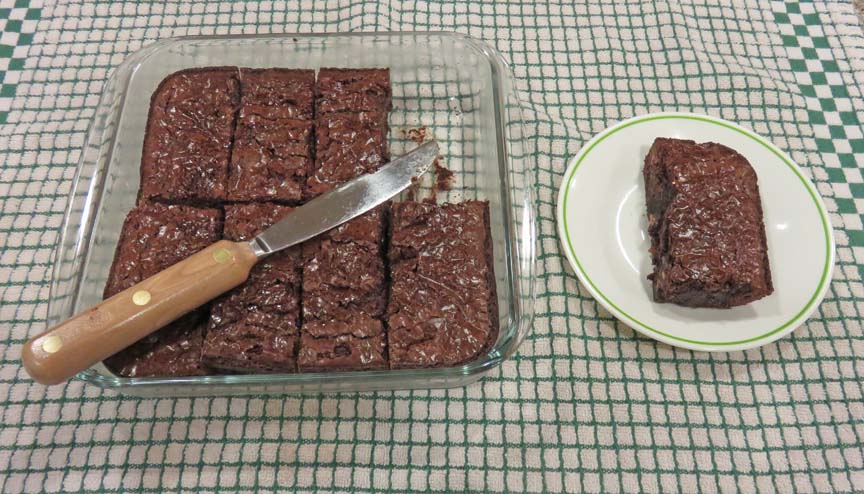
chocolate chips' and mix well. Pour mix into a greased 9" X 9" glass baking pan (I use Pam spray) and bake at 325 degrees for 44 to 45 minutes. Once you remove the pan from the oven let it set for 10 to 15 minutes and then cover with foil (the foil helps keep moisture in the brownies). About an hour later I put the pan in the fridge to serve the next day.

You maybe wondering "where did you come up with the idea of those two other ingredients"? I really don't know, but it tastes great! If you do follow this recipe and like them, drop me a note to let me know about it. Enjoy!


1     2     3     4